My Japanese Garden Project

I’ve started this blog to chronicle garden projects that either I am personally involved in or that I admire. For a little background, my name is Bernard and I live in Southern California. I garden for the simple reason that it allows me to focus entirely on something that’s outside the boundaries of my career which tends to consume a significant portion of my everyday existence. Working in the yard allows me to be creative, problem solve and recognize the results of my labor visually and usually at the end of the gardening day. Ultimately, I reserve the right to judge my own work but definitely enjoy the compliments that sometimes come along with finishing a project.

I started working in the yard when I was young but that was generally limited to mowing the lawn, digging holes or clearing bushes for my parents’ home and their rentals. When my wife and I purchased my own home in our mid-twenties, I began planting and caring for flowers, plants and trees with generally pretty poor results. In retrospect, I blame a lot of my early lack of success on bad soil but the truth is that I really didn’t spend any time on proper plant selection or soil preparation and the results were as expected.

When my wife and I purchased our second home in Arcadia, we moved into a lot that had considerable more opportunity for planting than our previous home and I have had considerable more success in the yard.

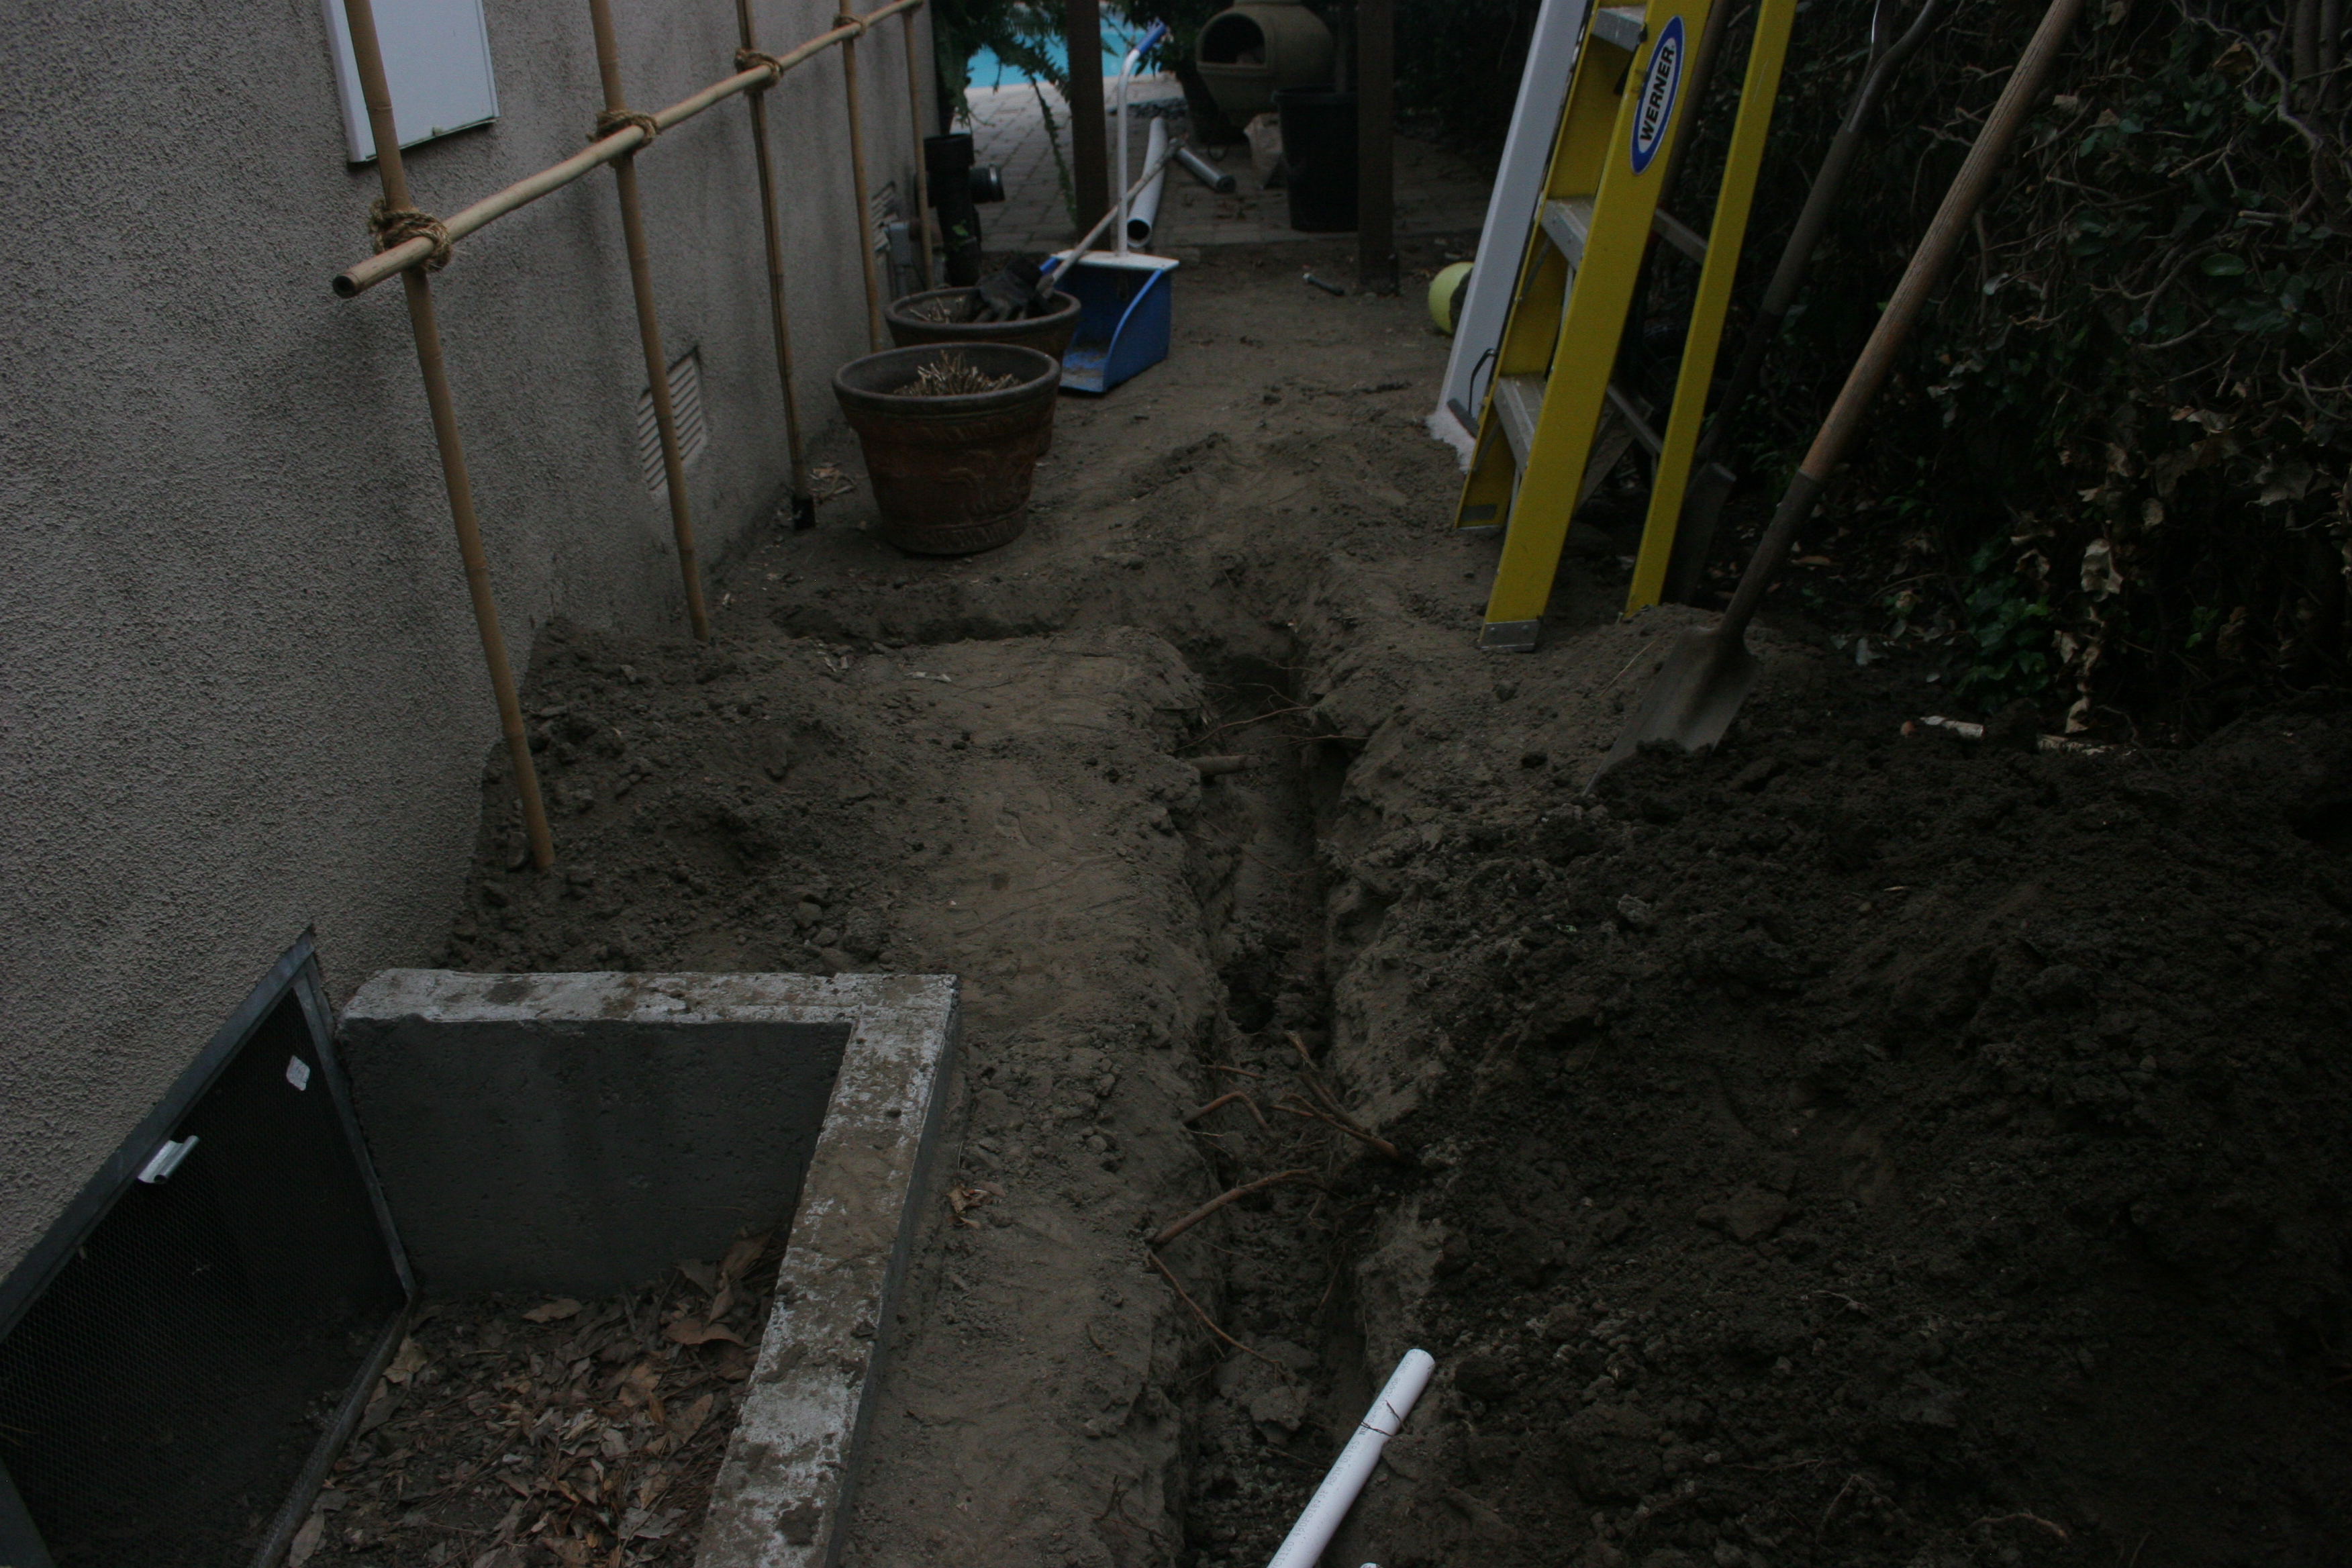
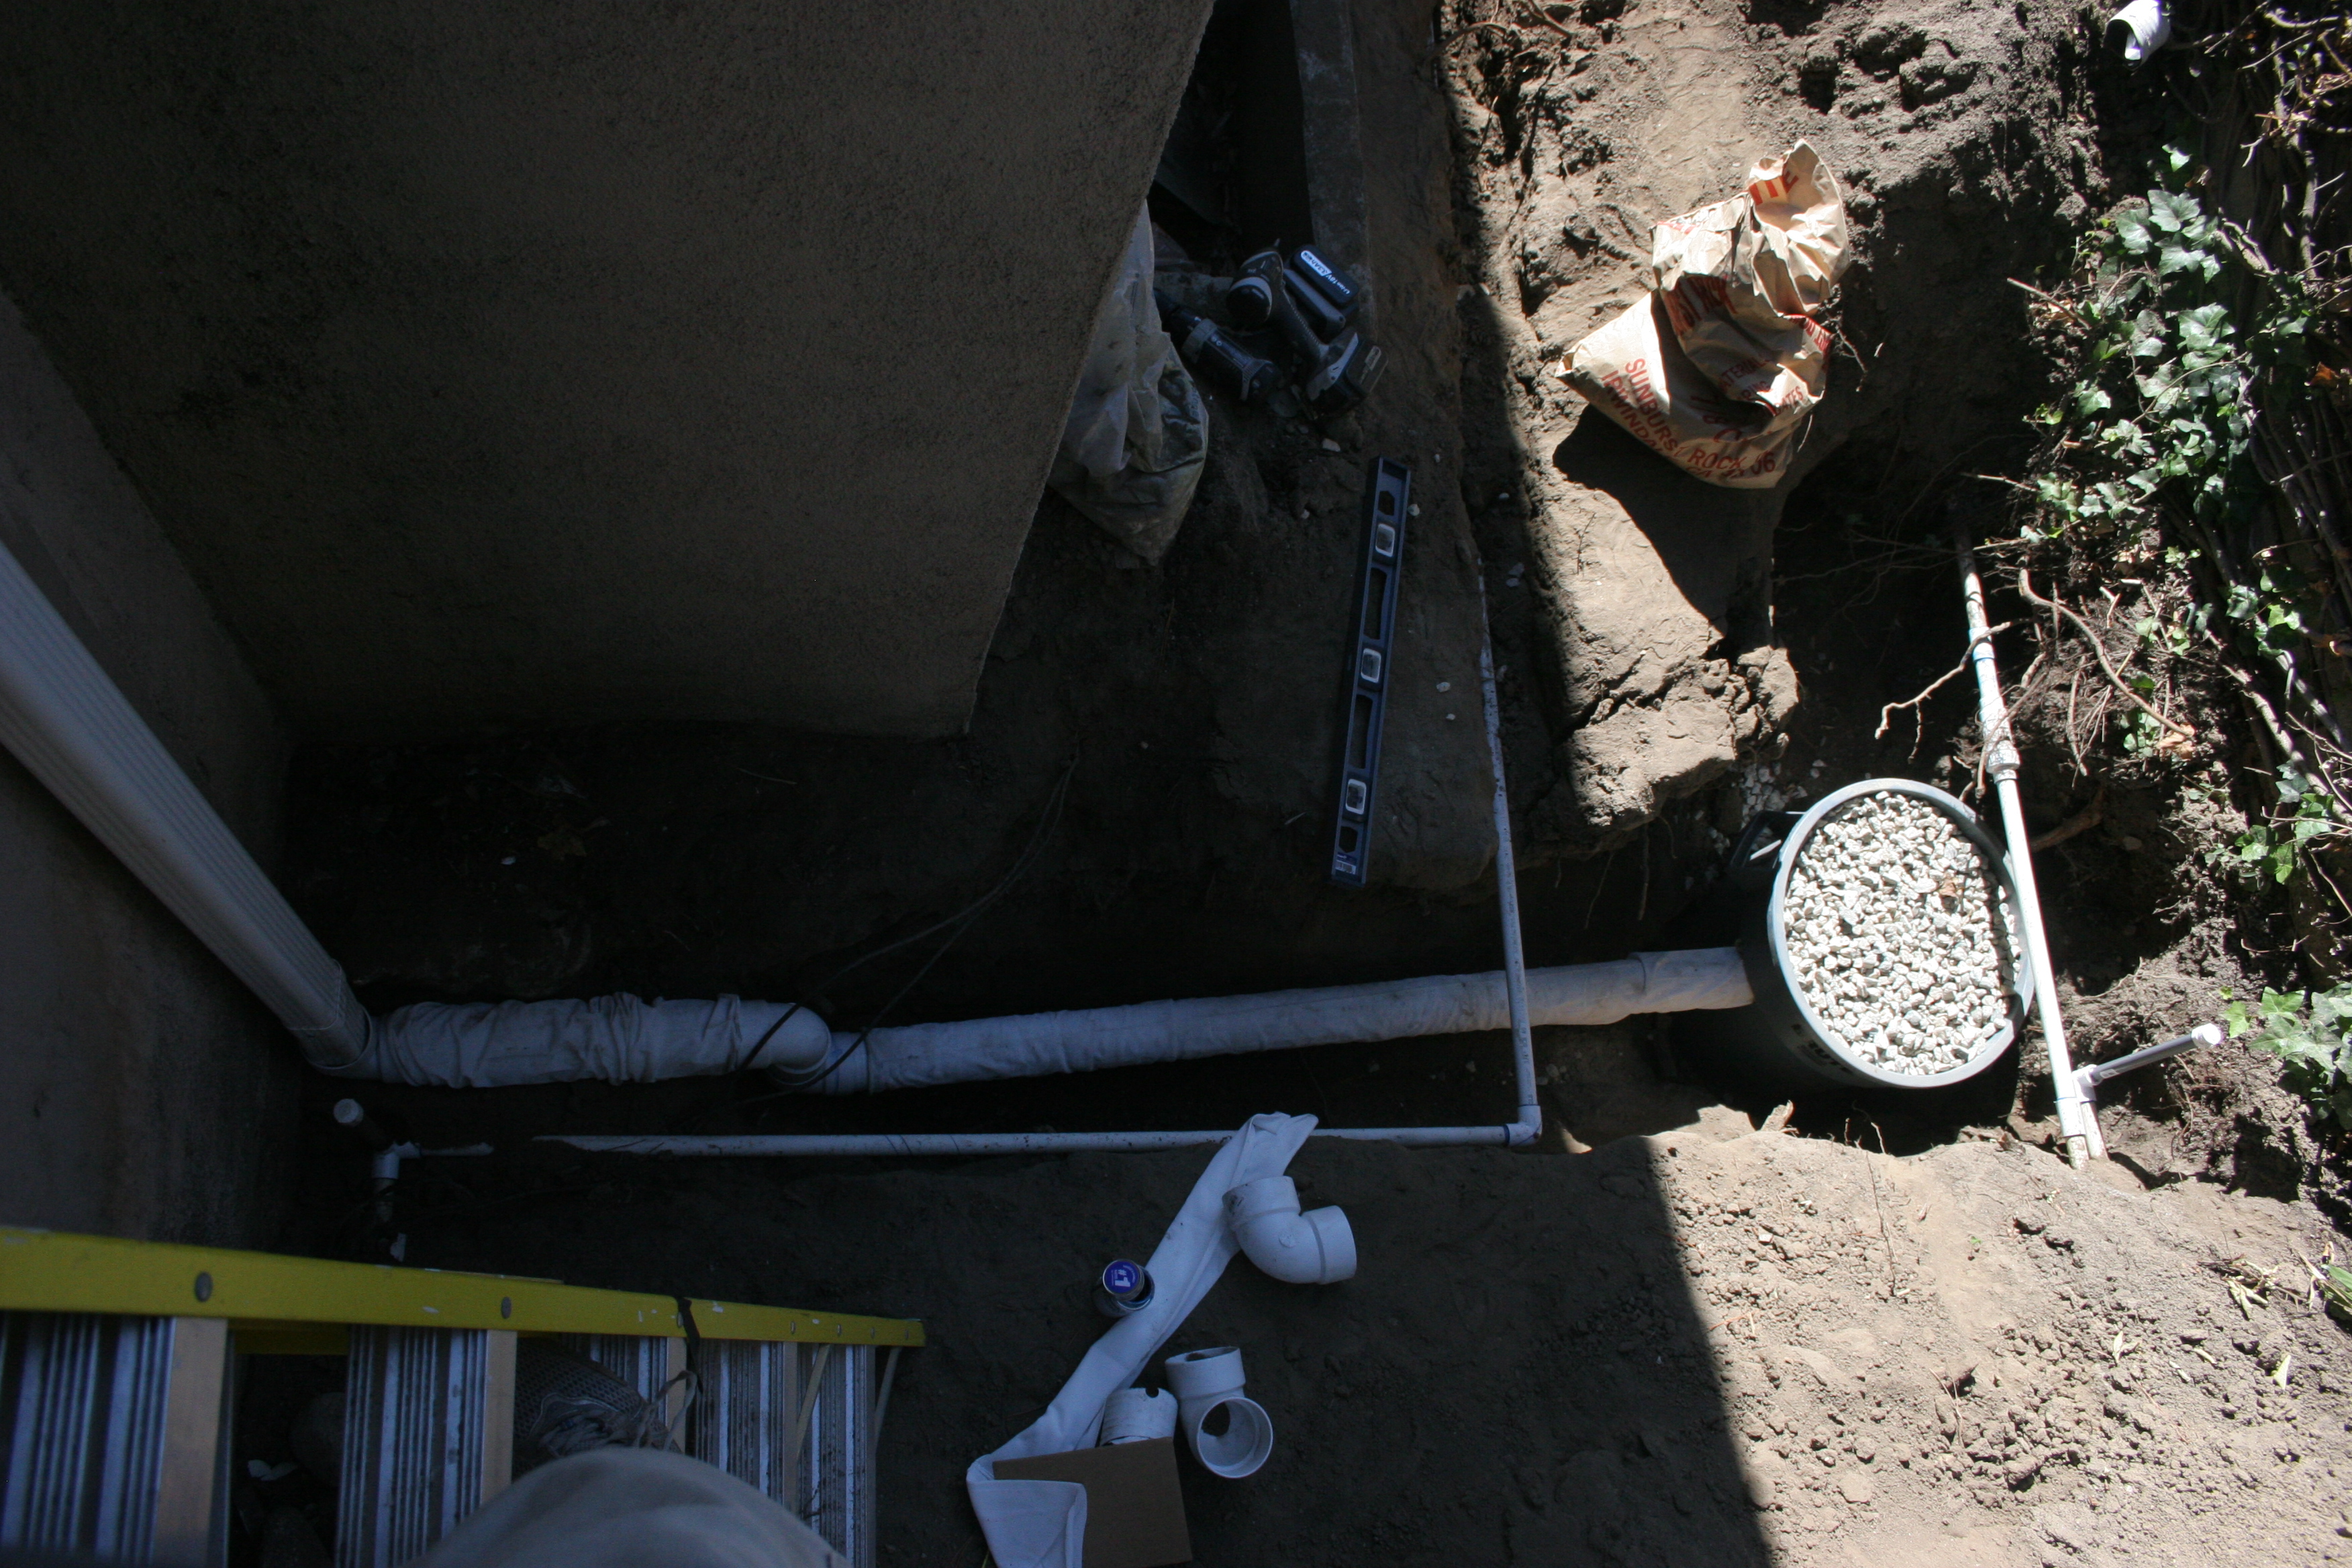
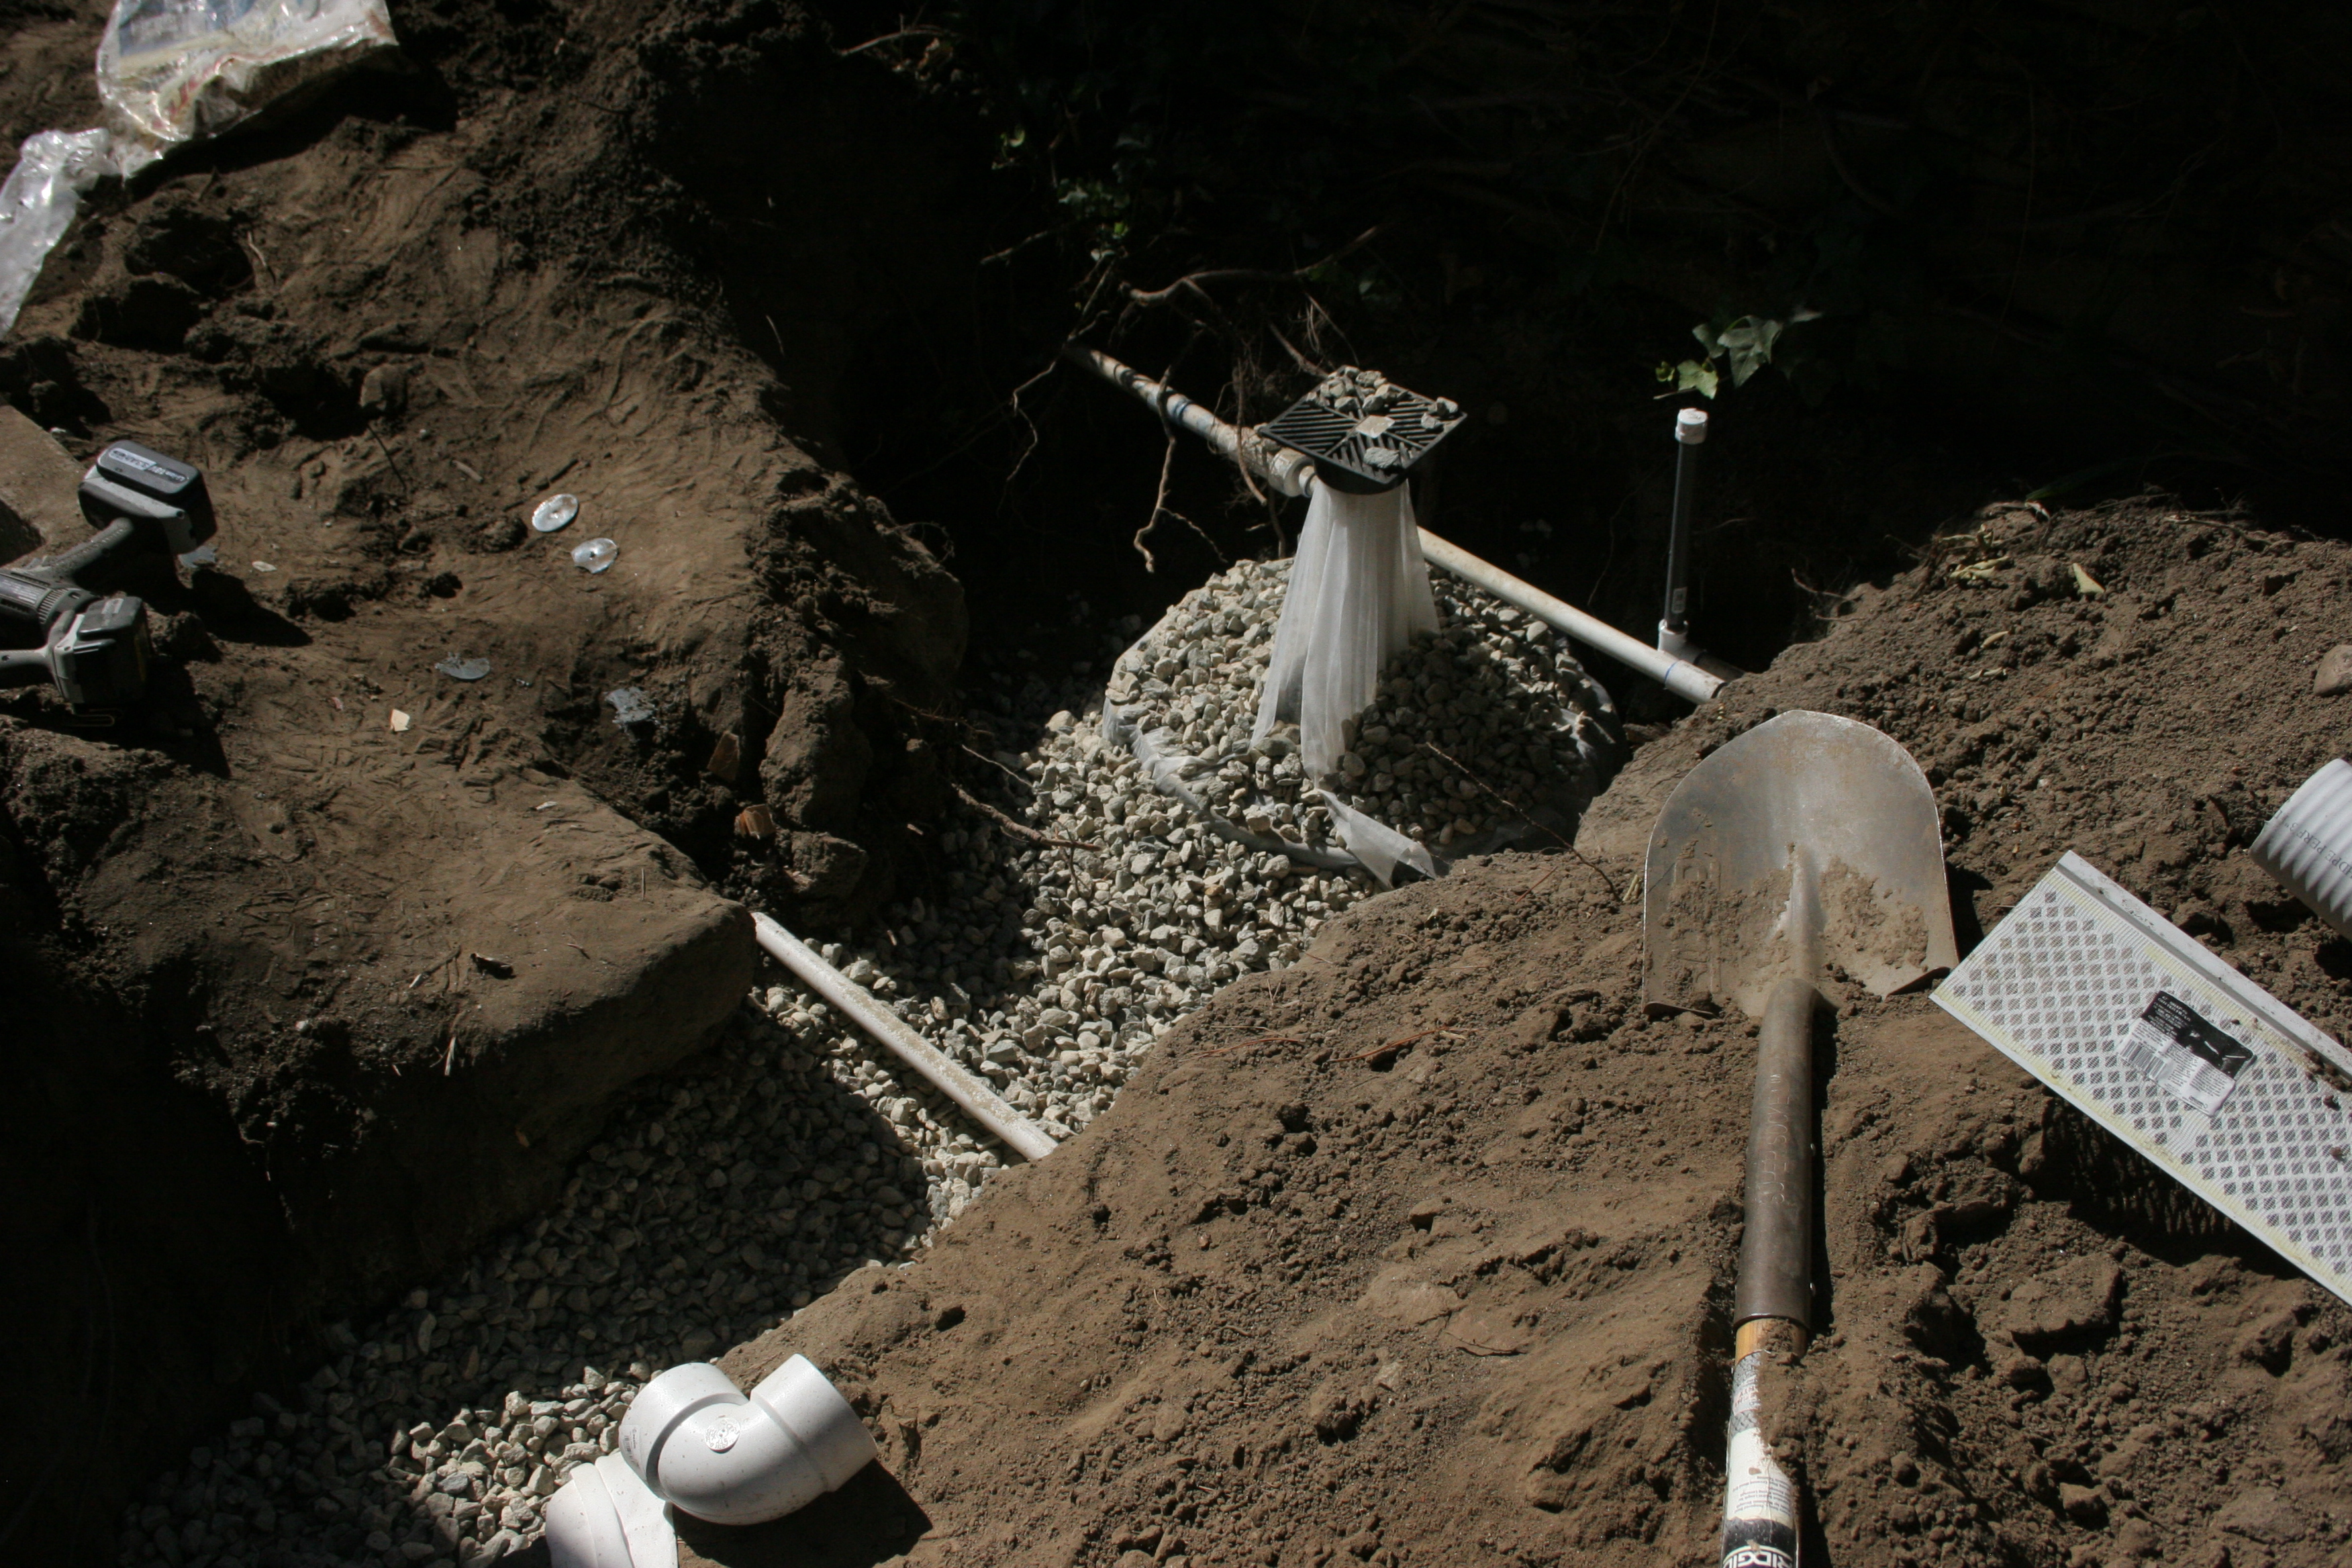
Over the years, we’ve made several additions and upgrades to the home including adding a pool. Although the pool addition significantly reduced my available yard for planting, it presented me with an opportunity to undertake my first large yard project which included landscape design, planting, ground prep and laying sod and installing sprinkler systems, low-wattage yard lighting and a French drain and dry well.

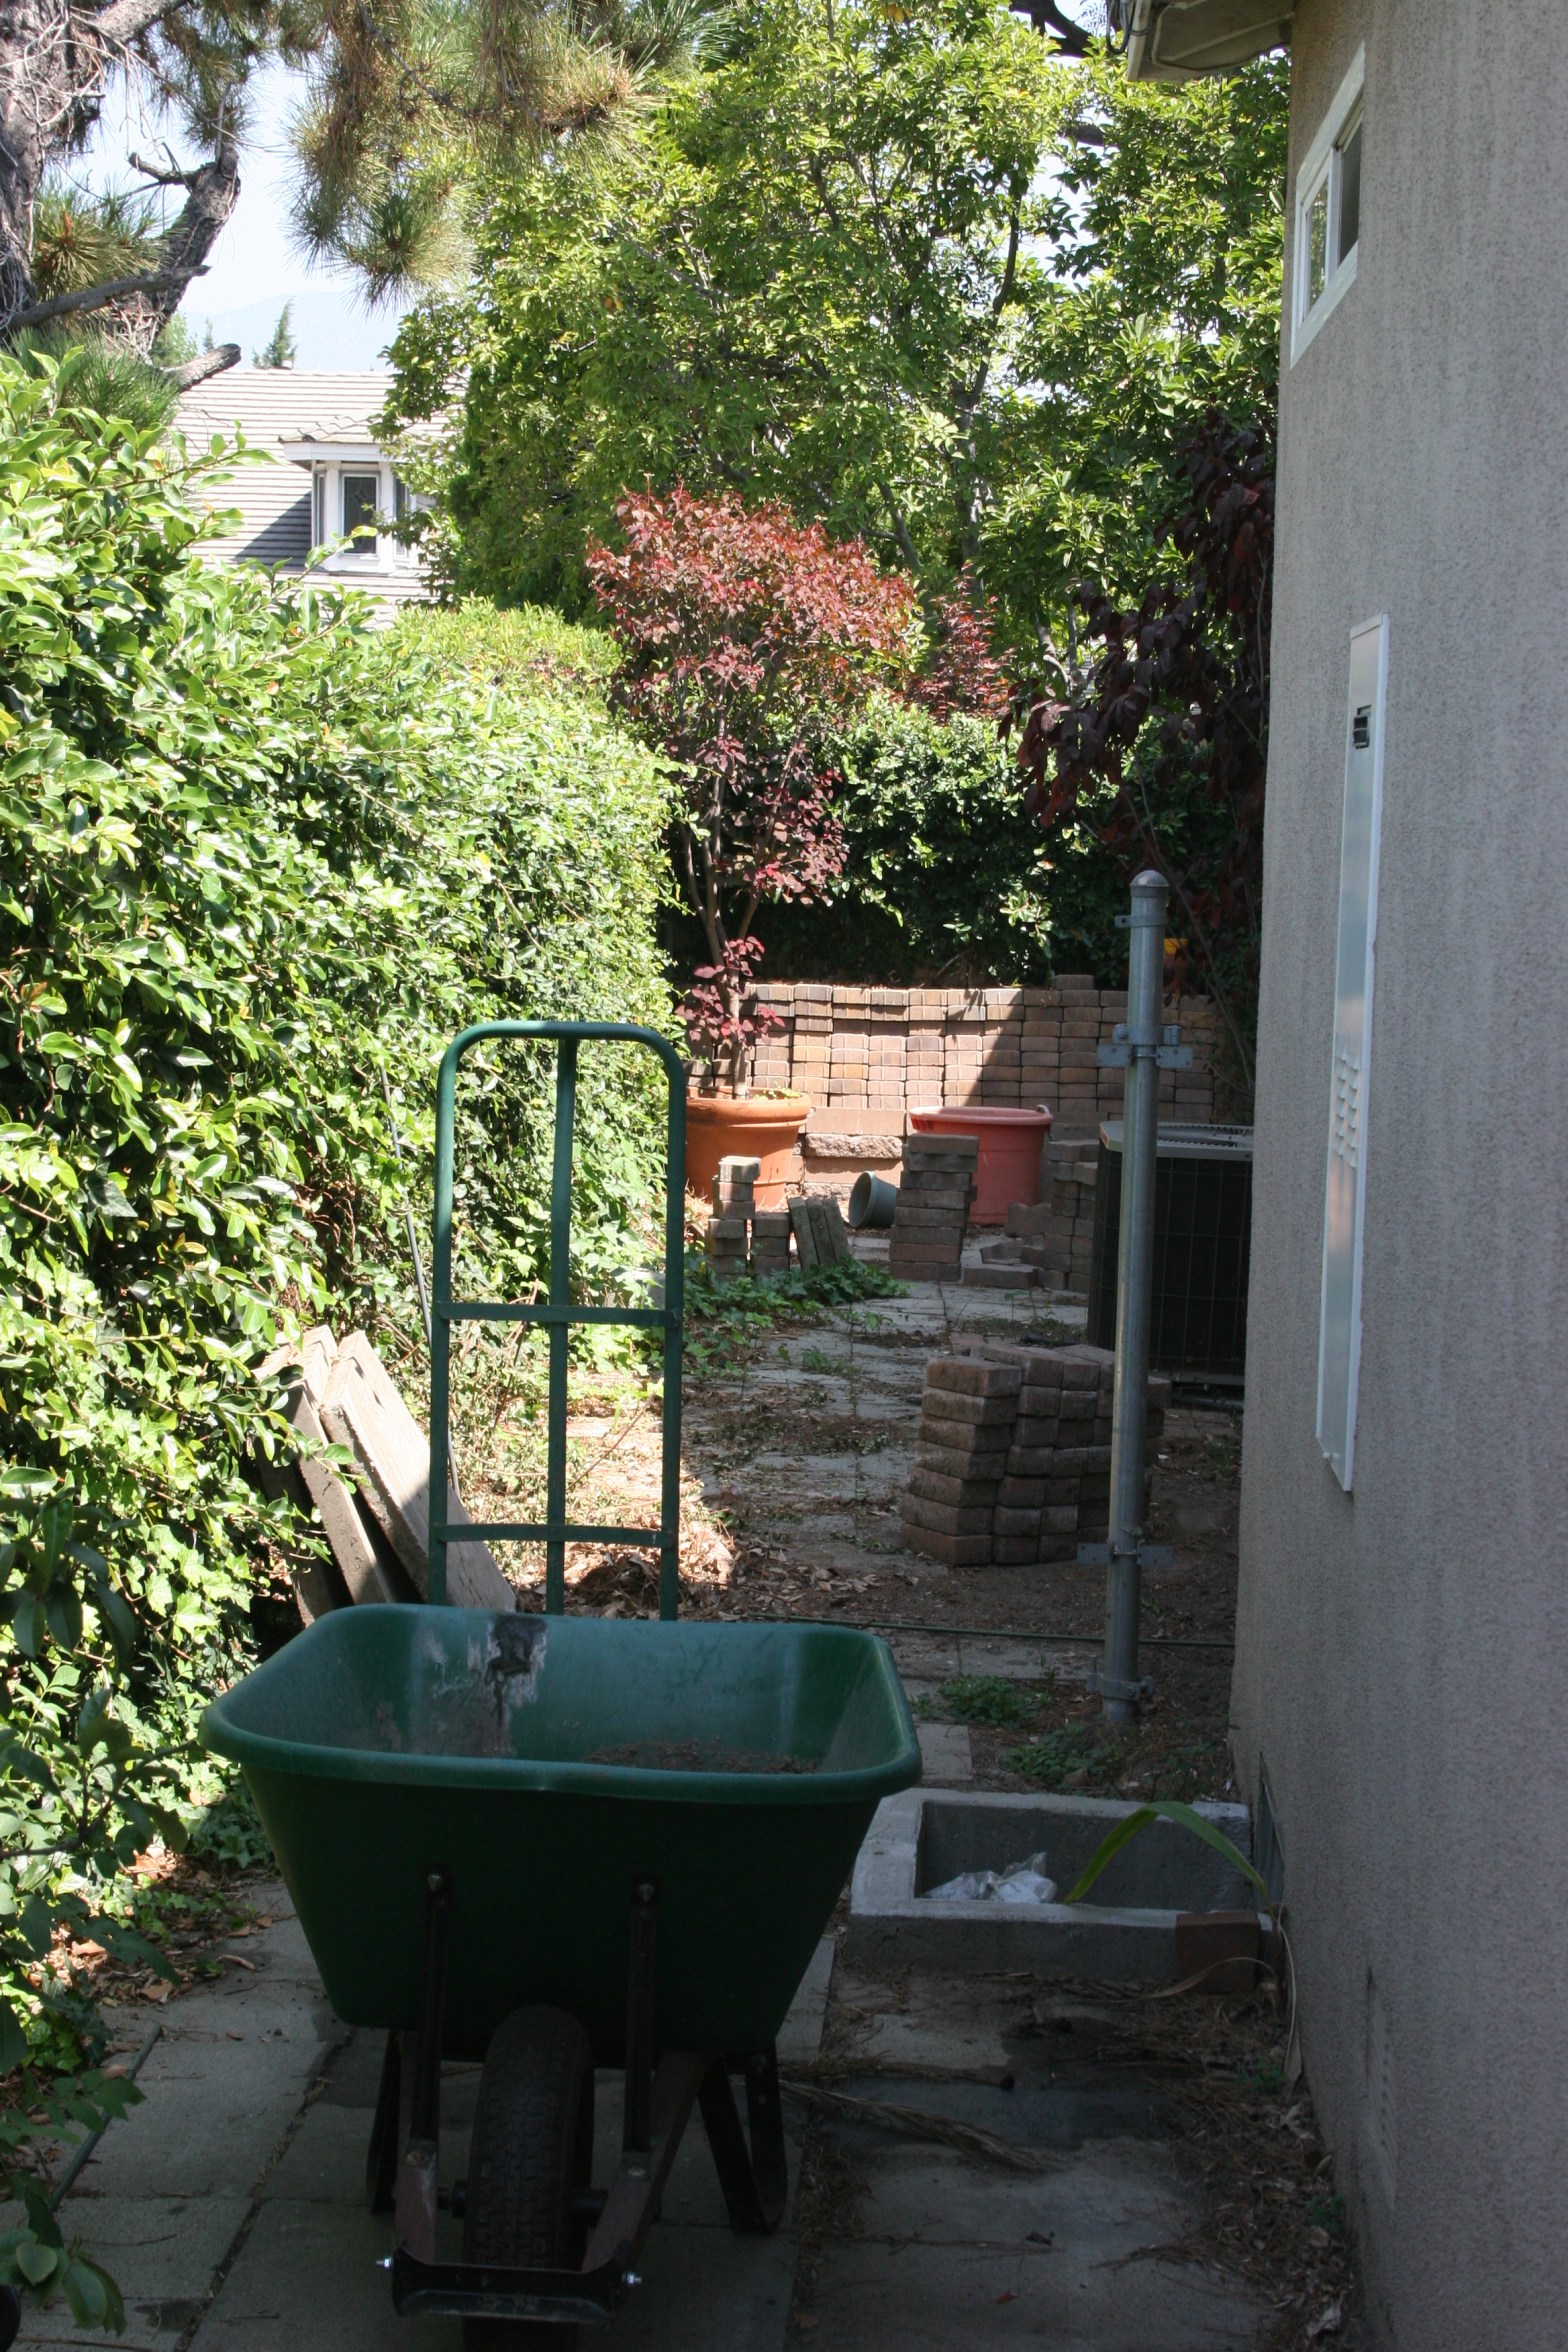
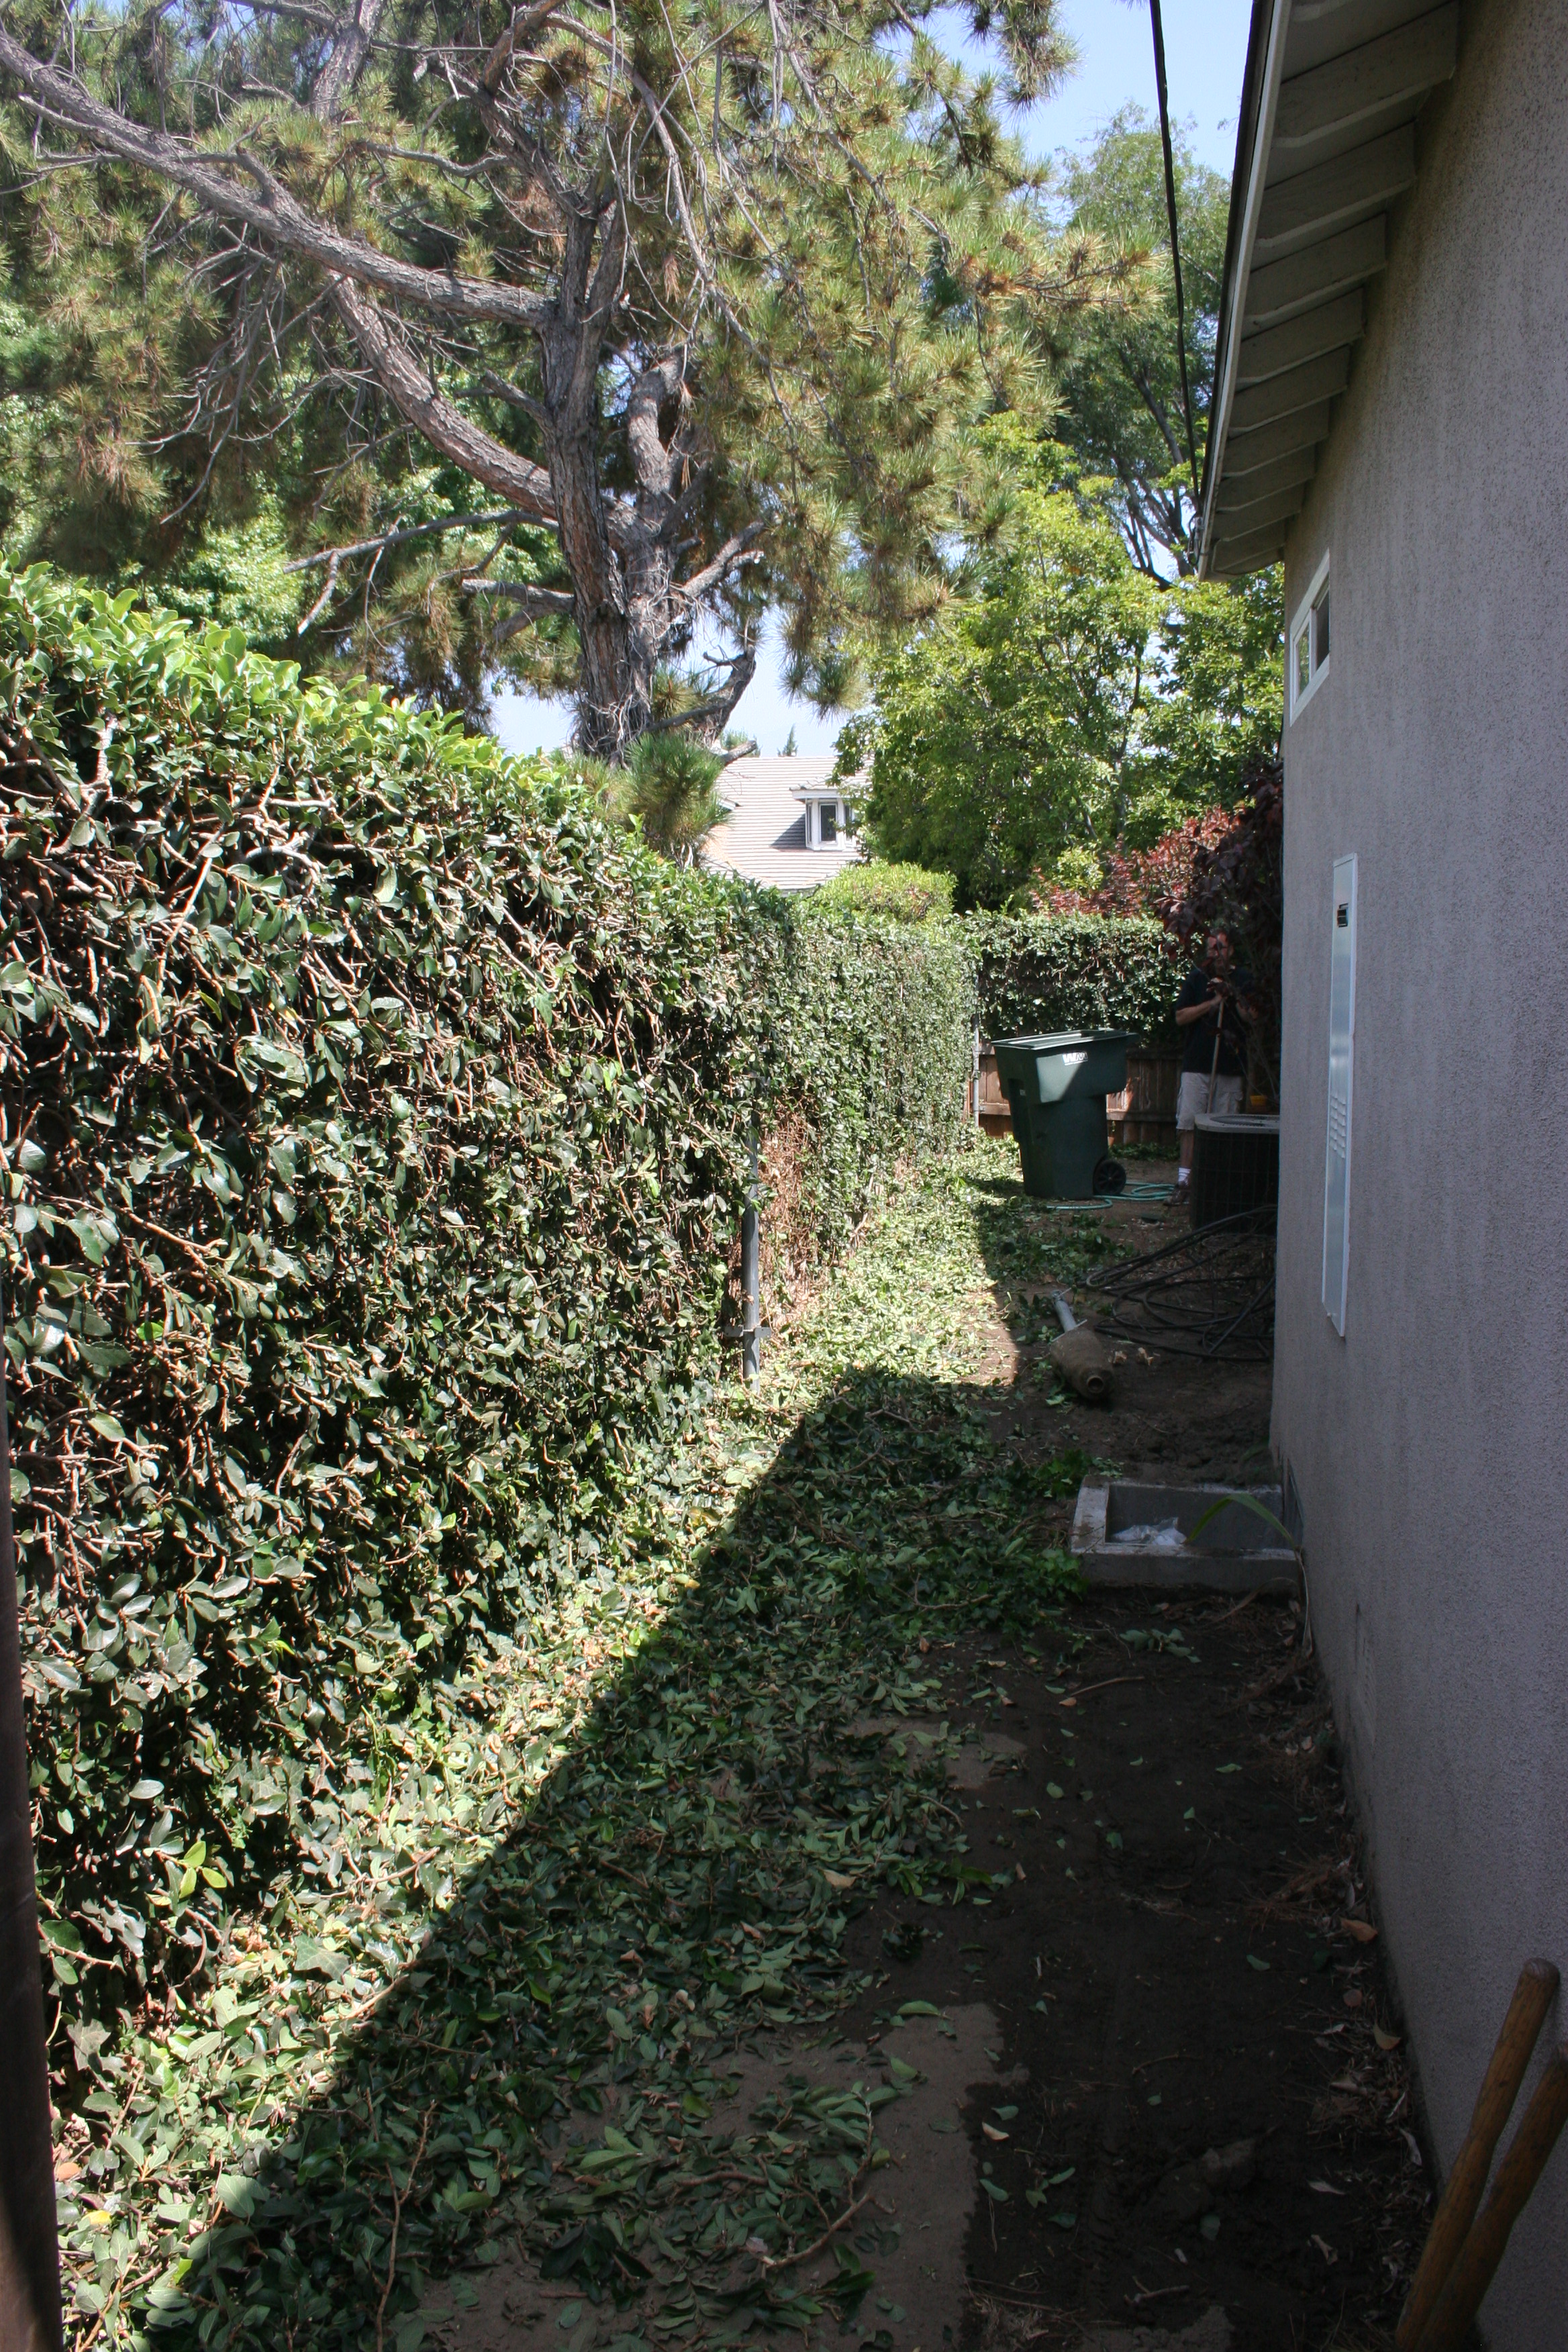
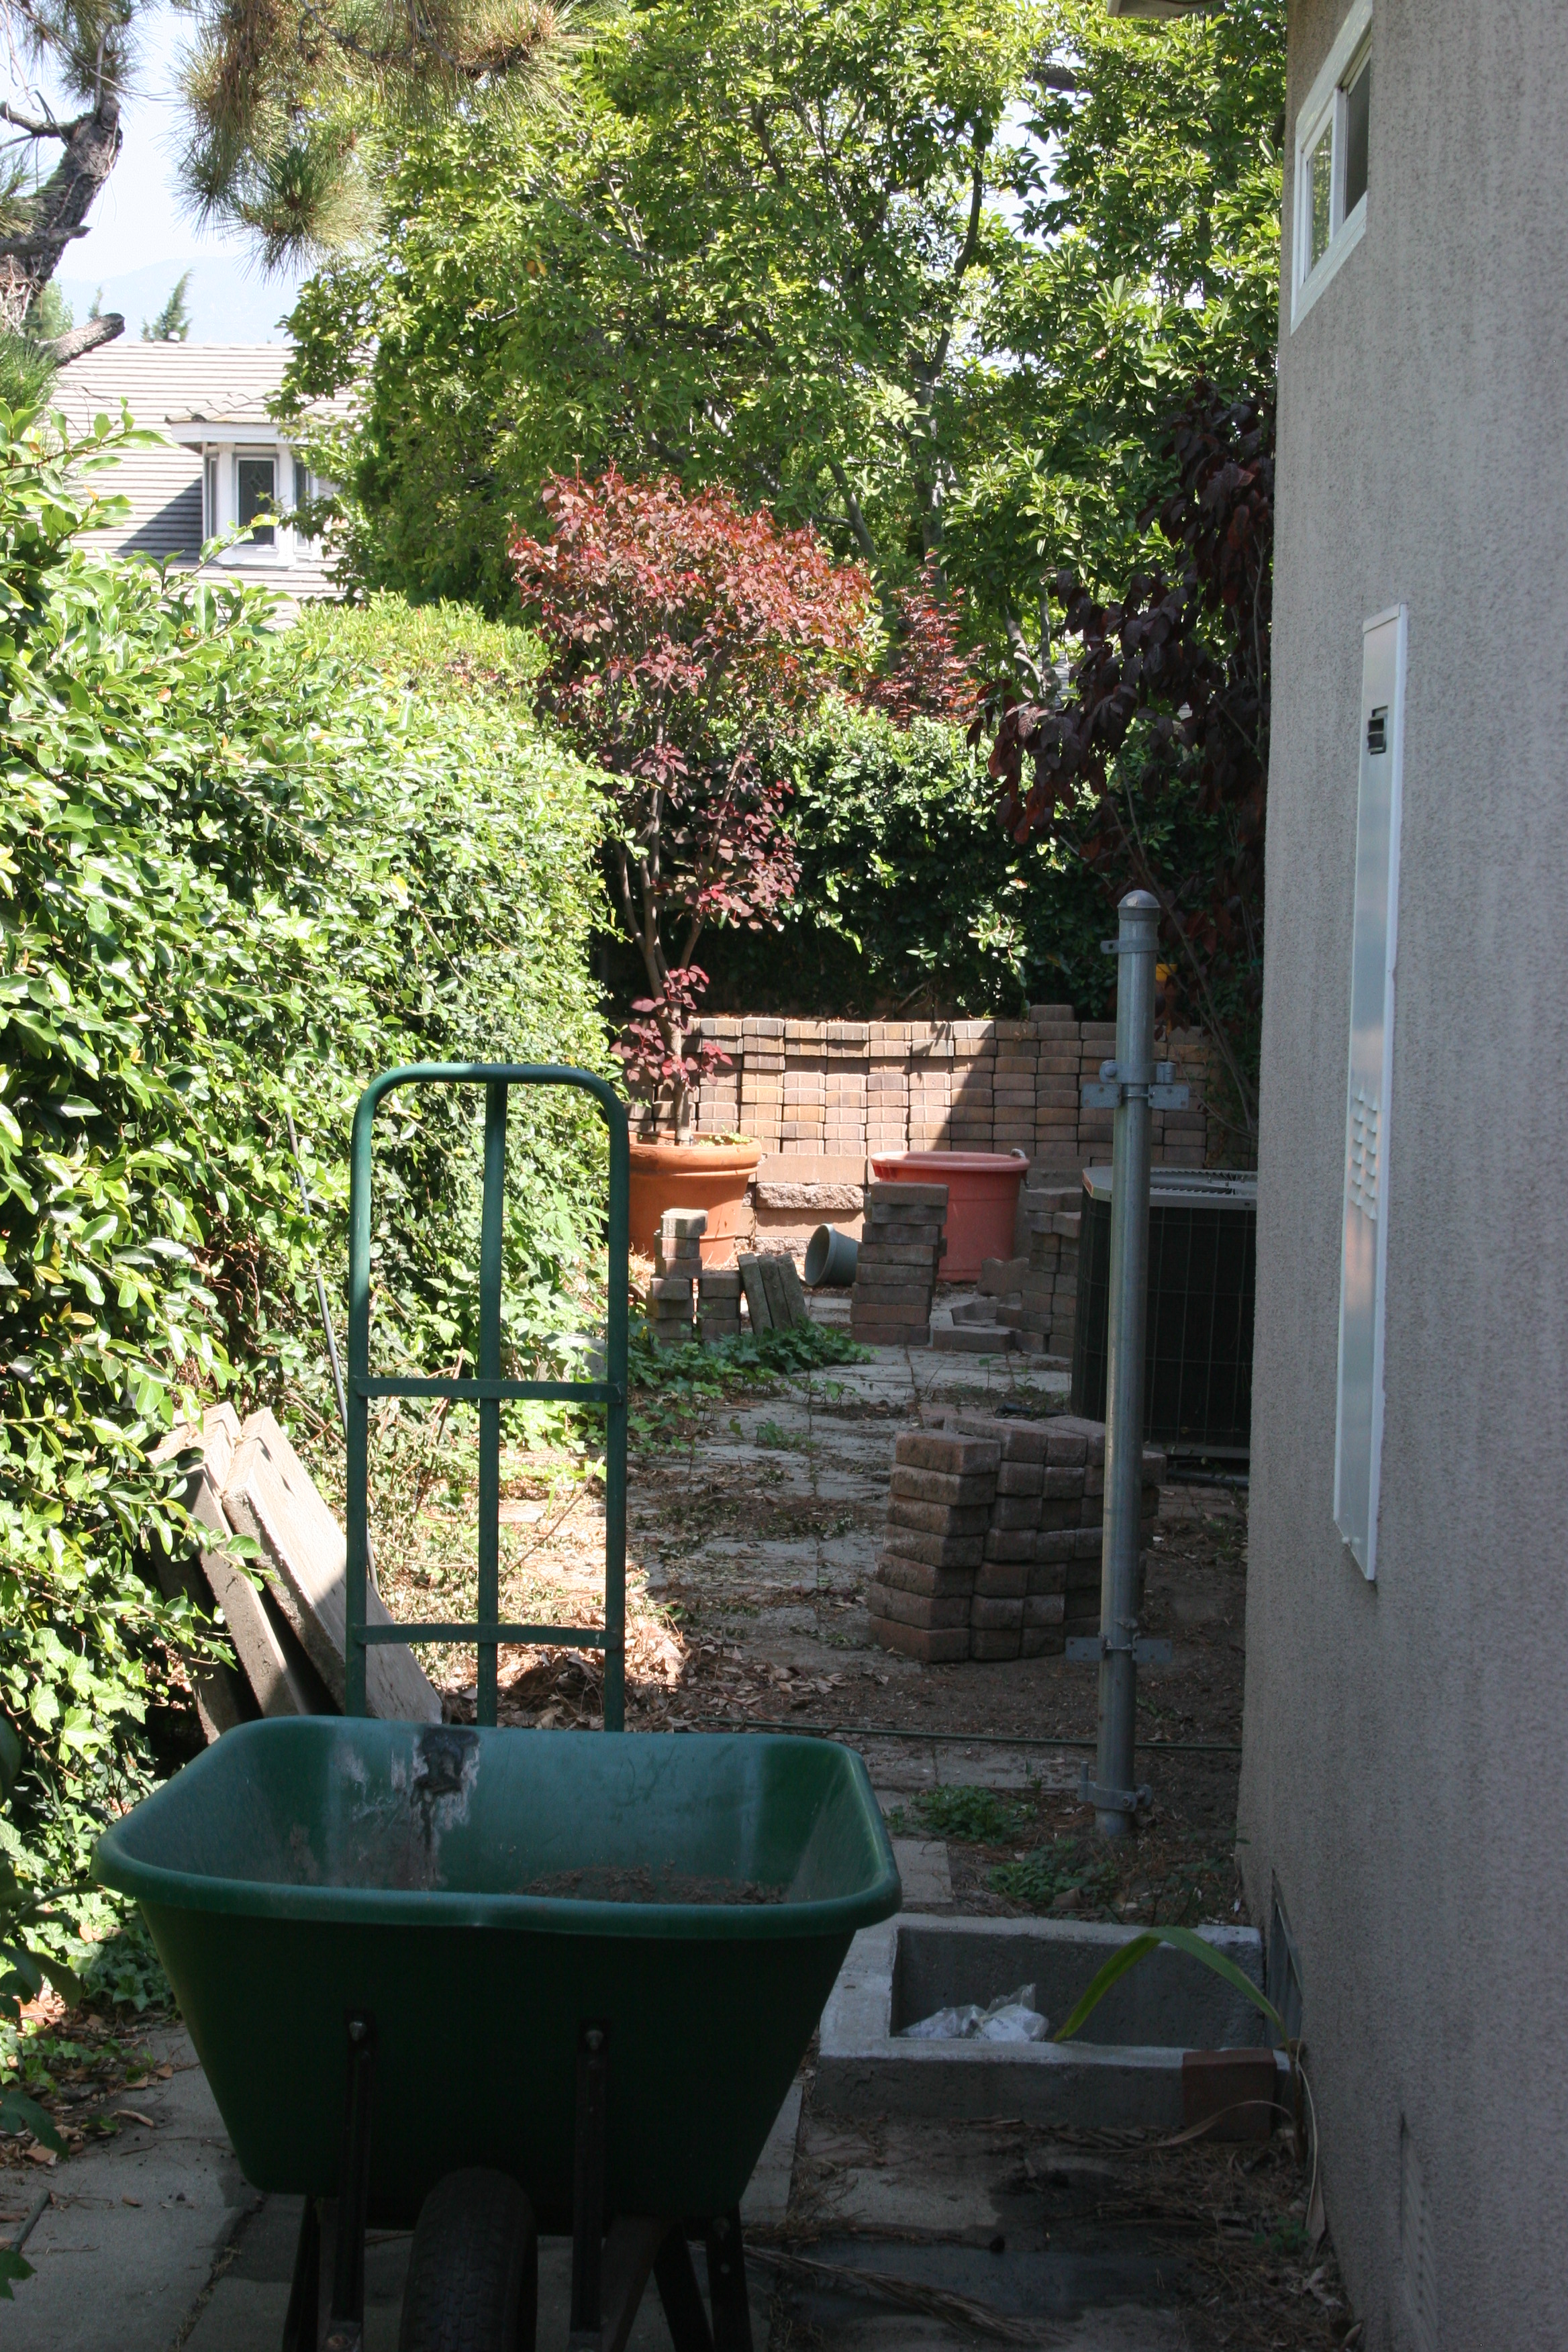
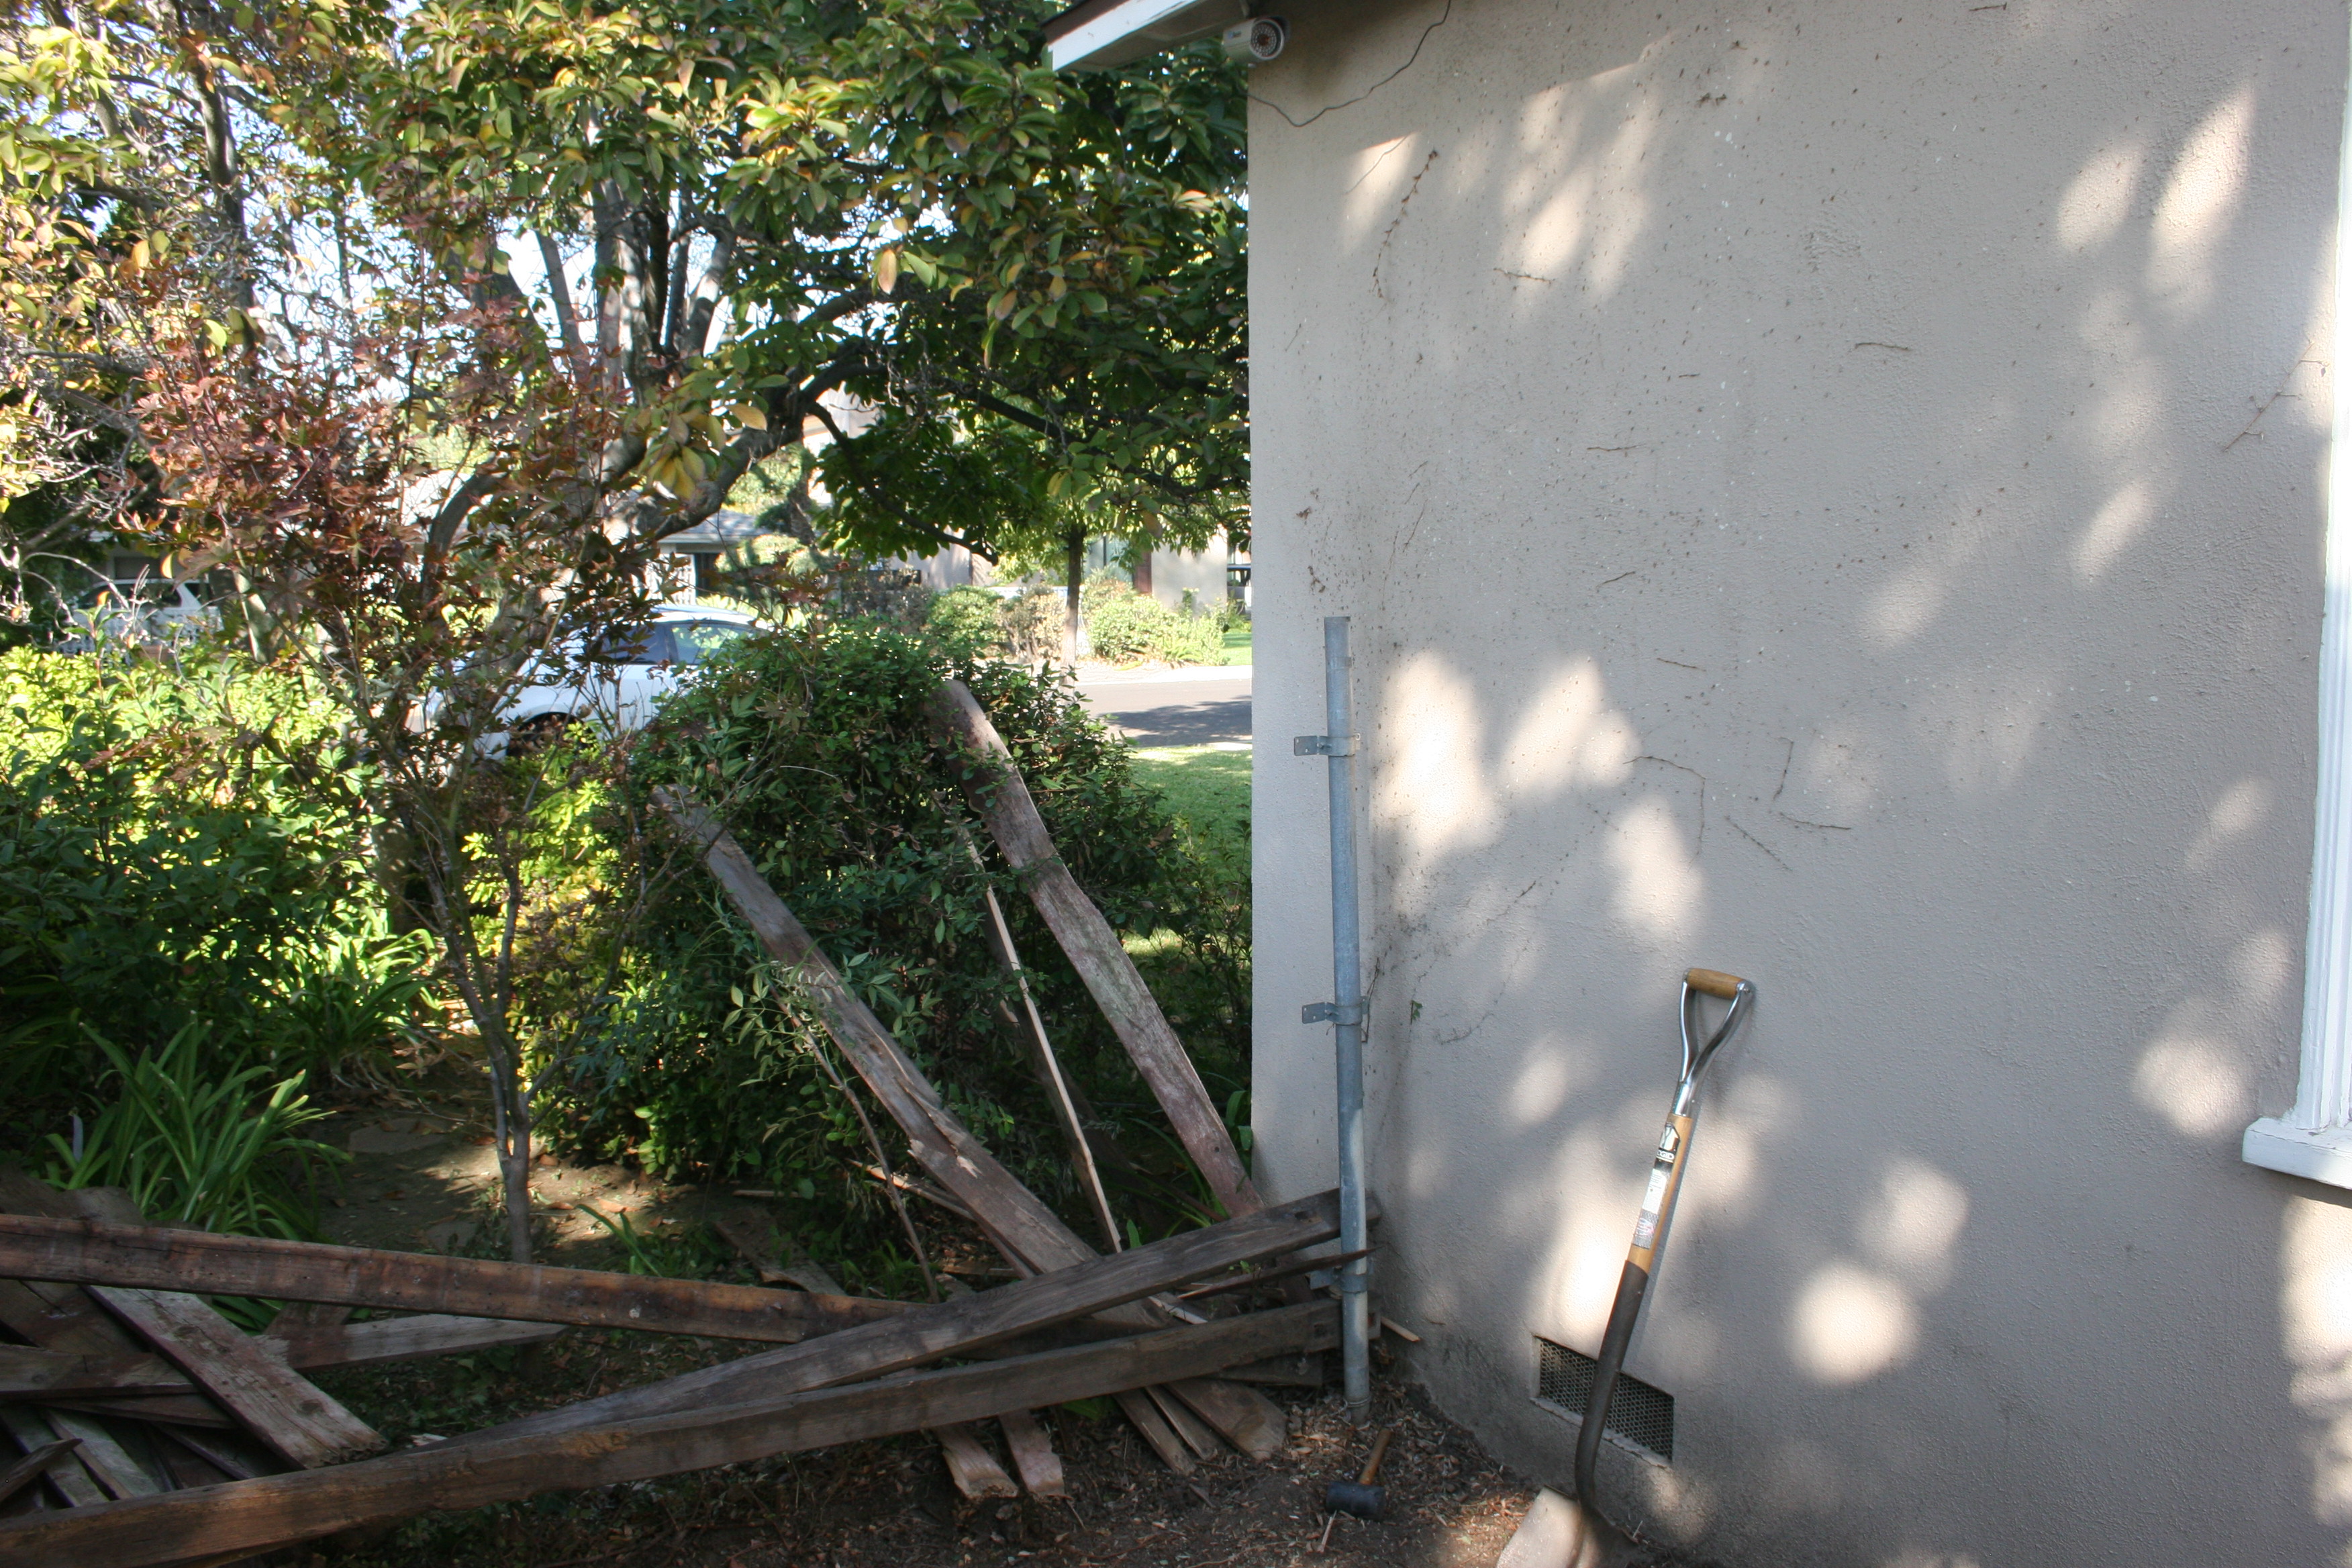
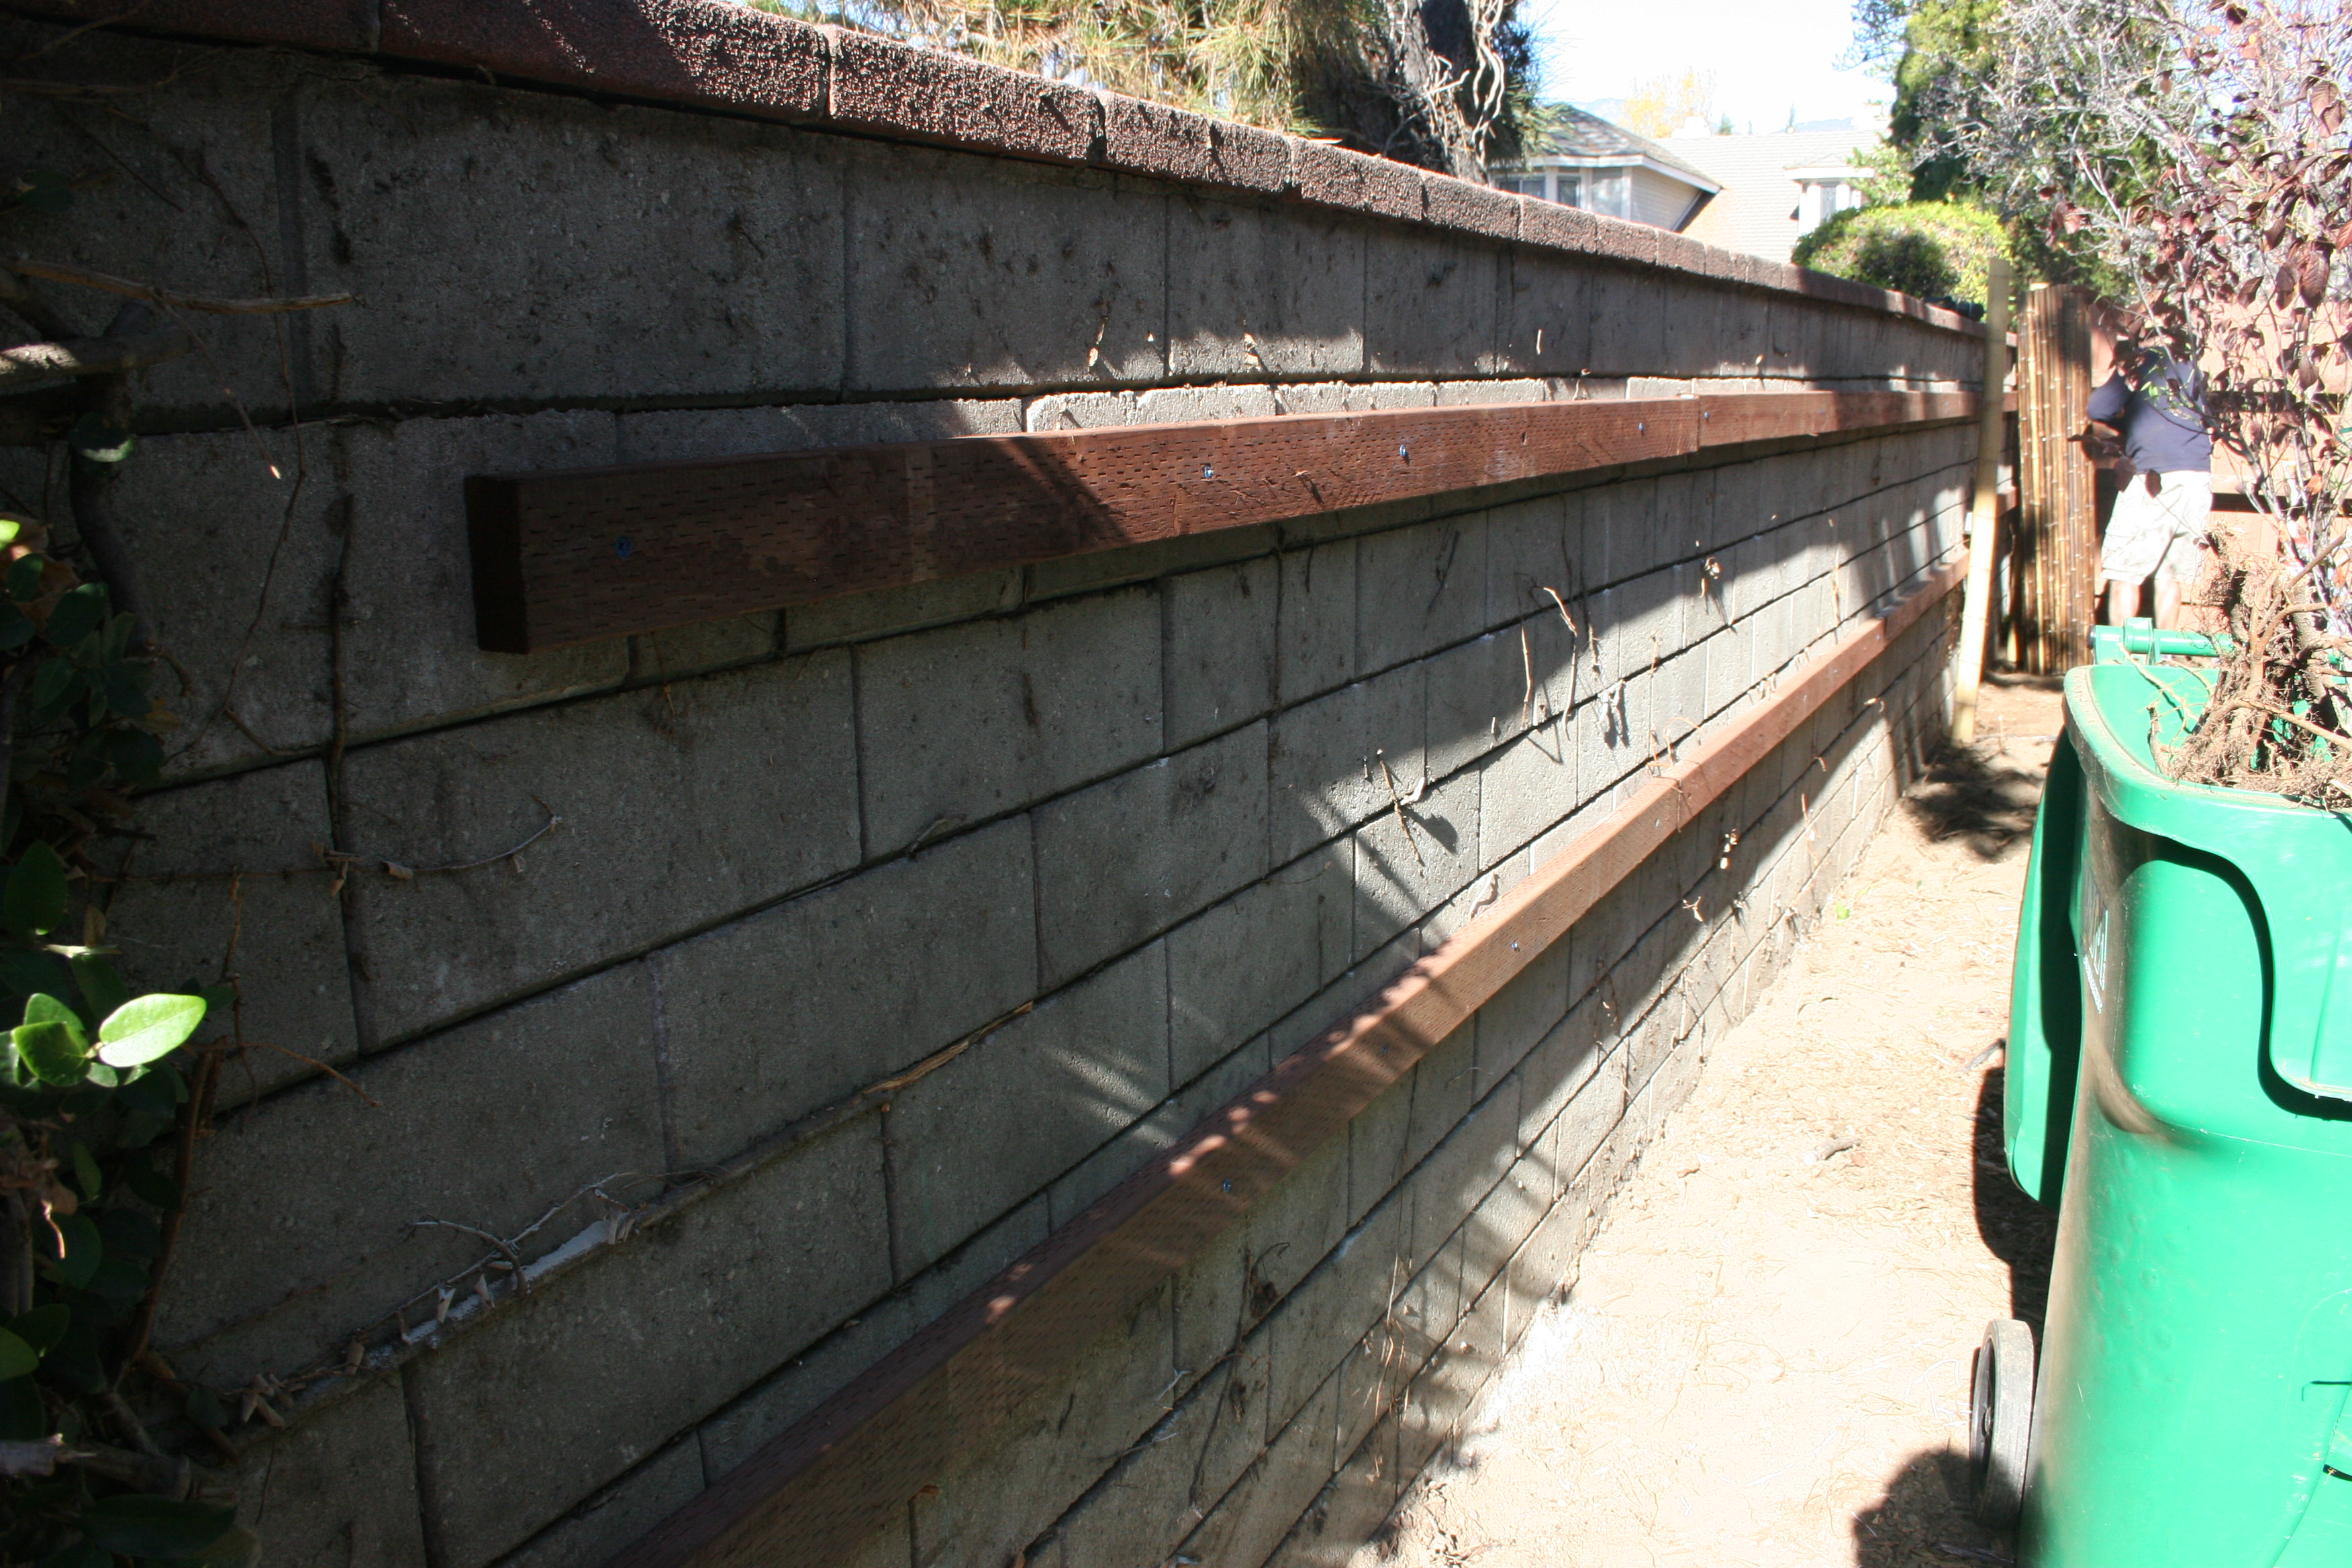
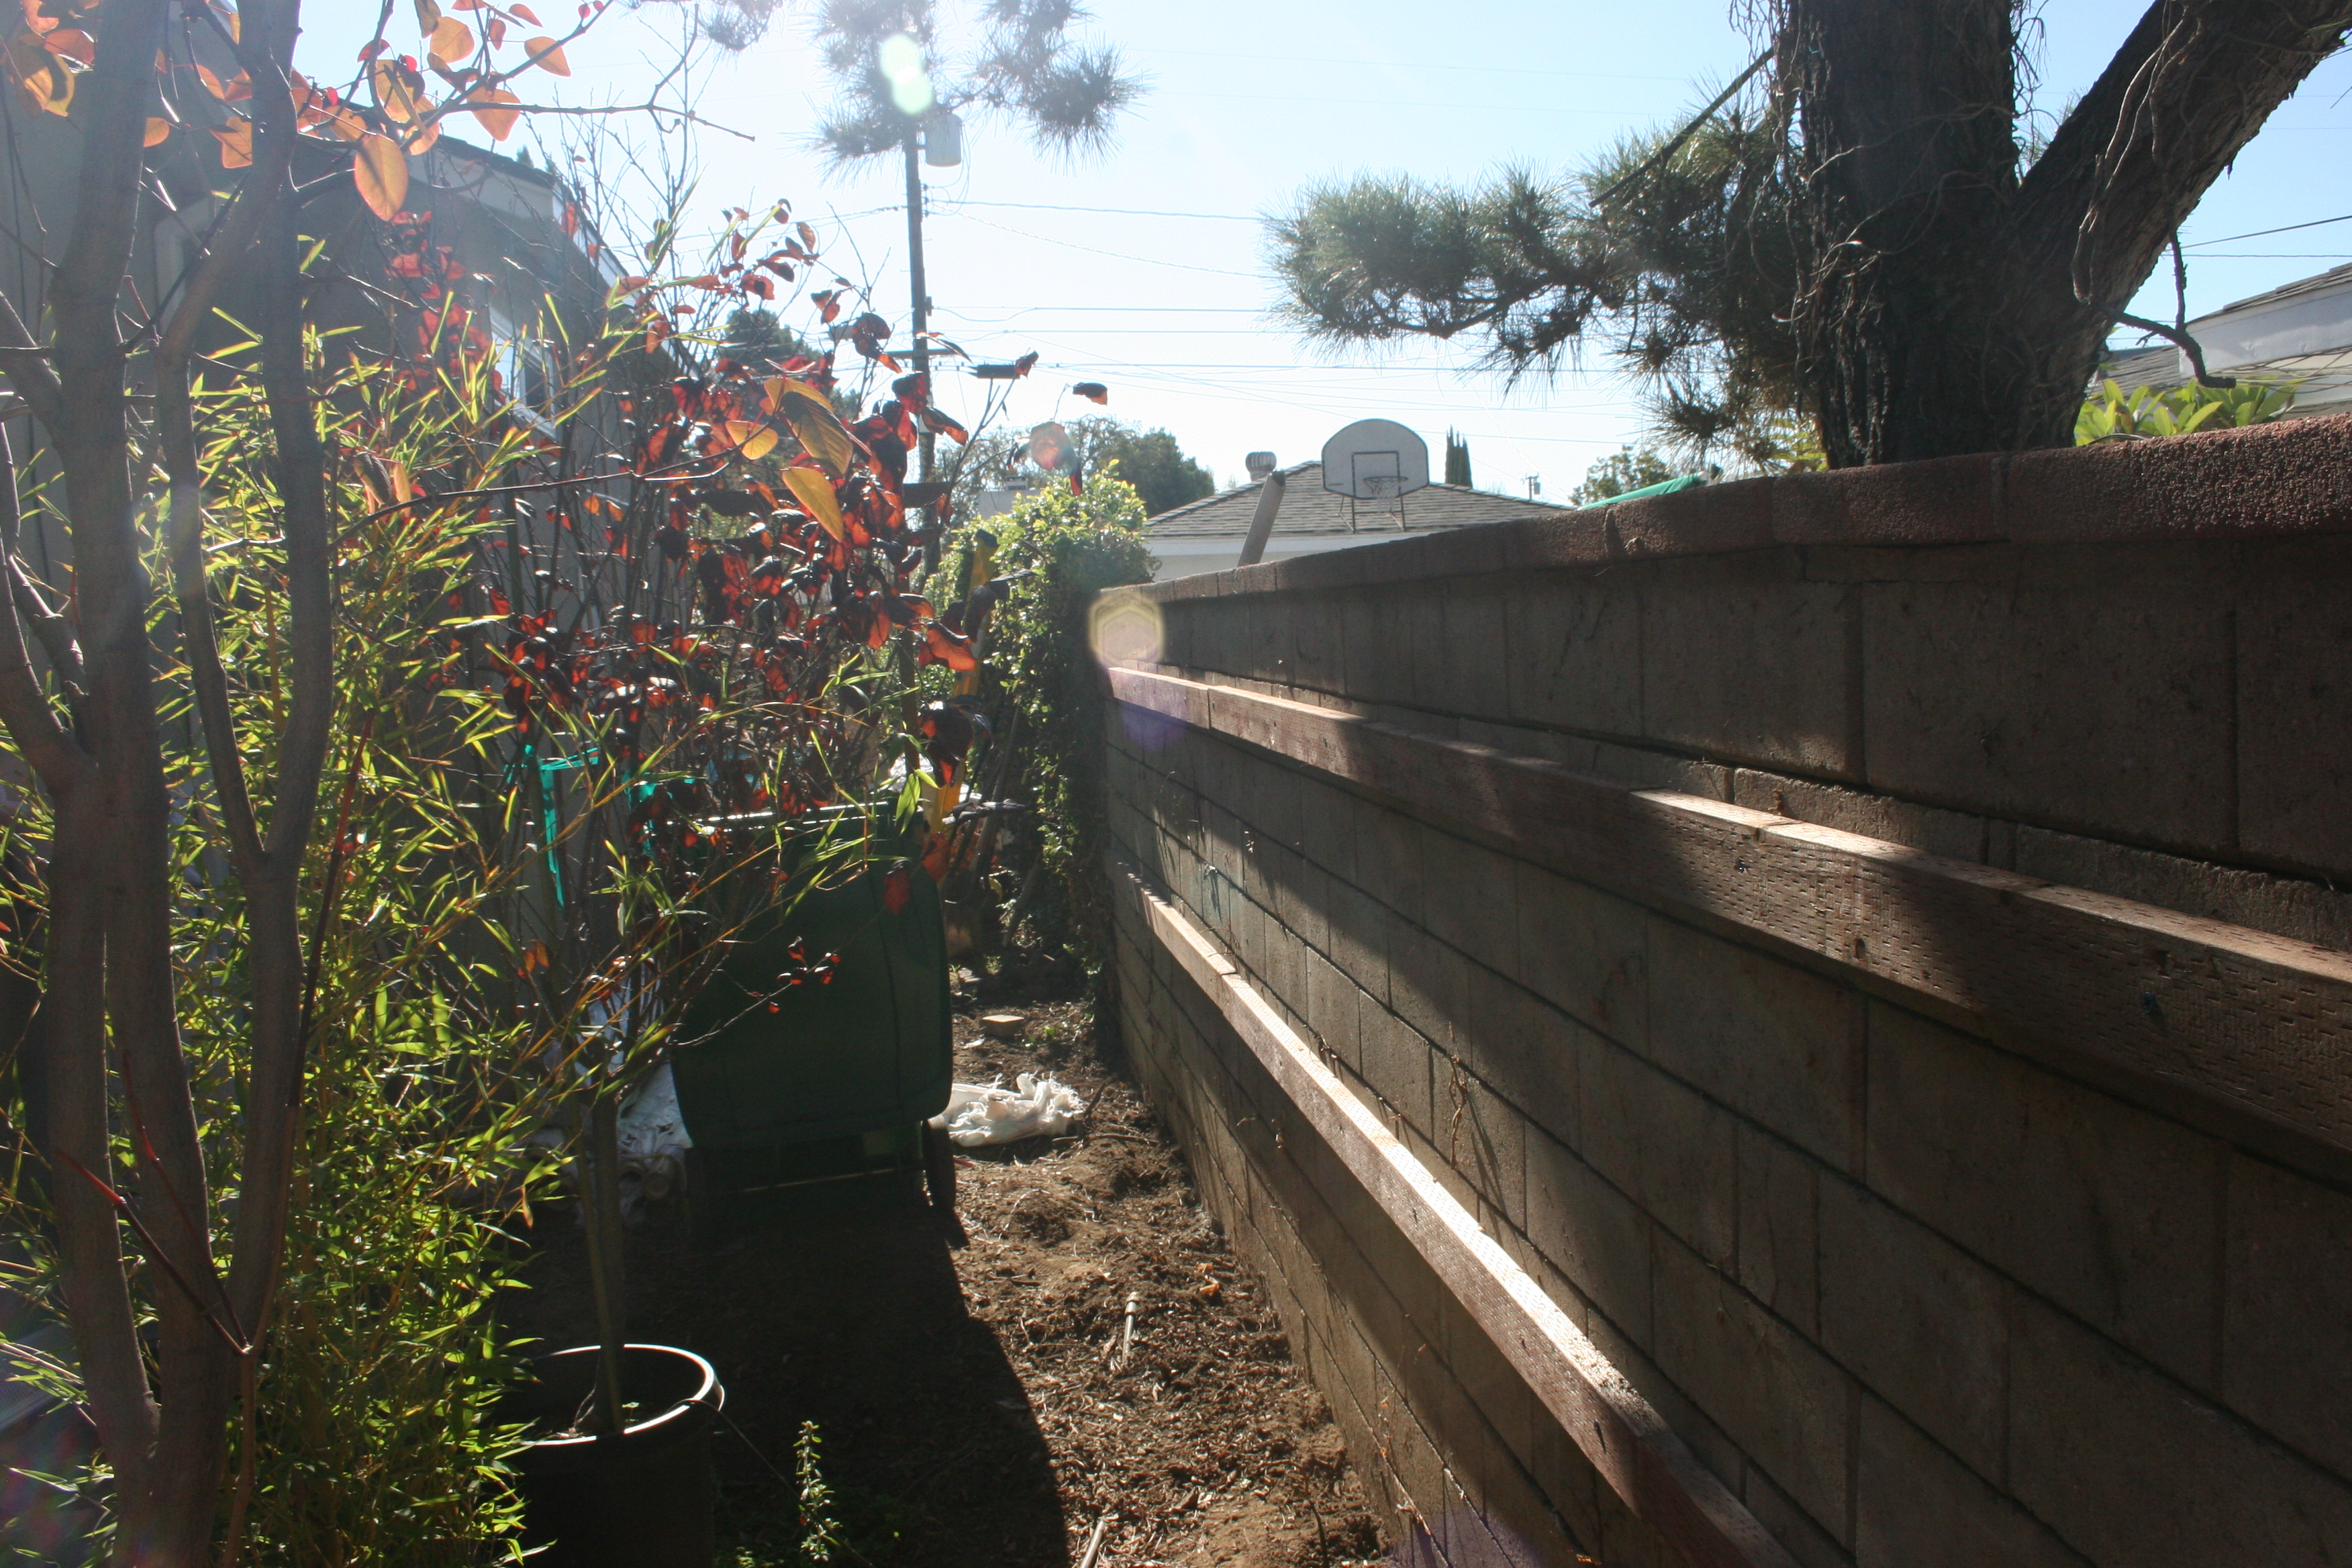
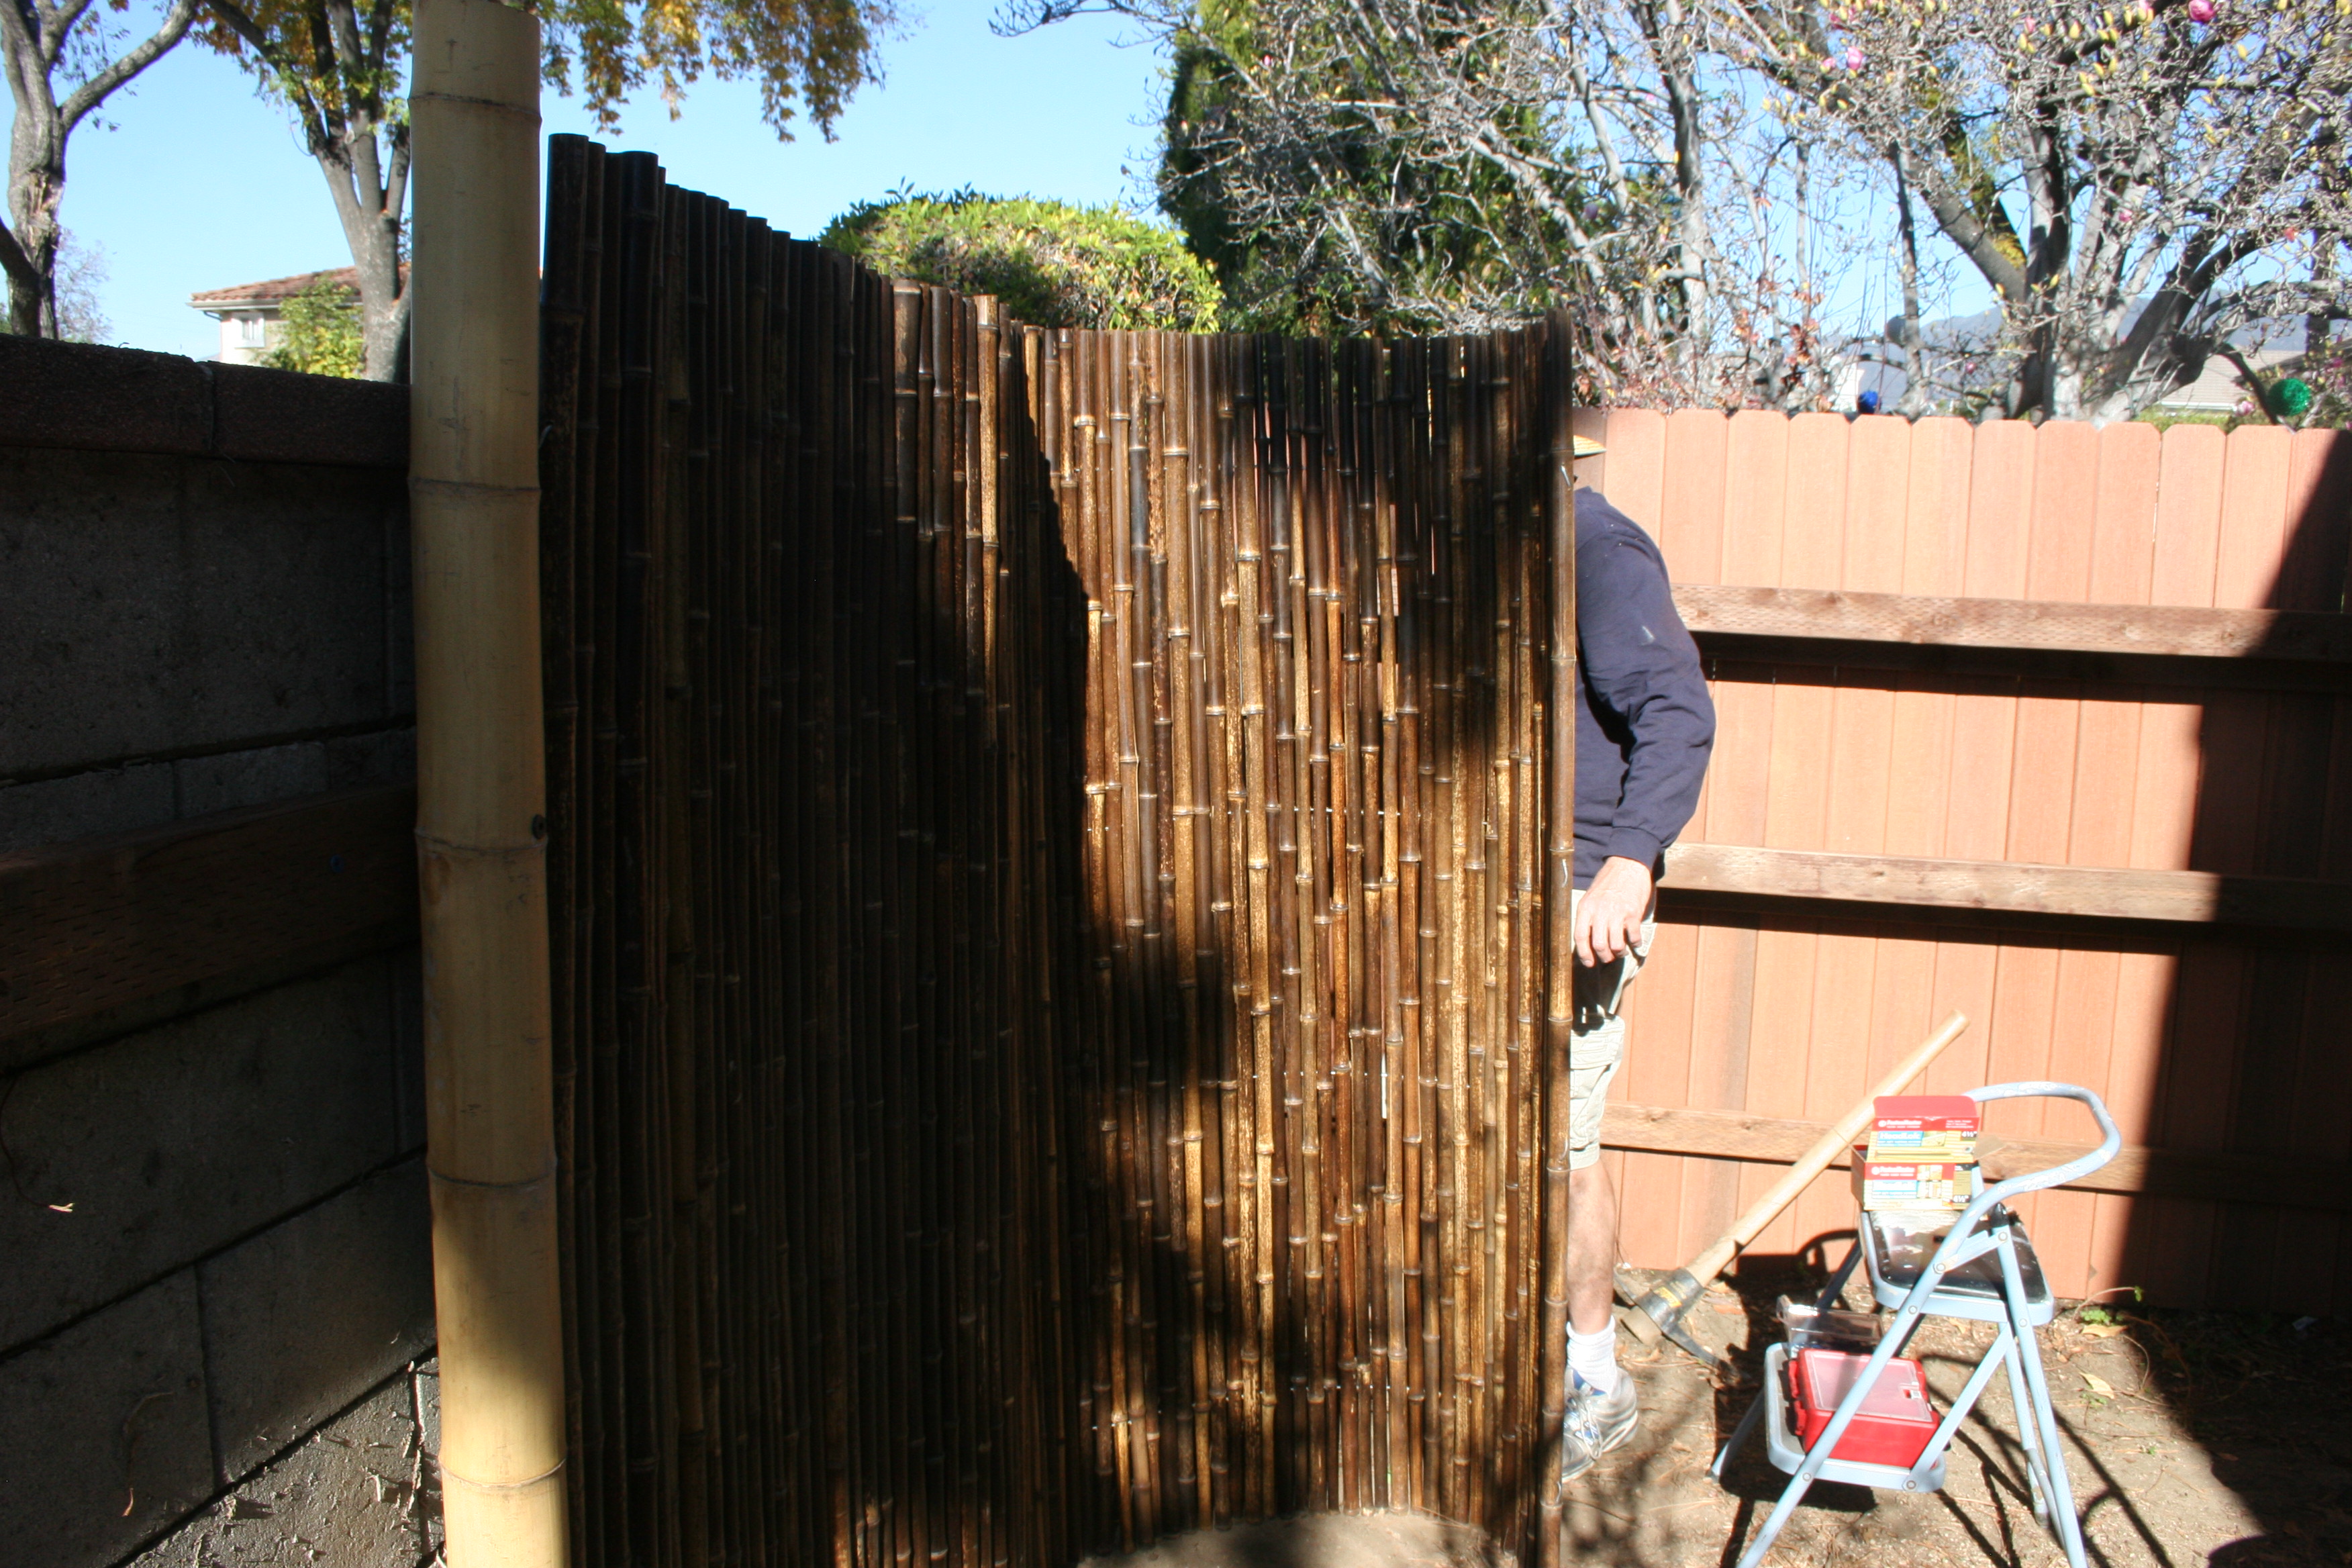
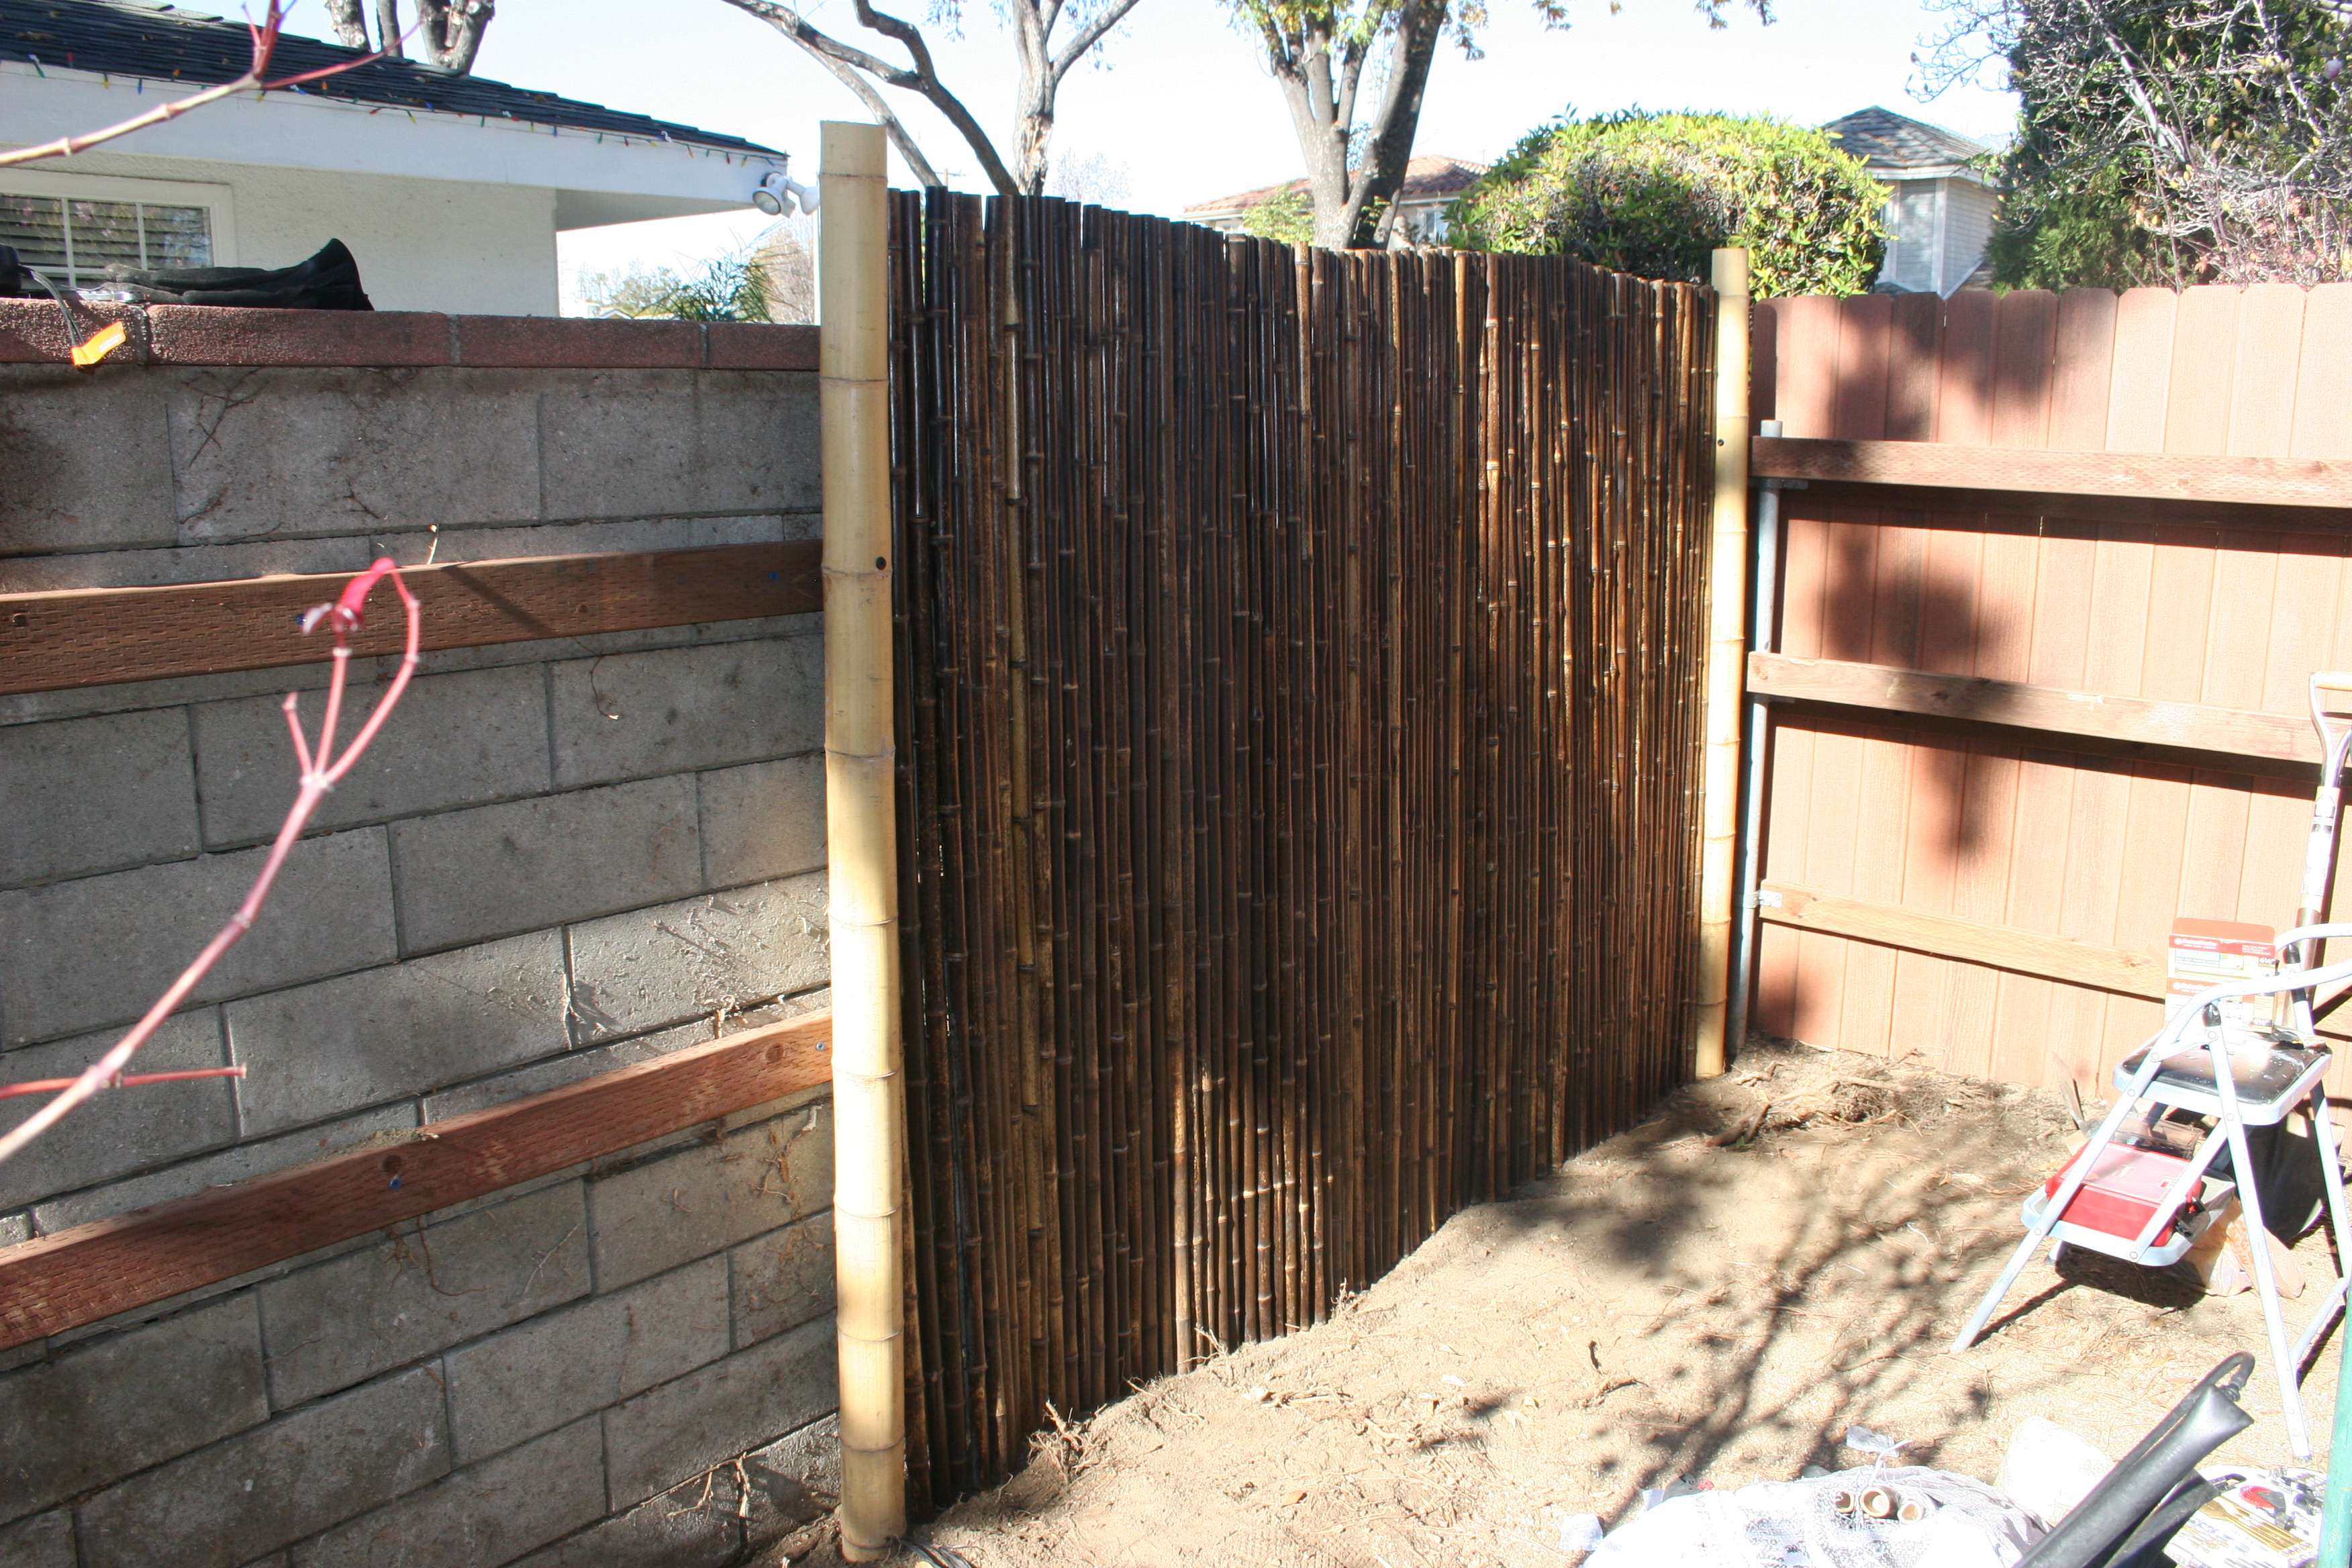
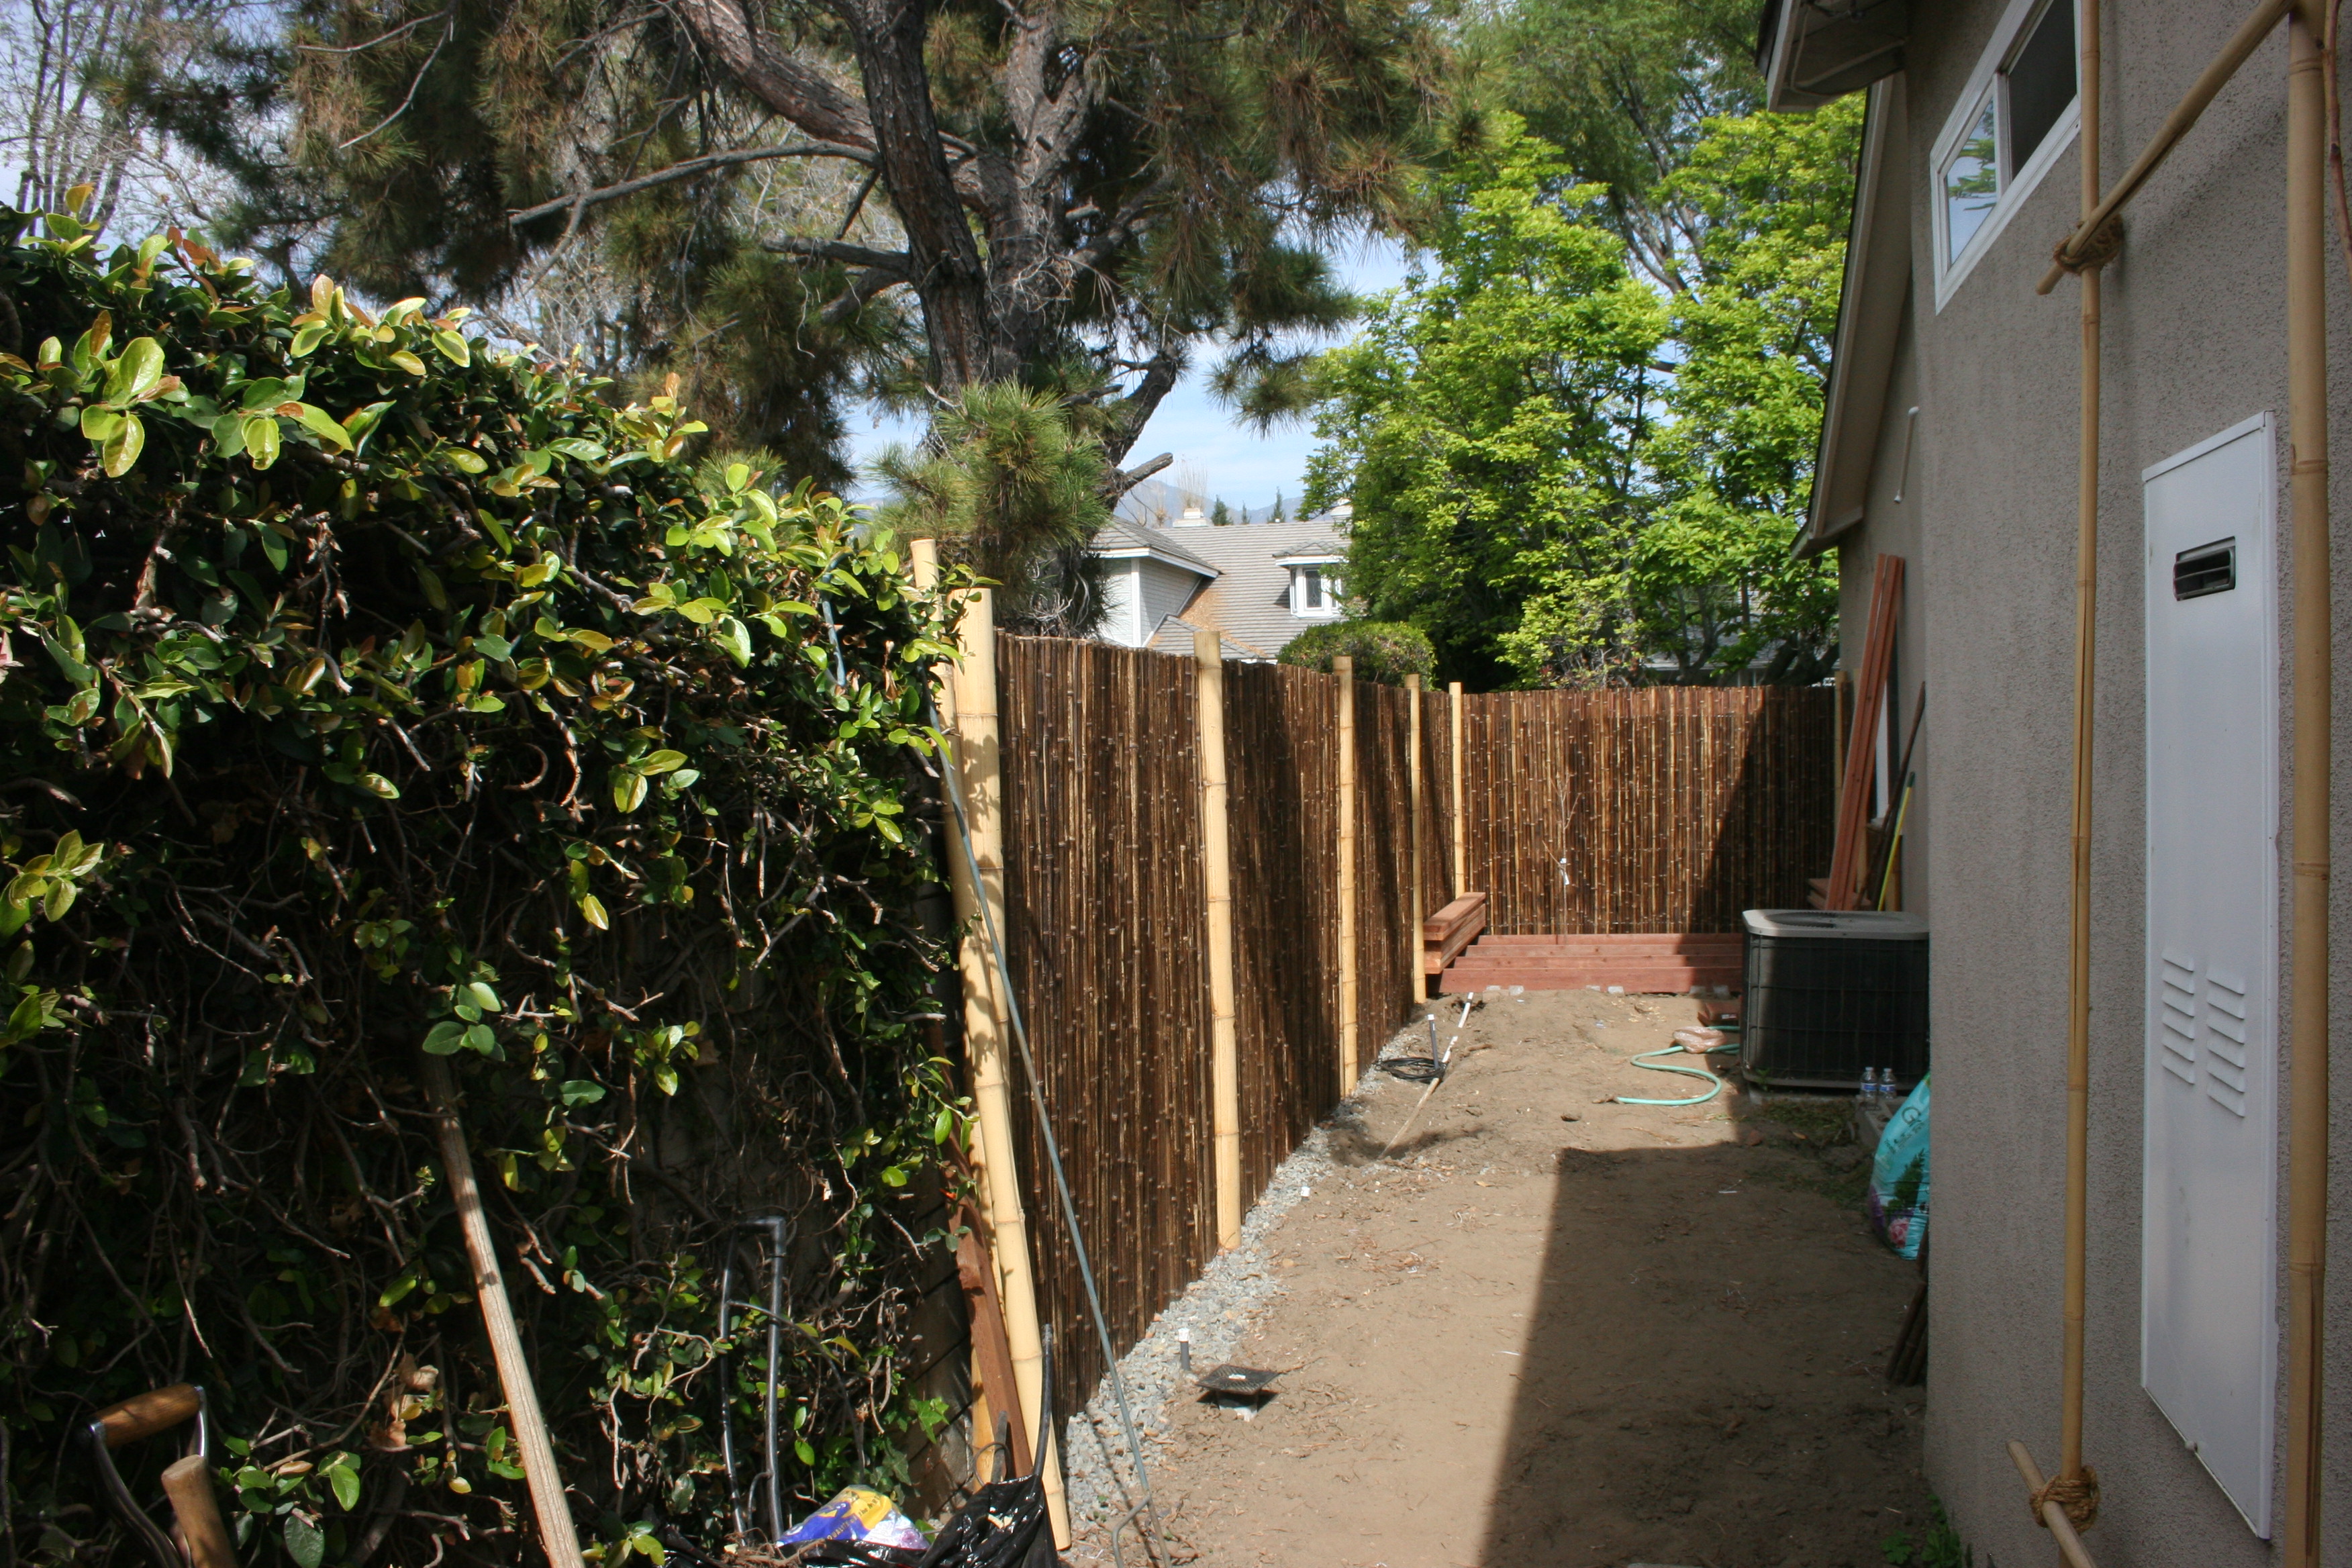
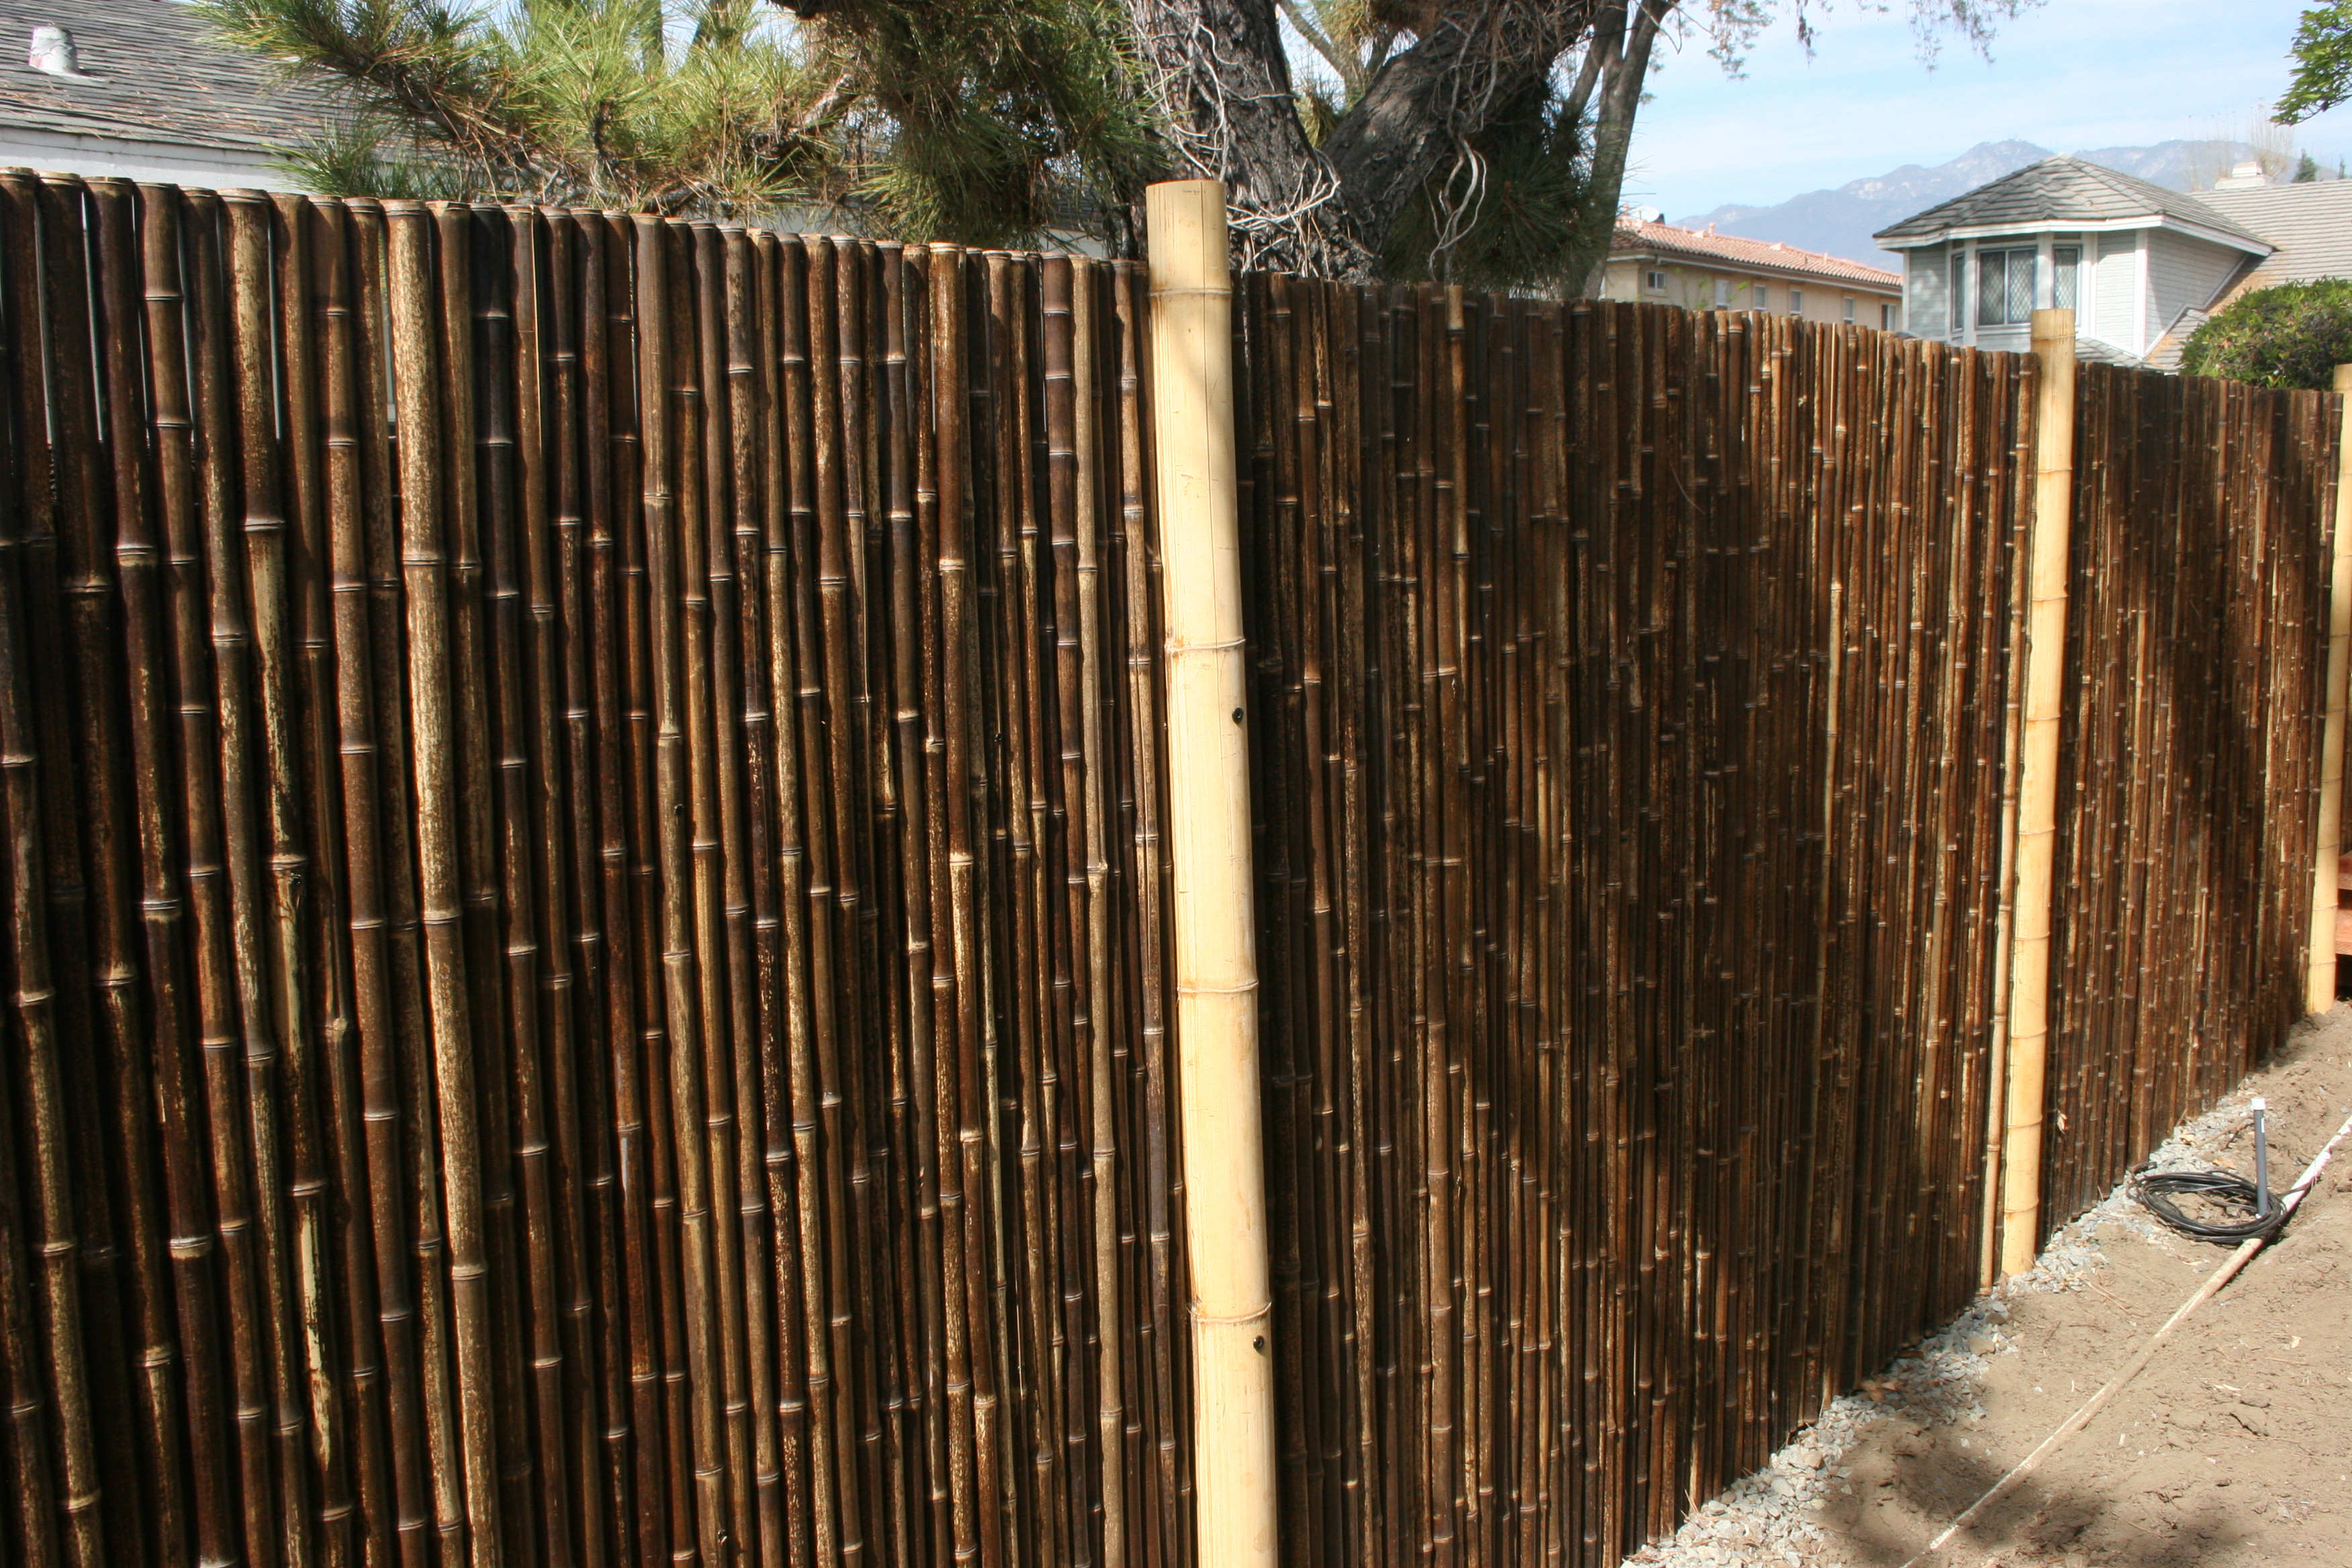
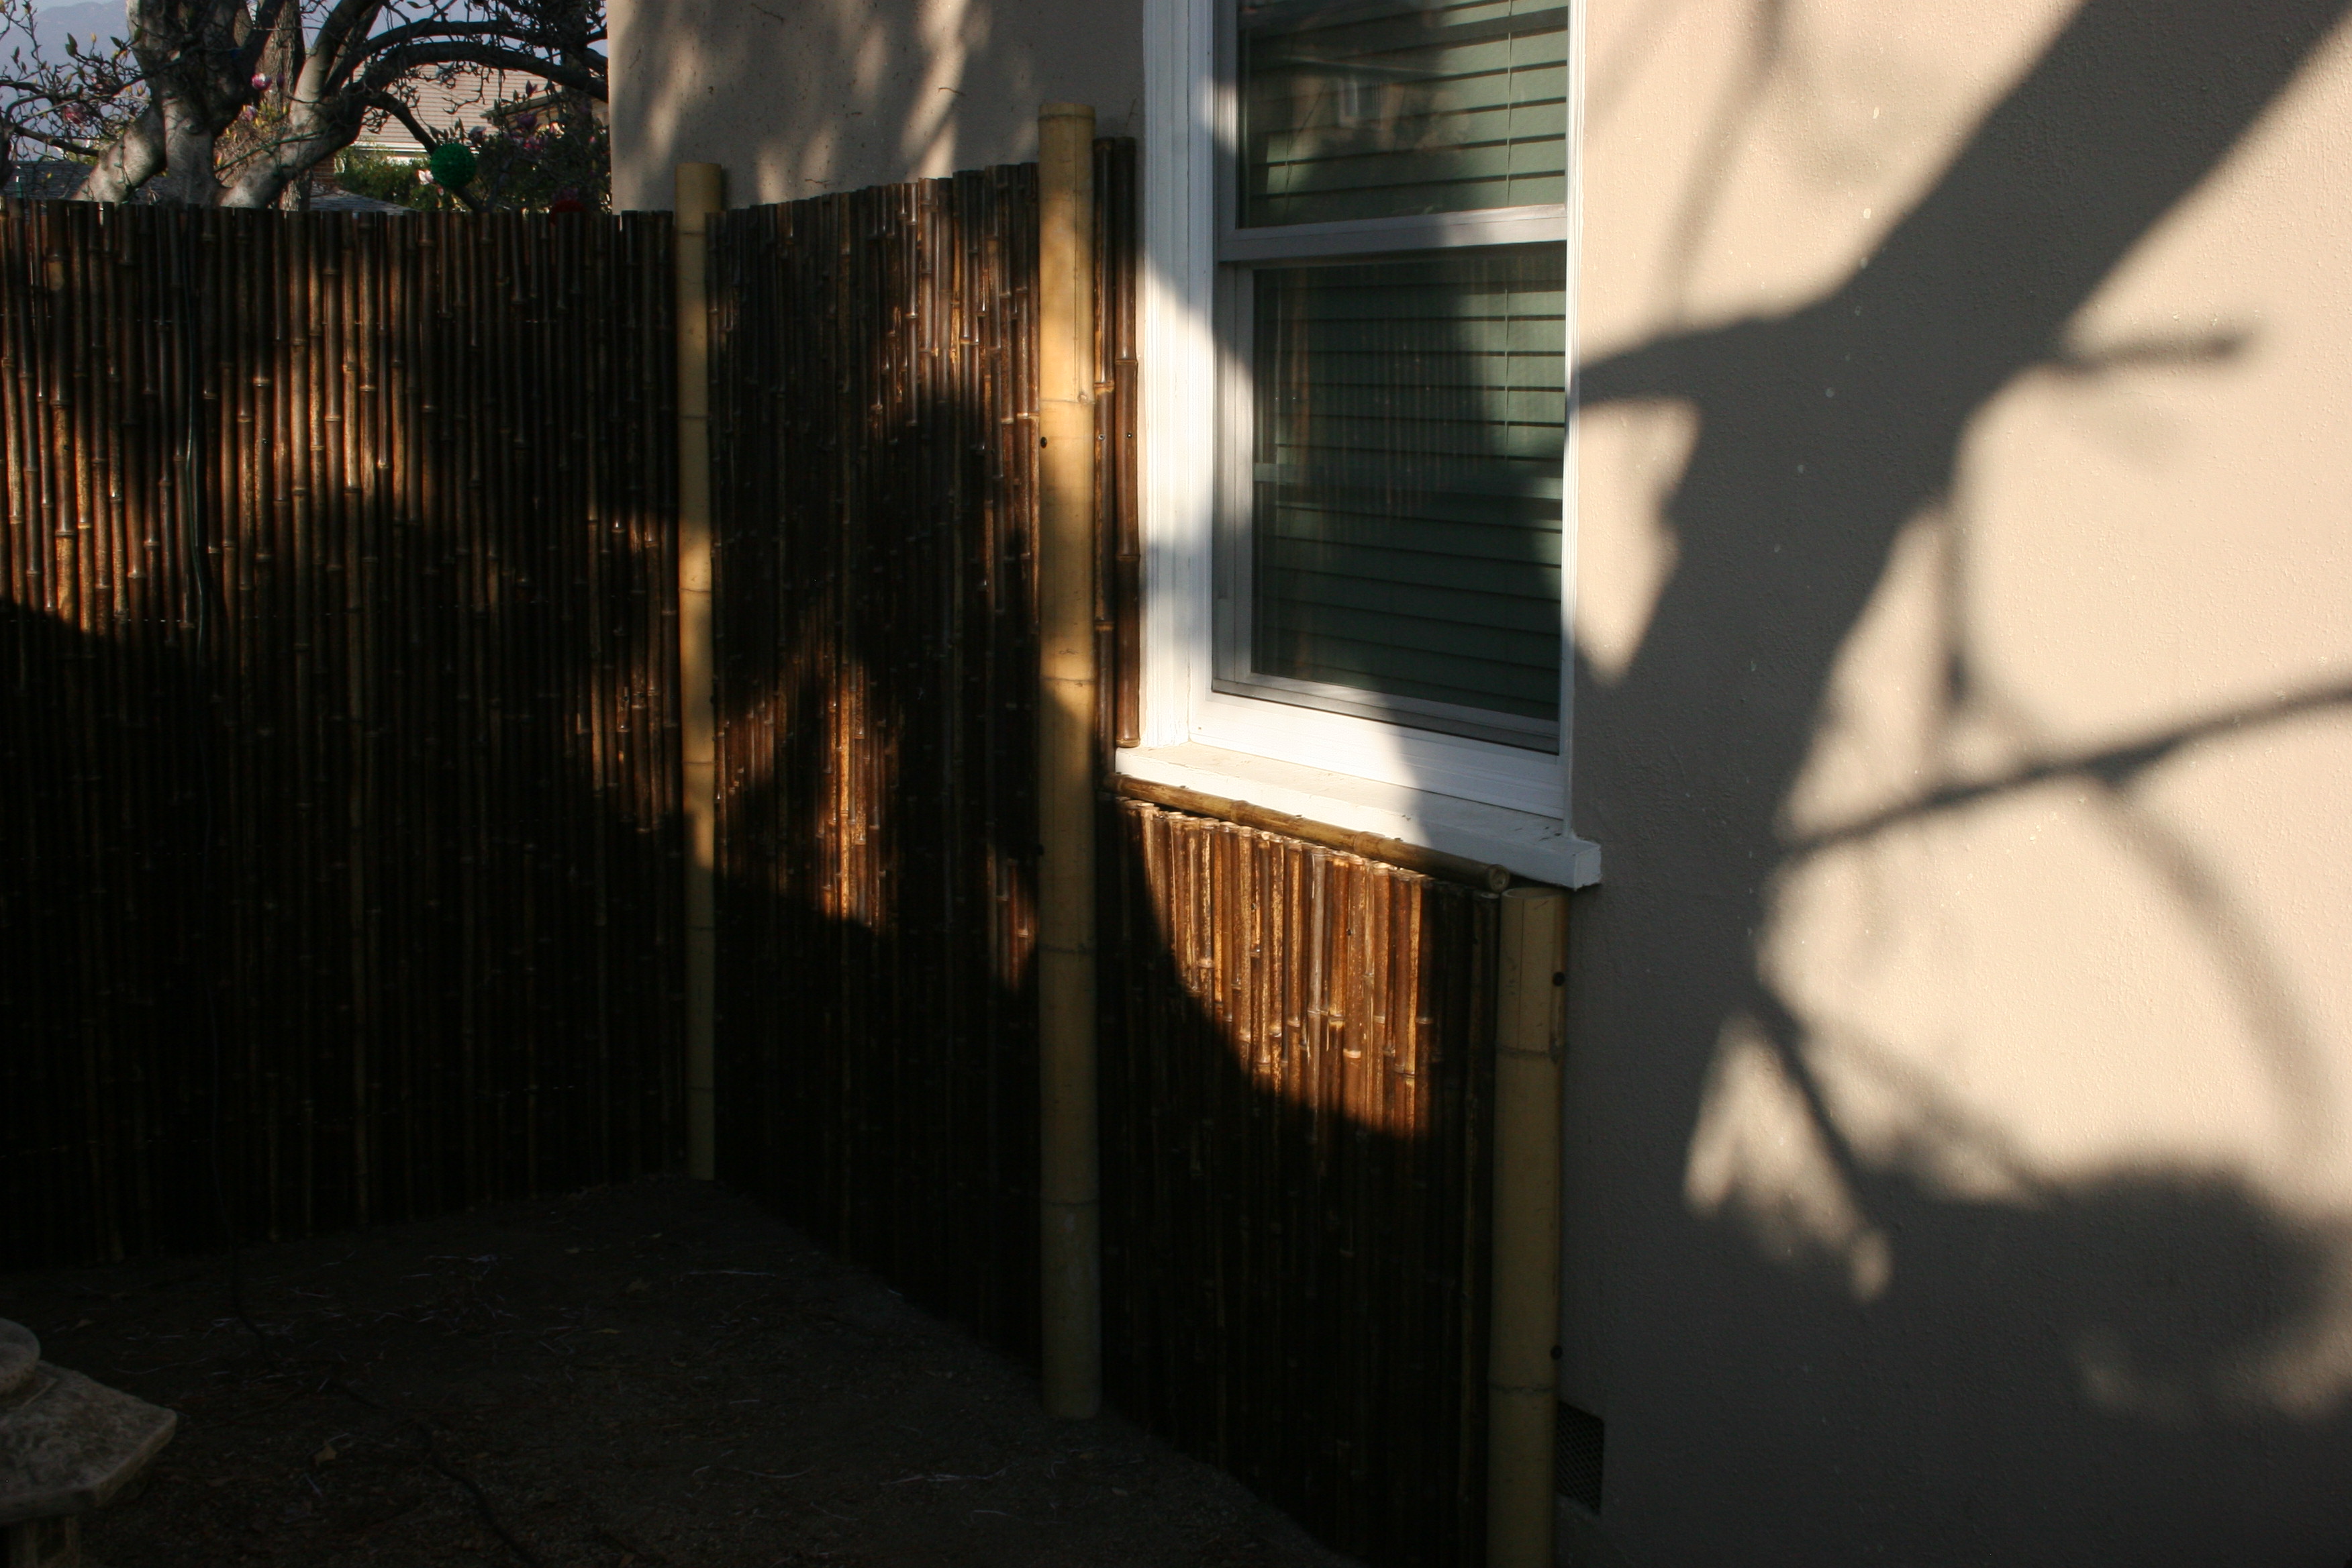
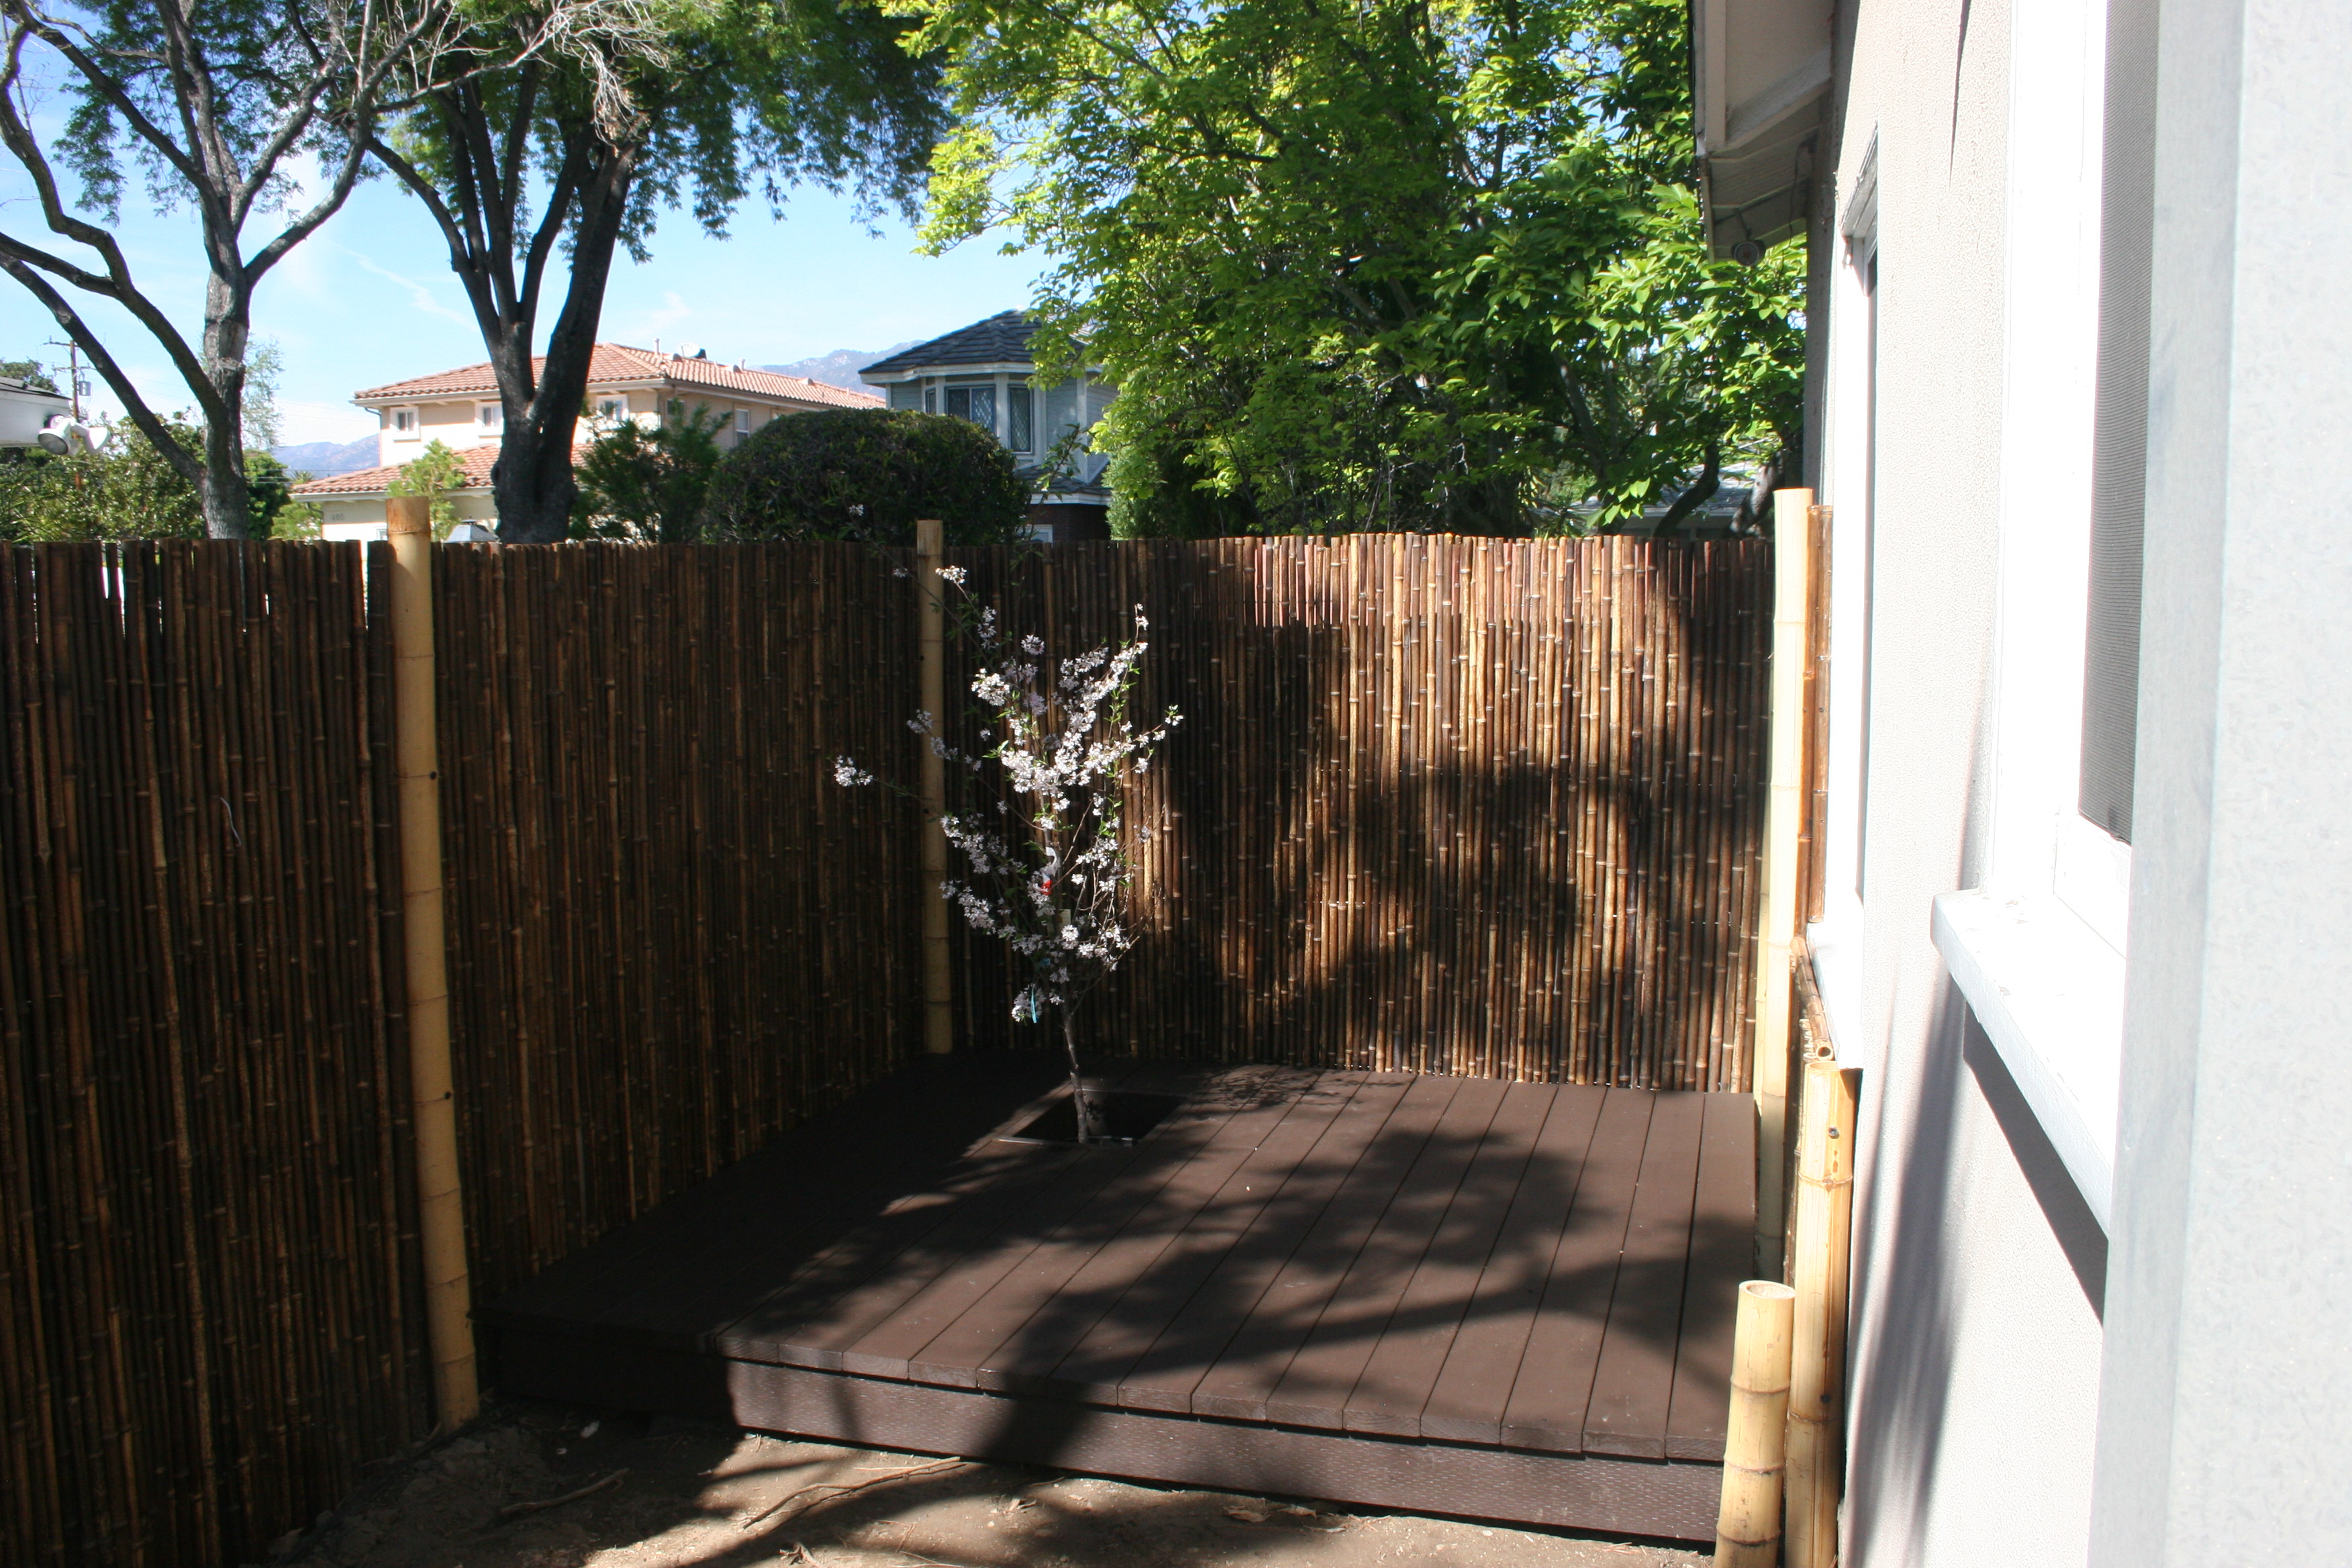
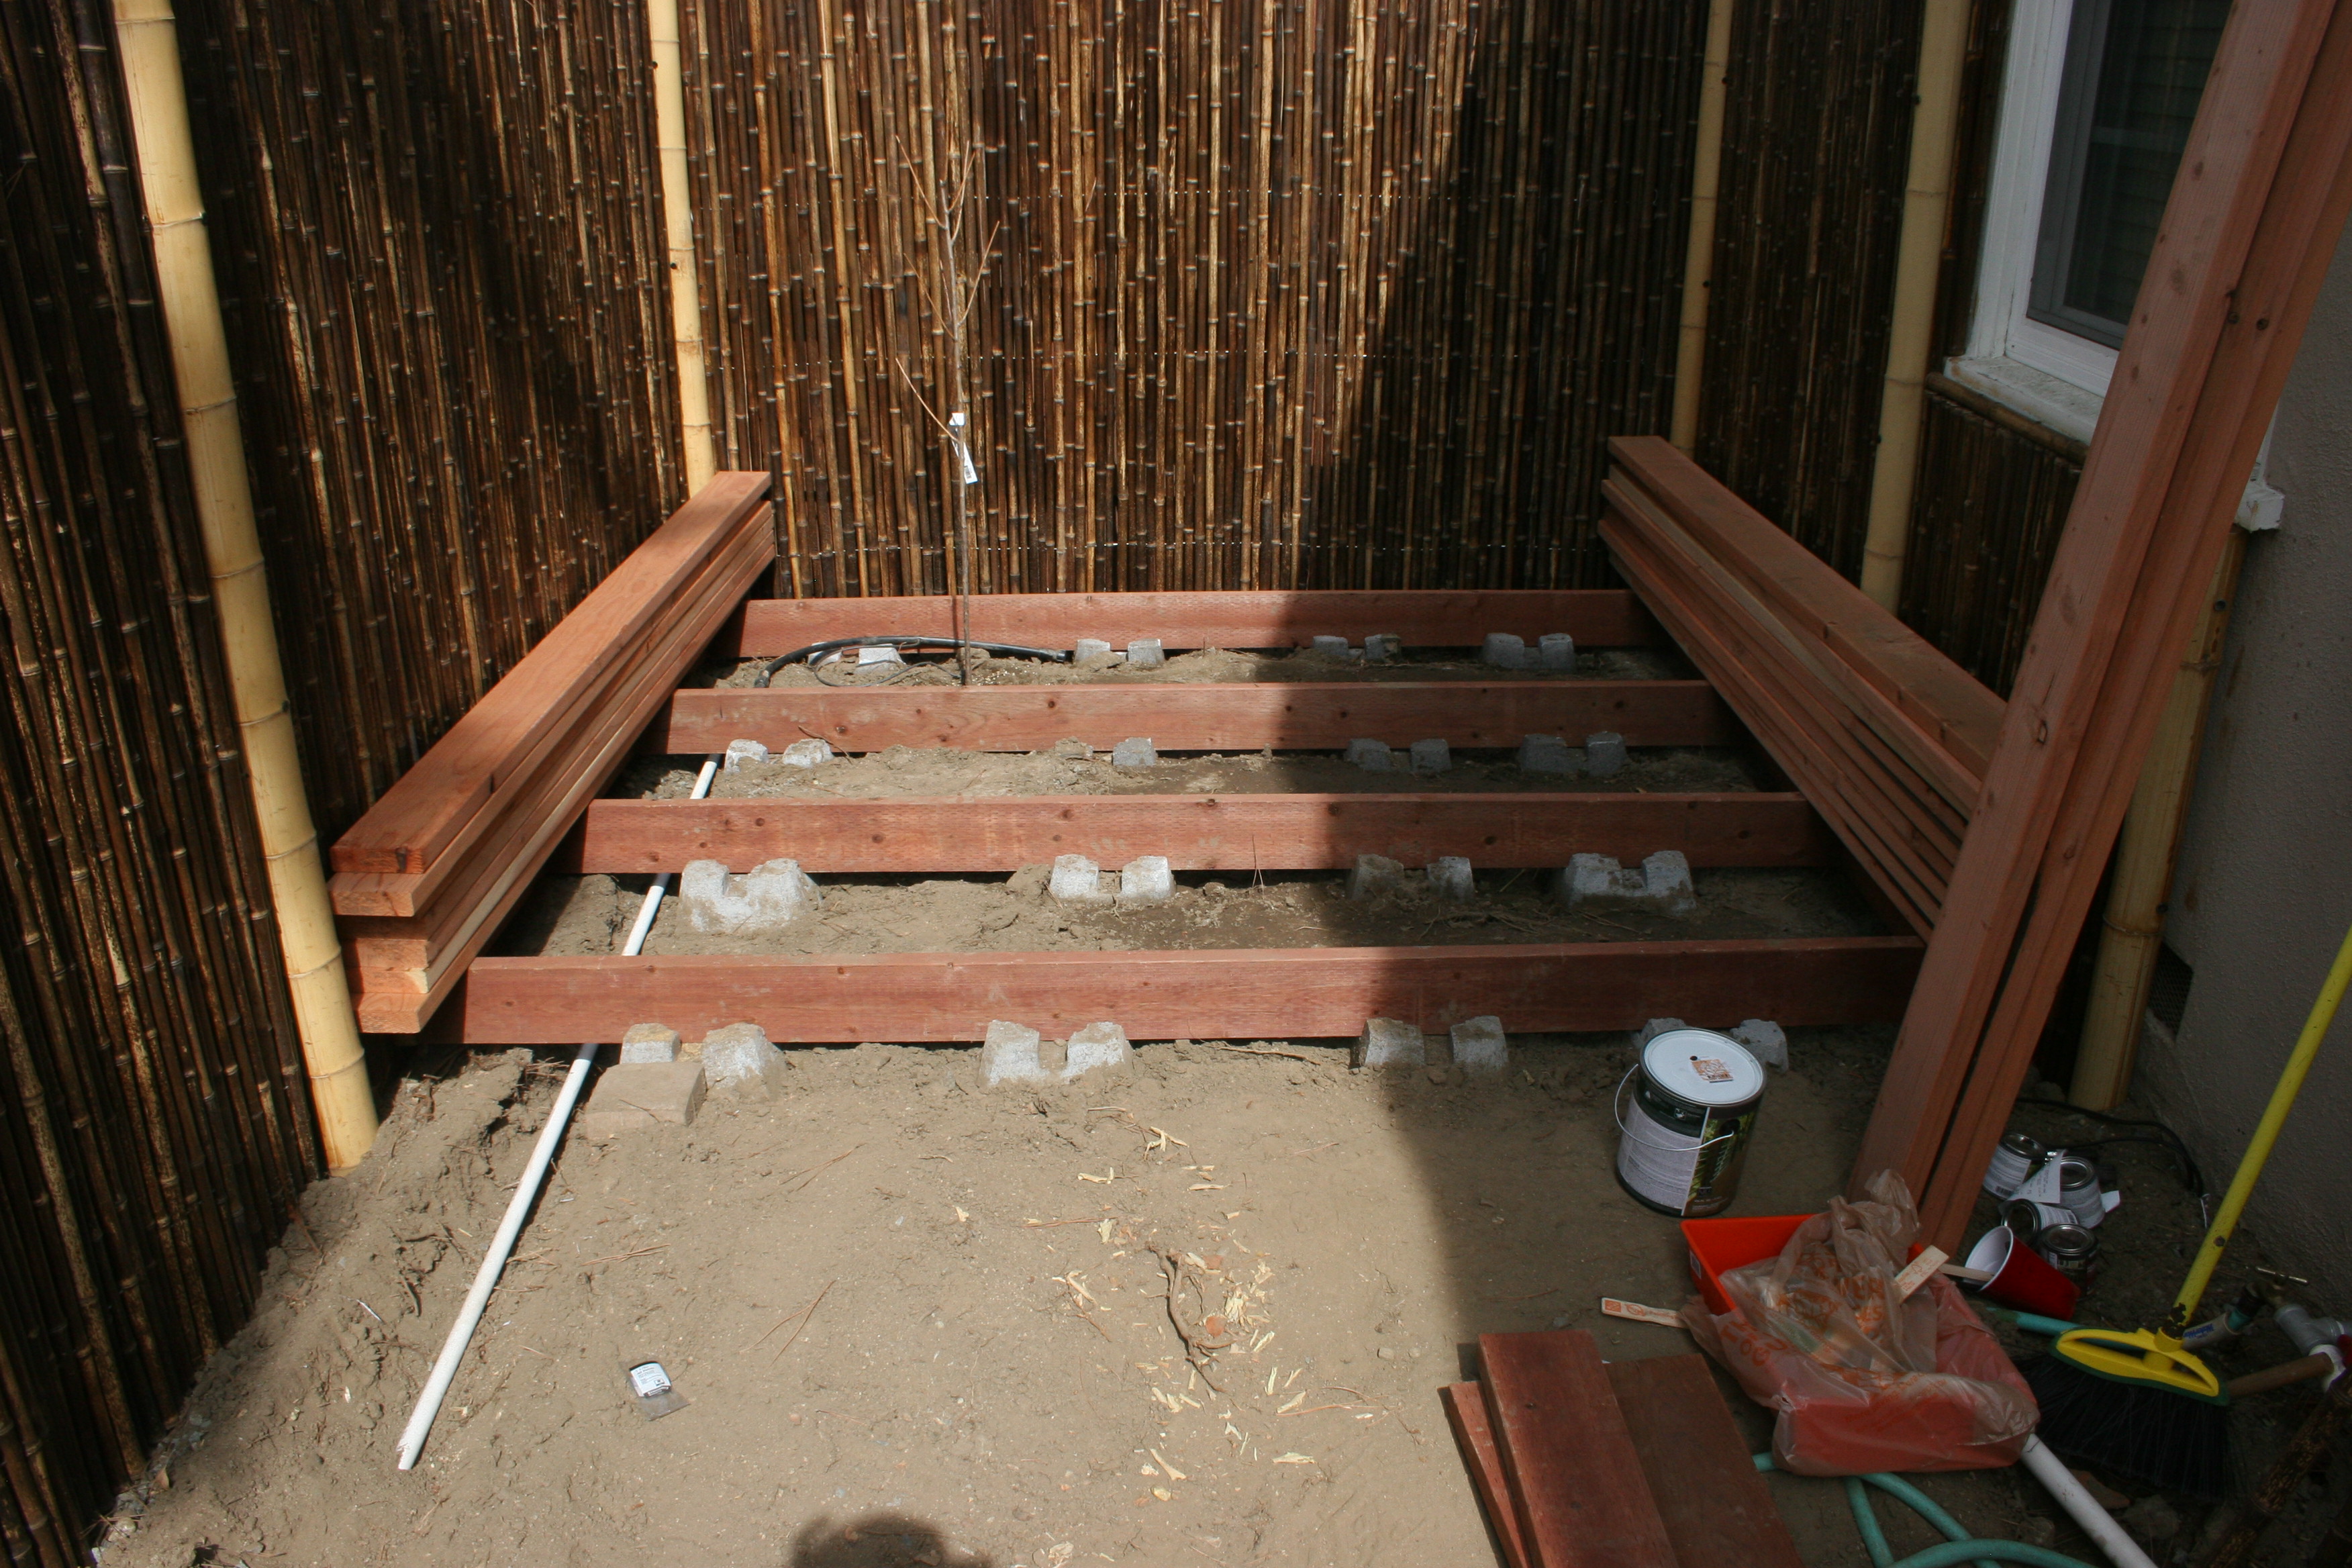
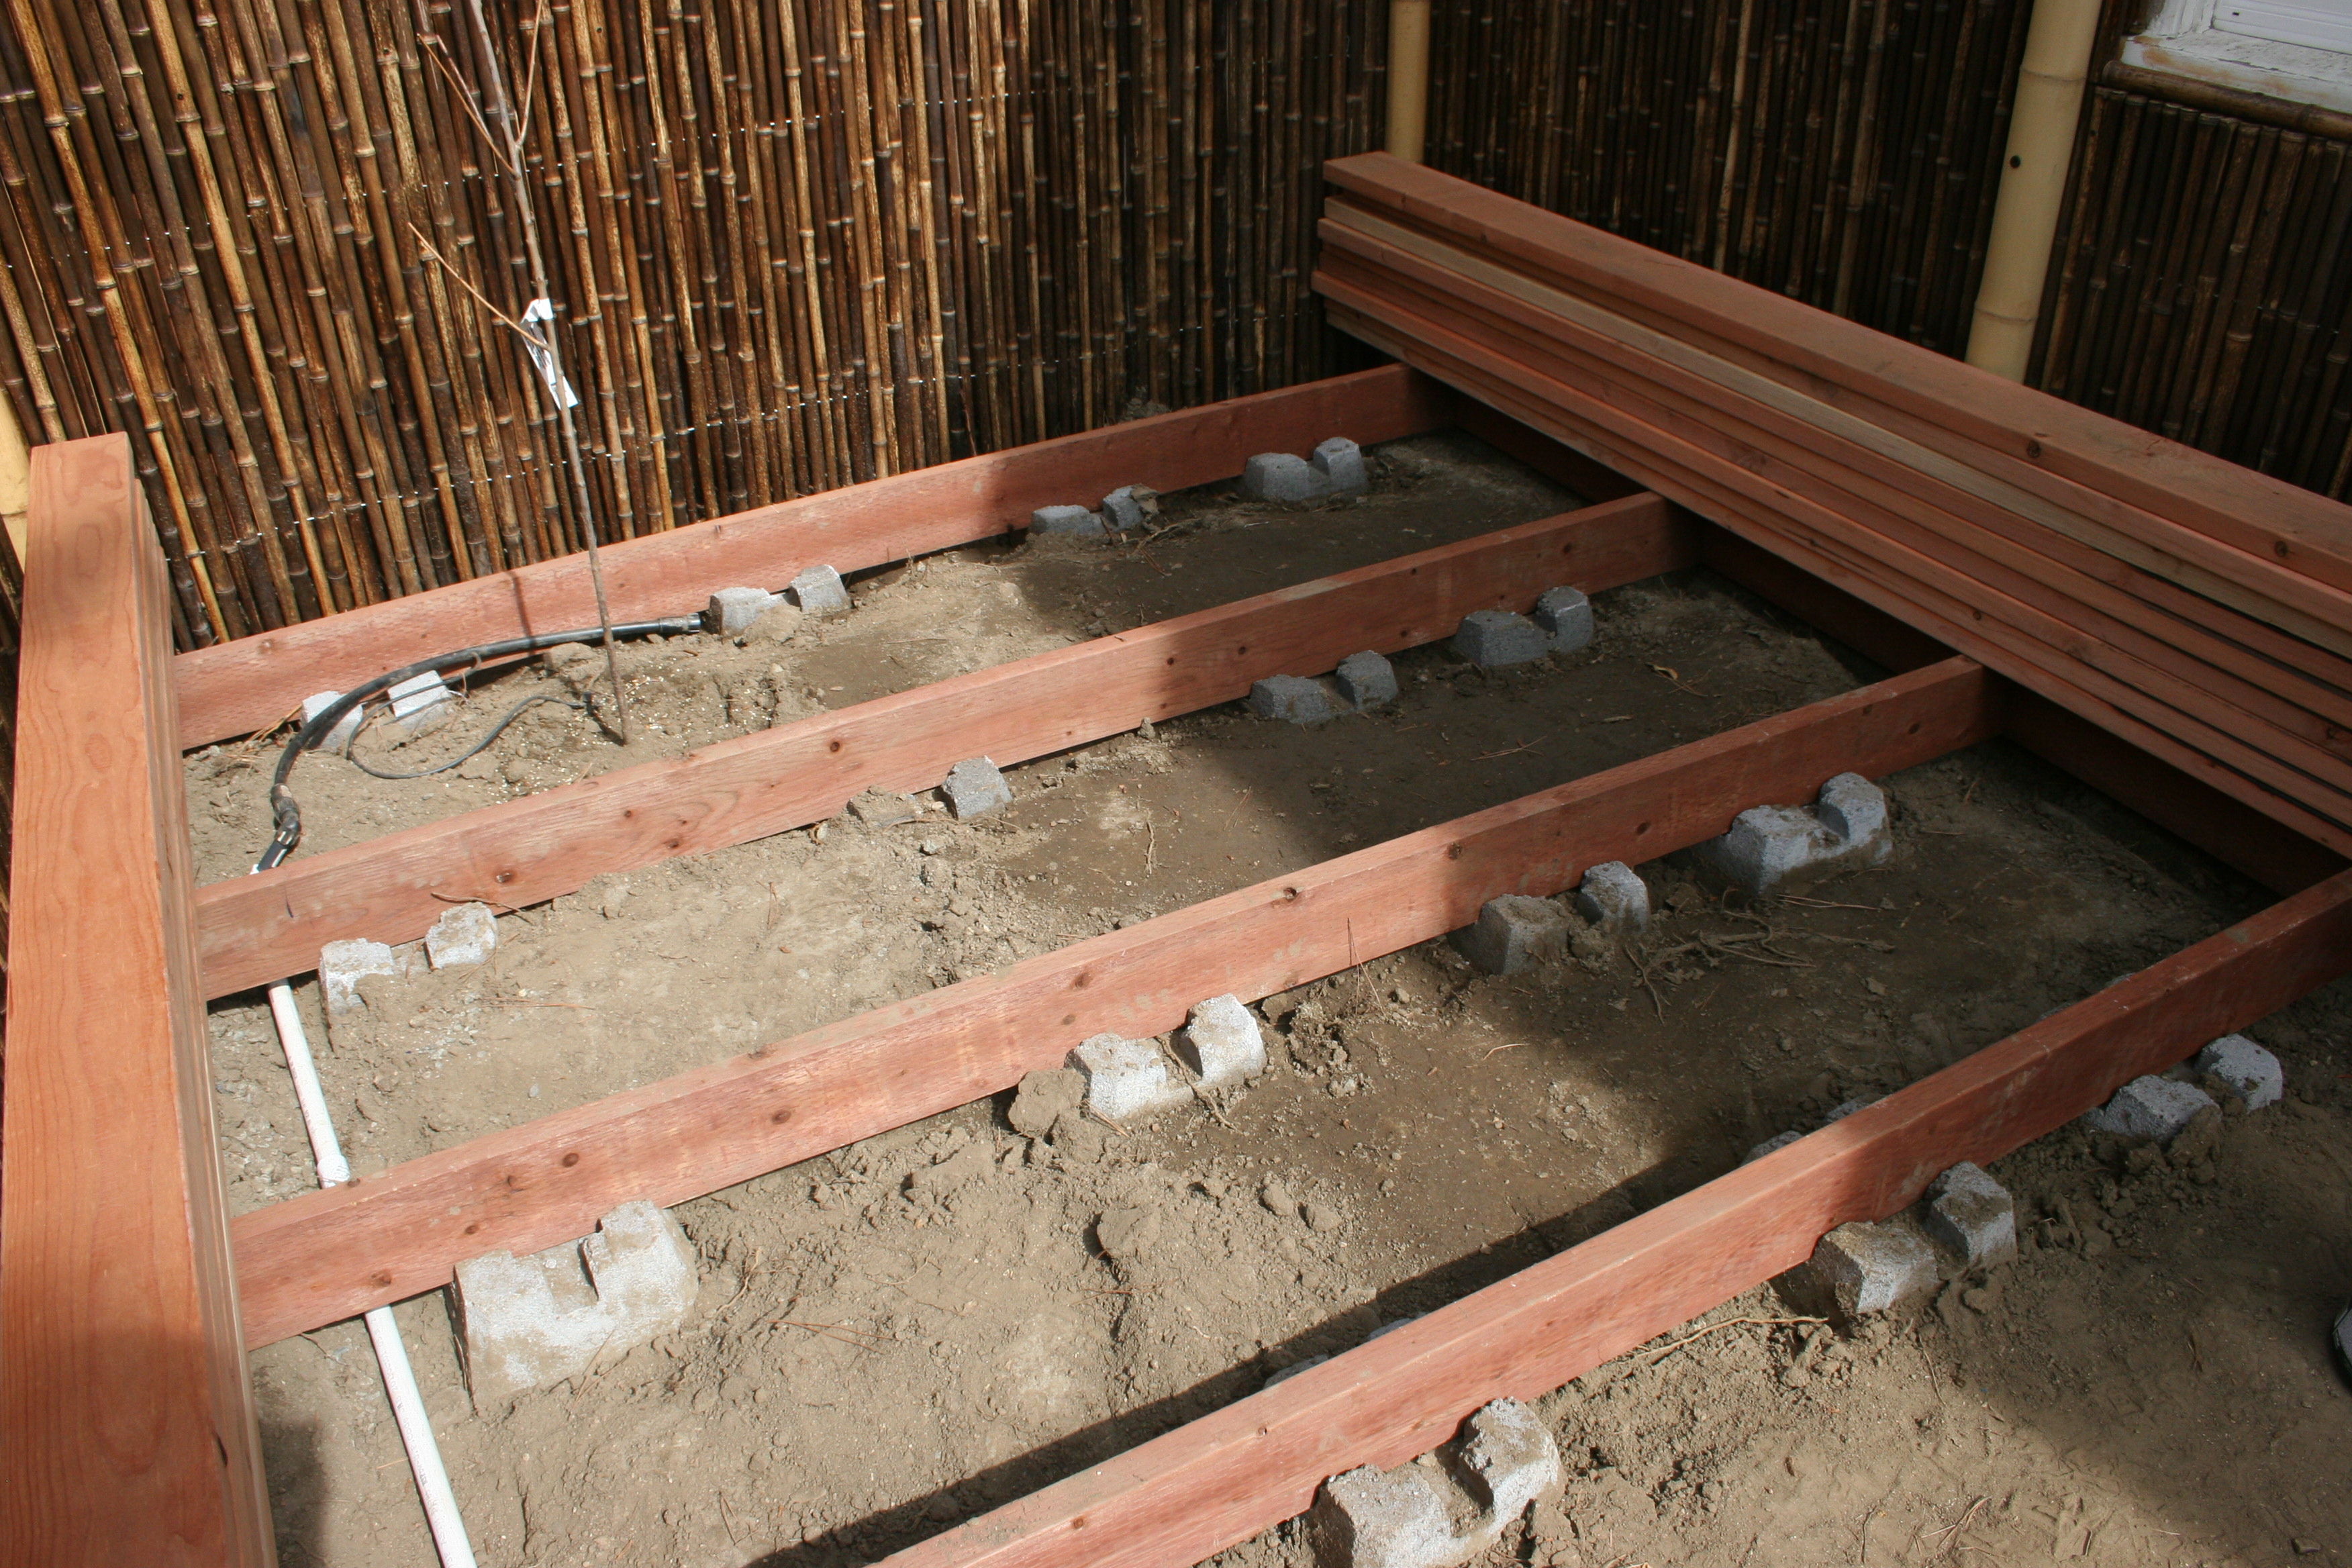
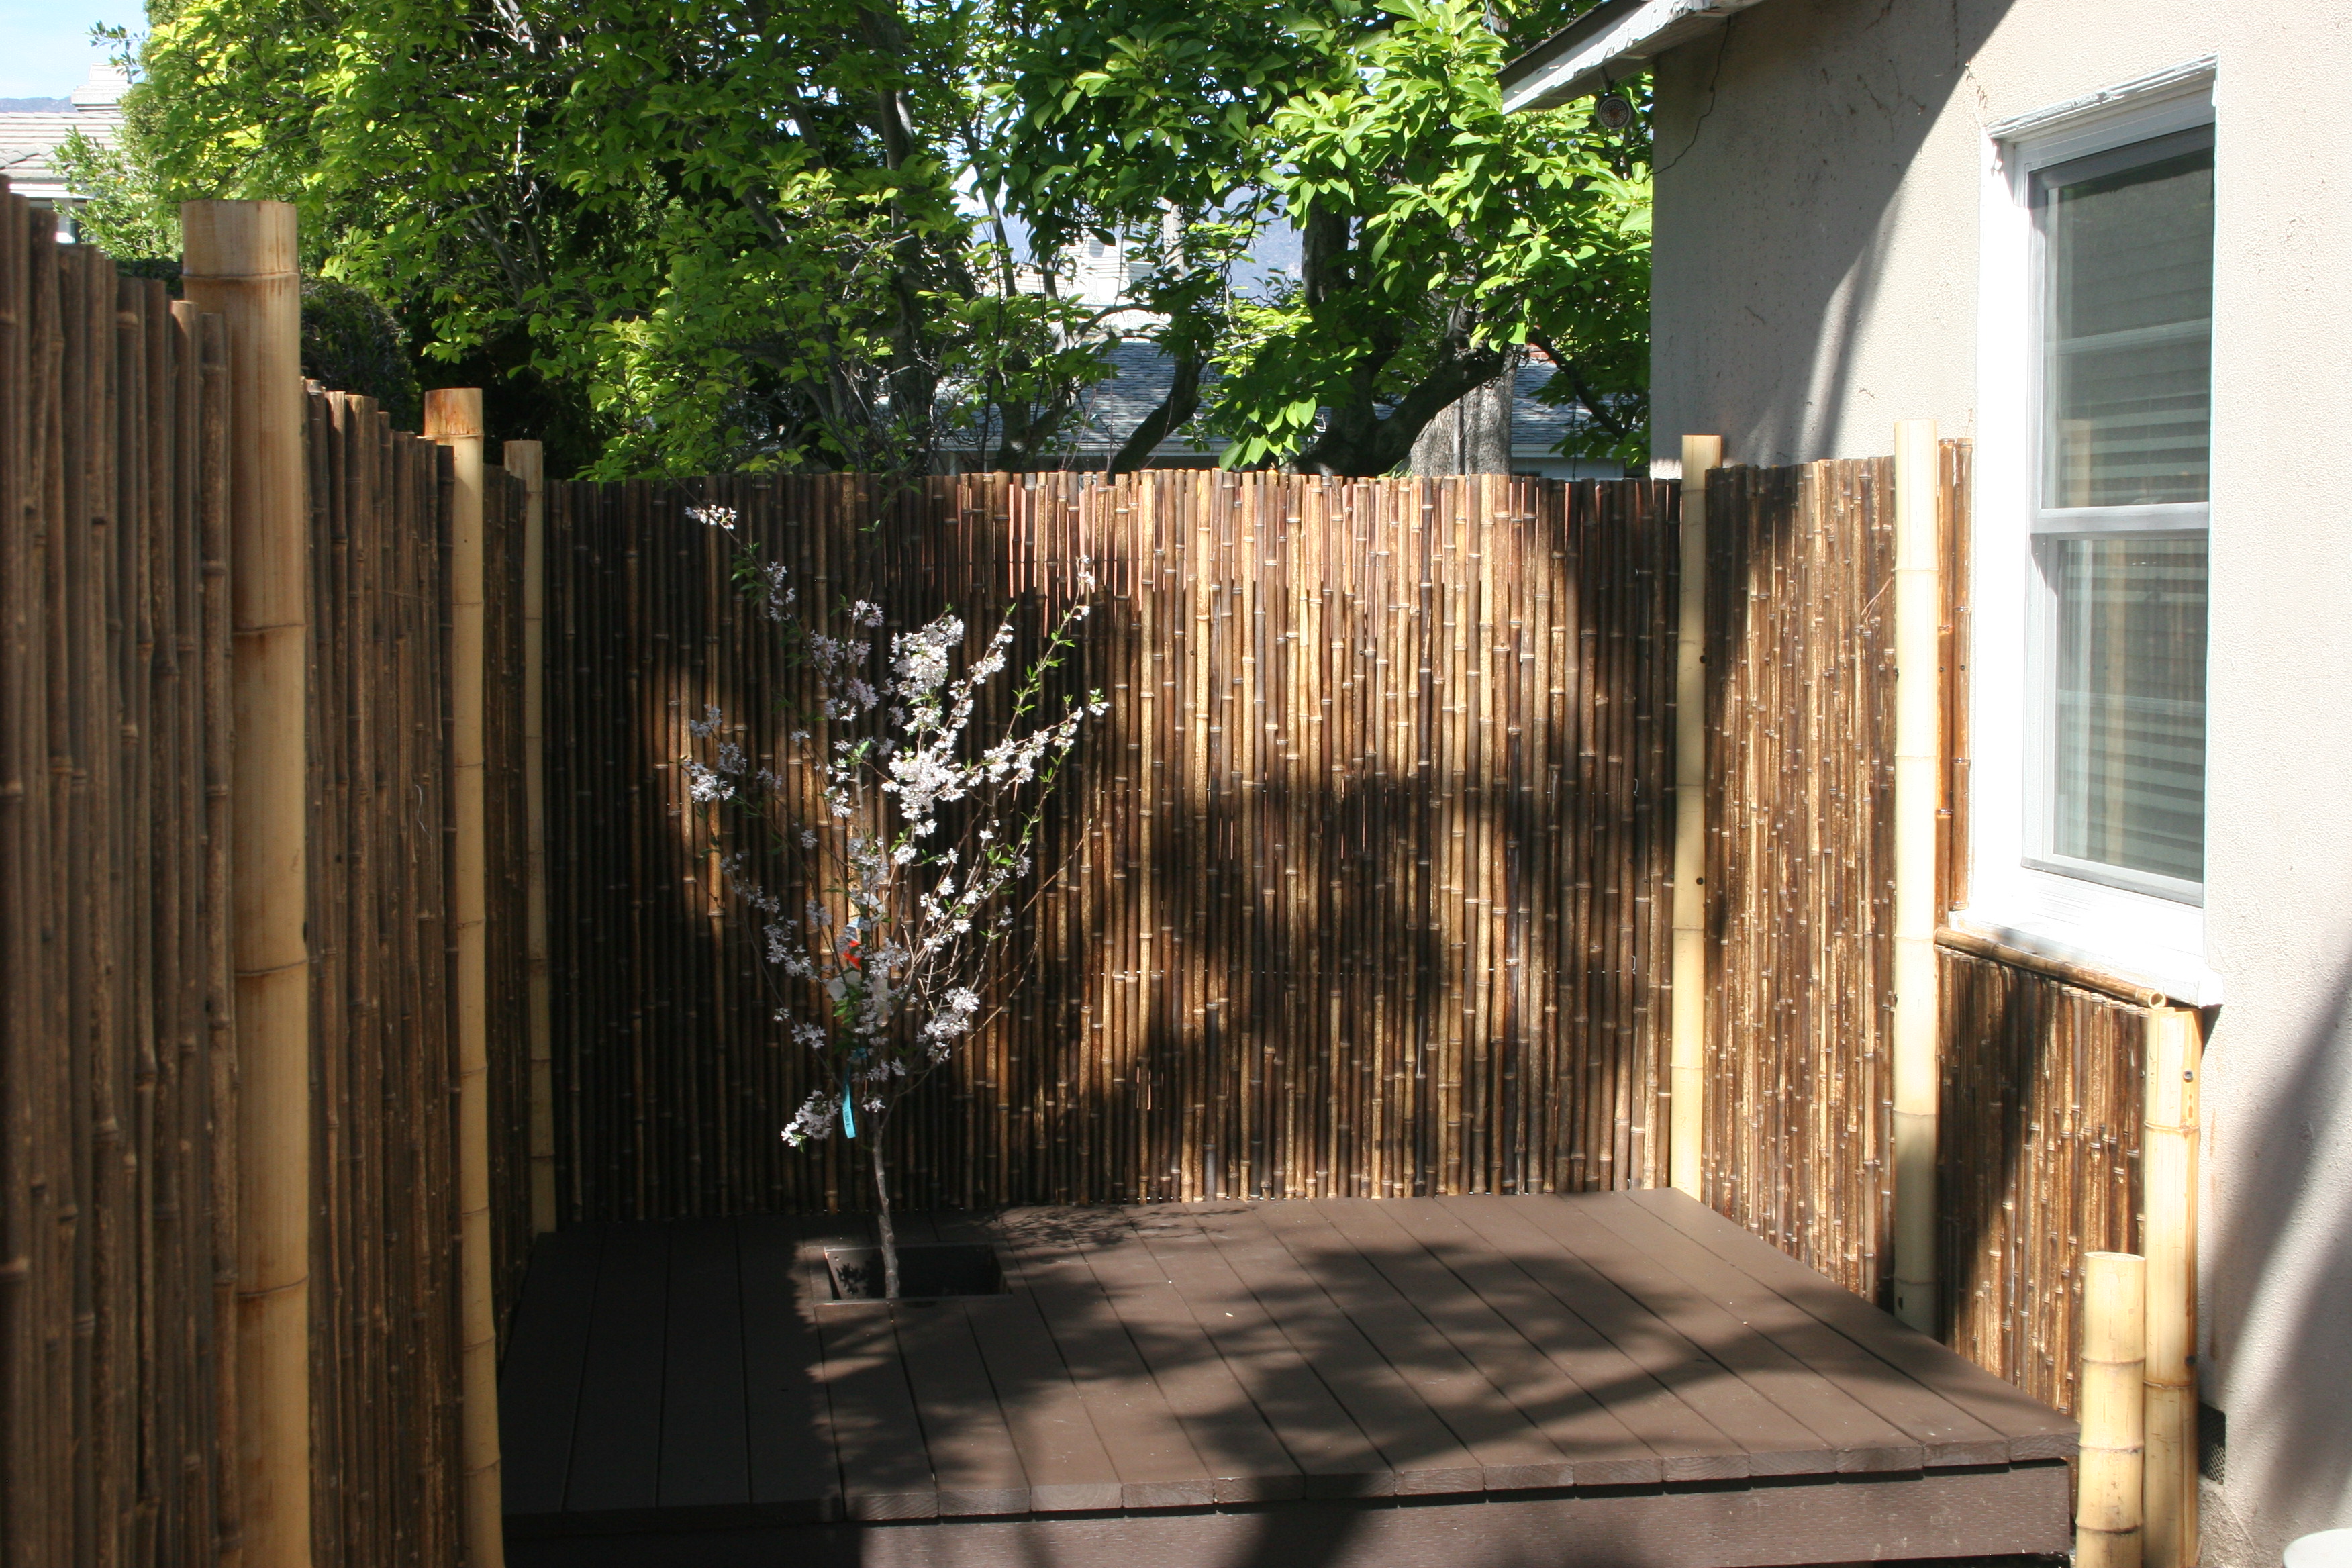
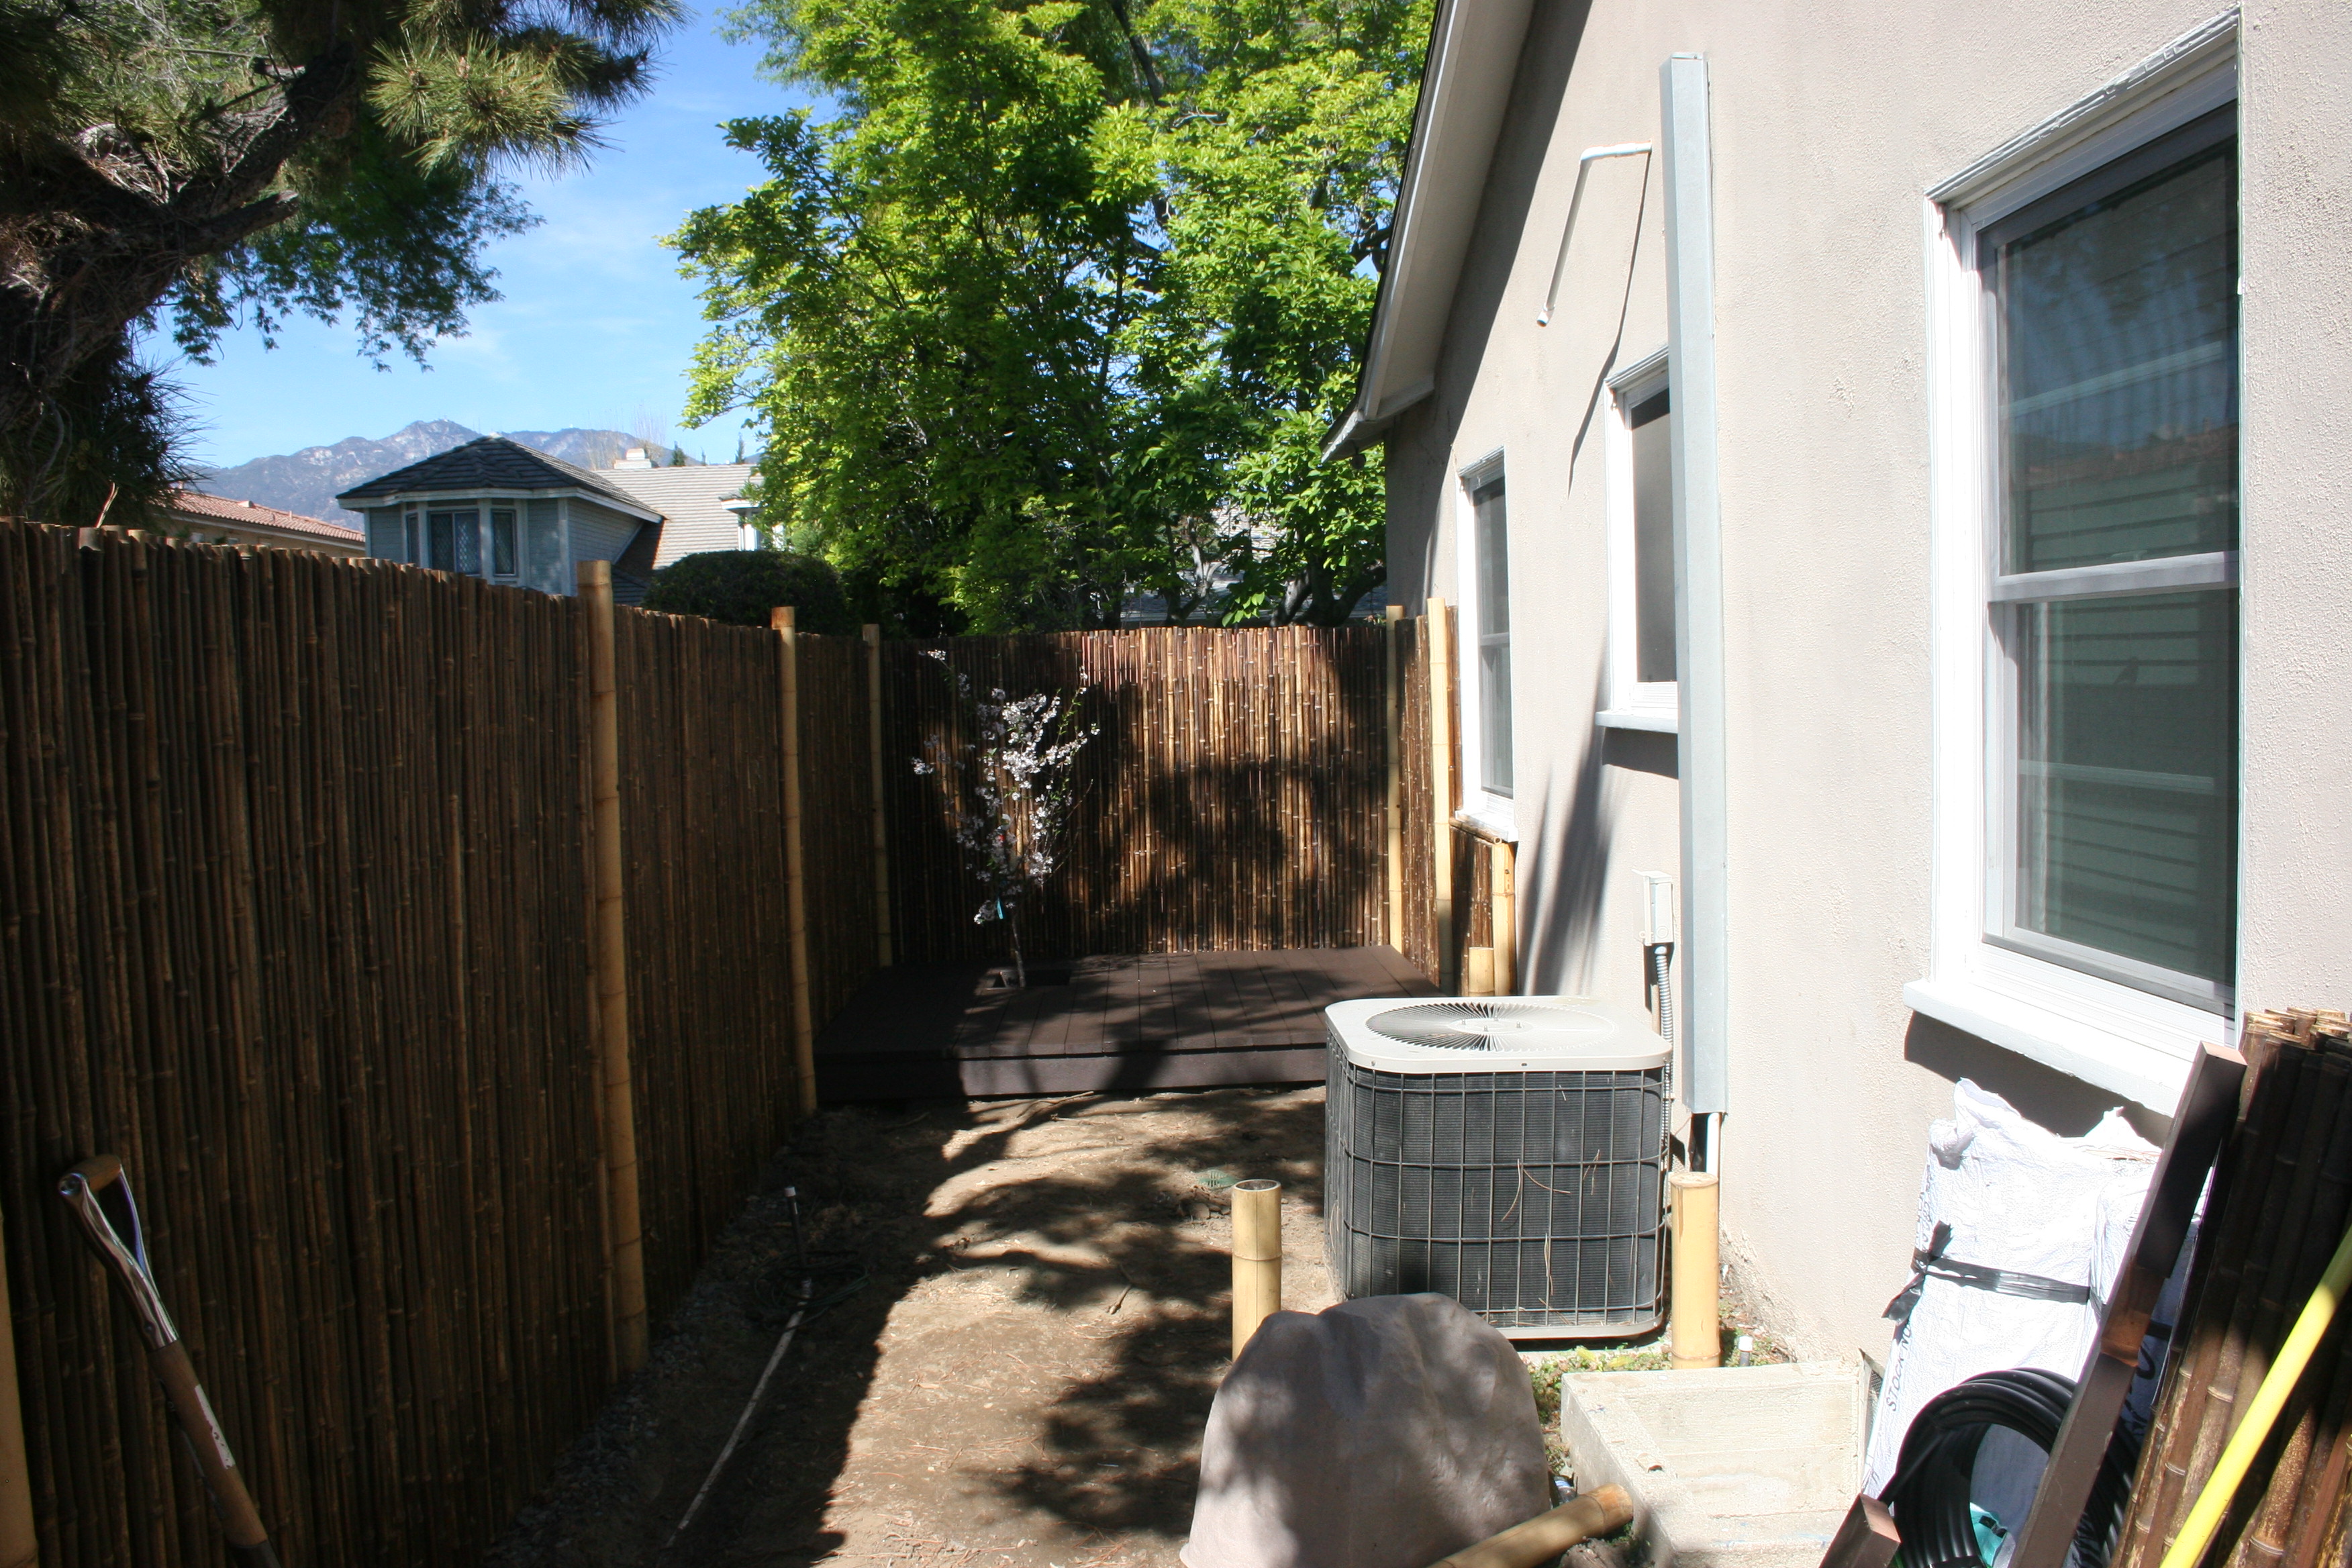
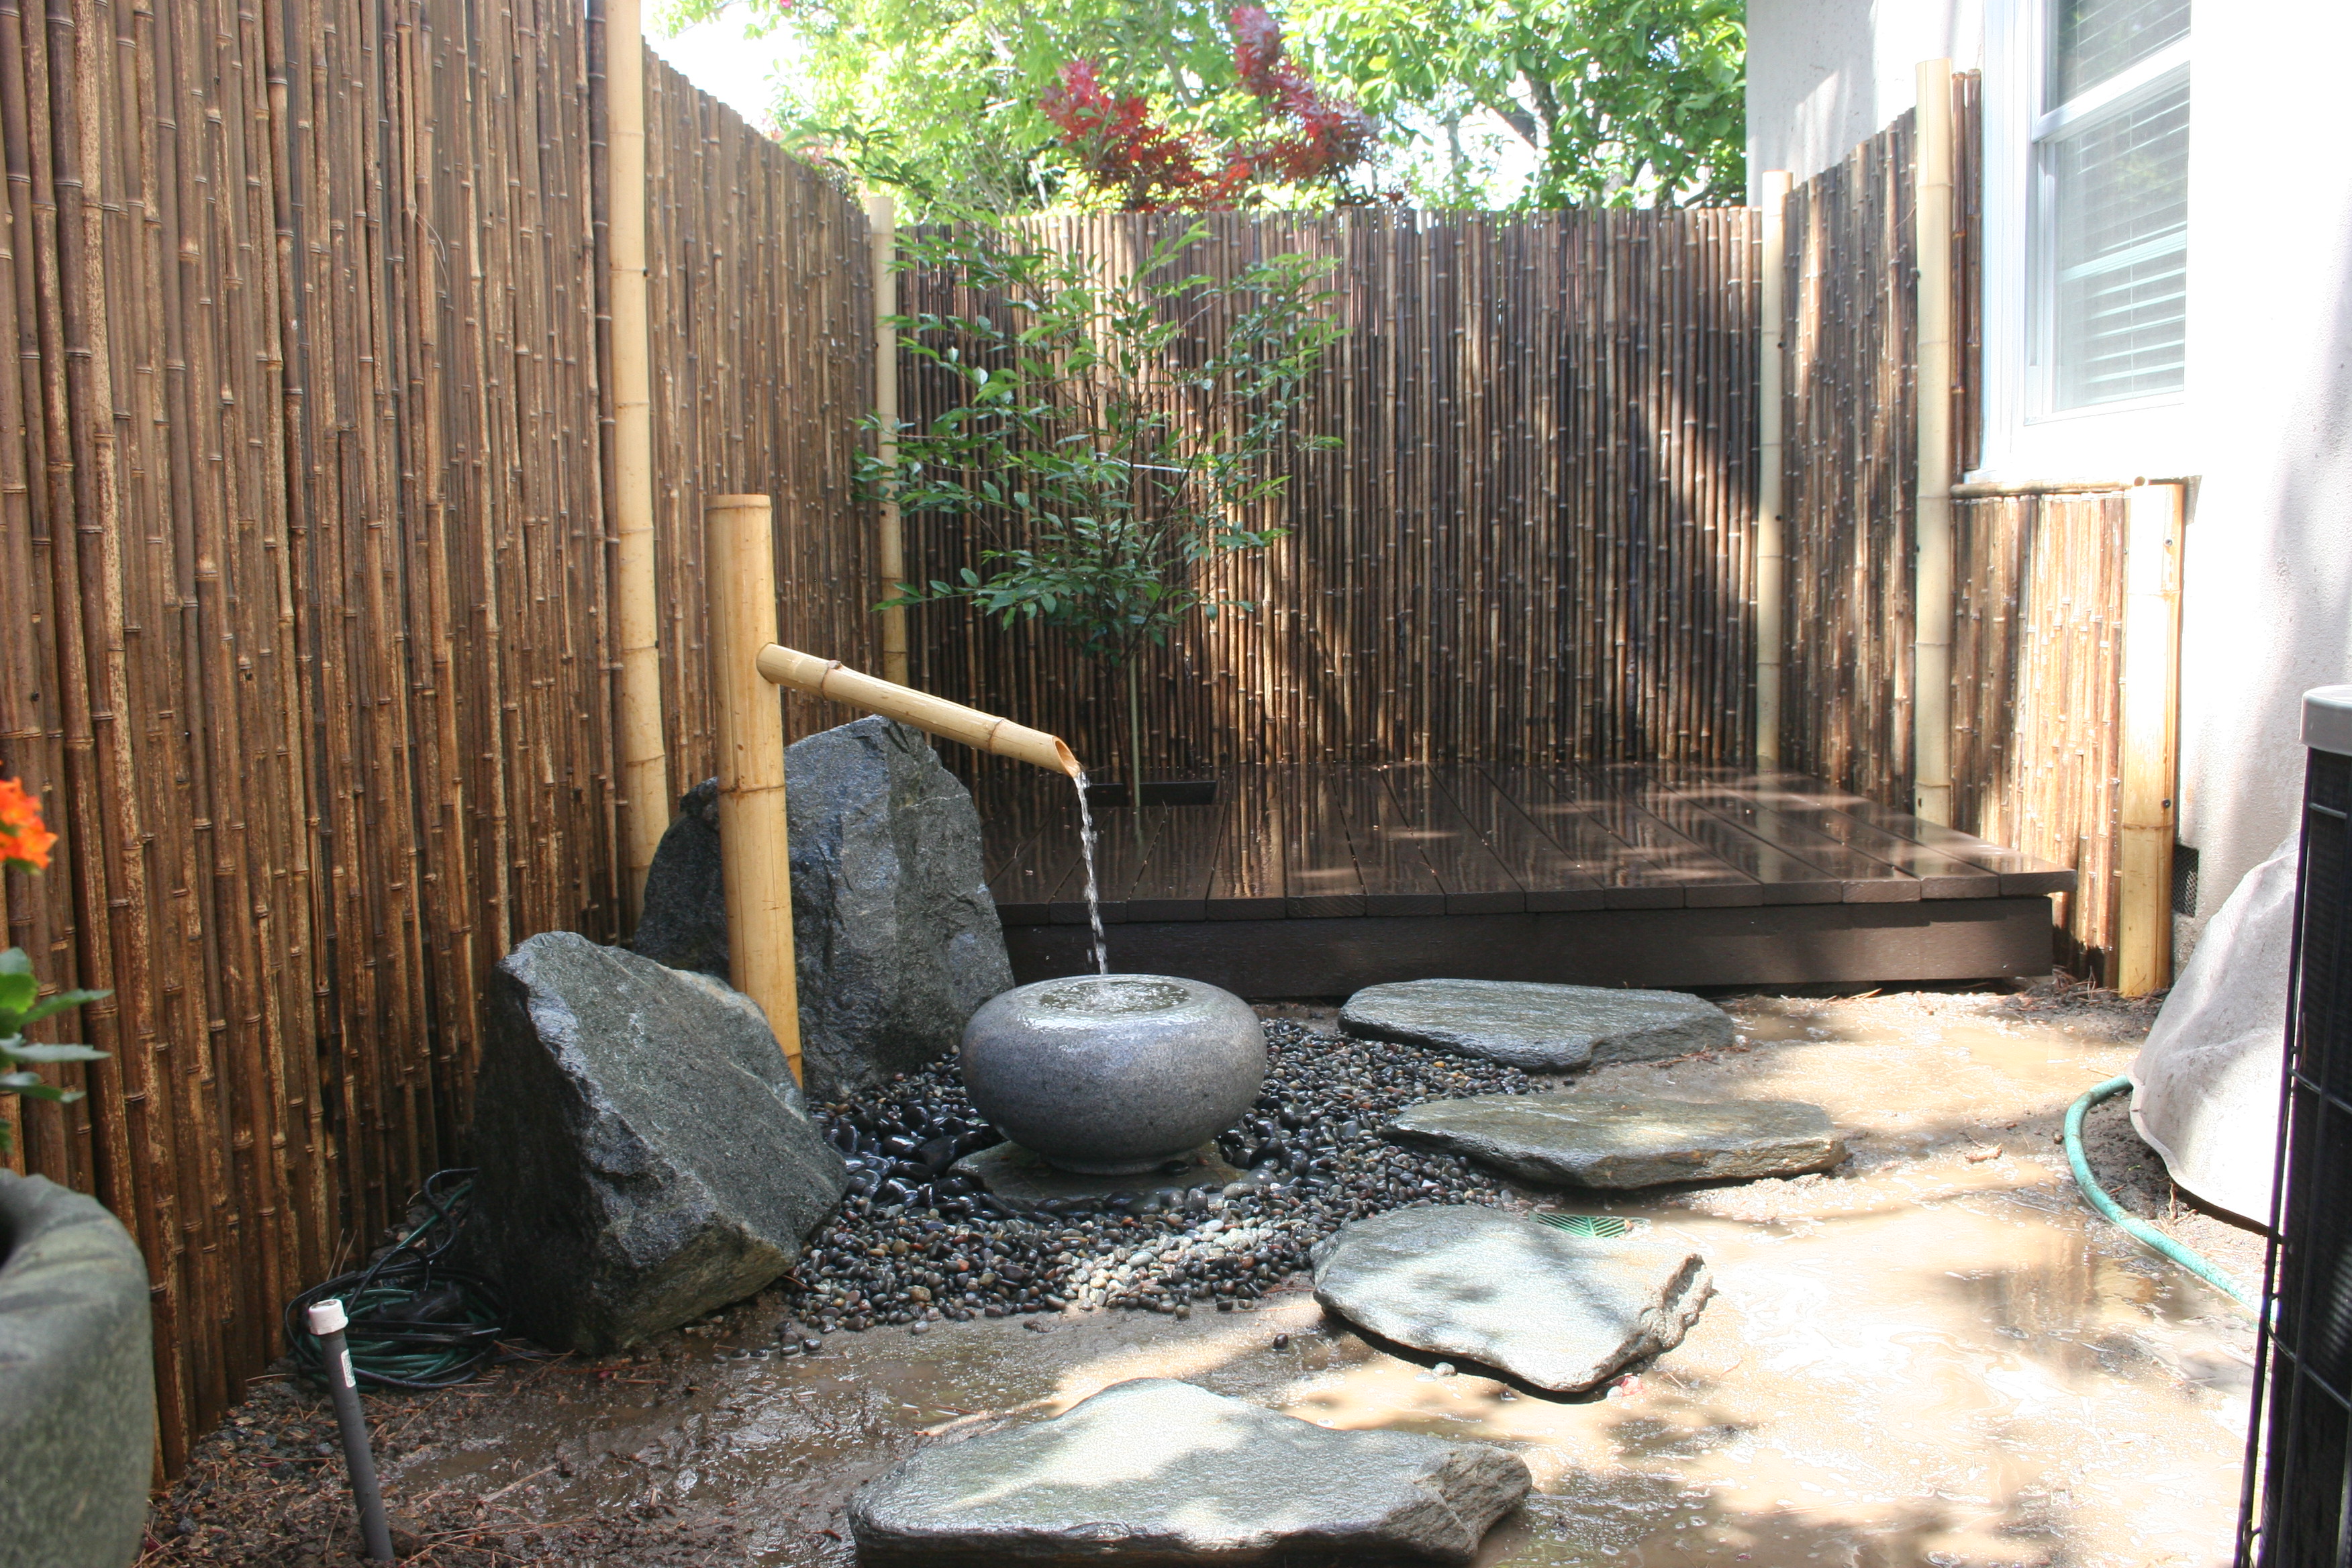
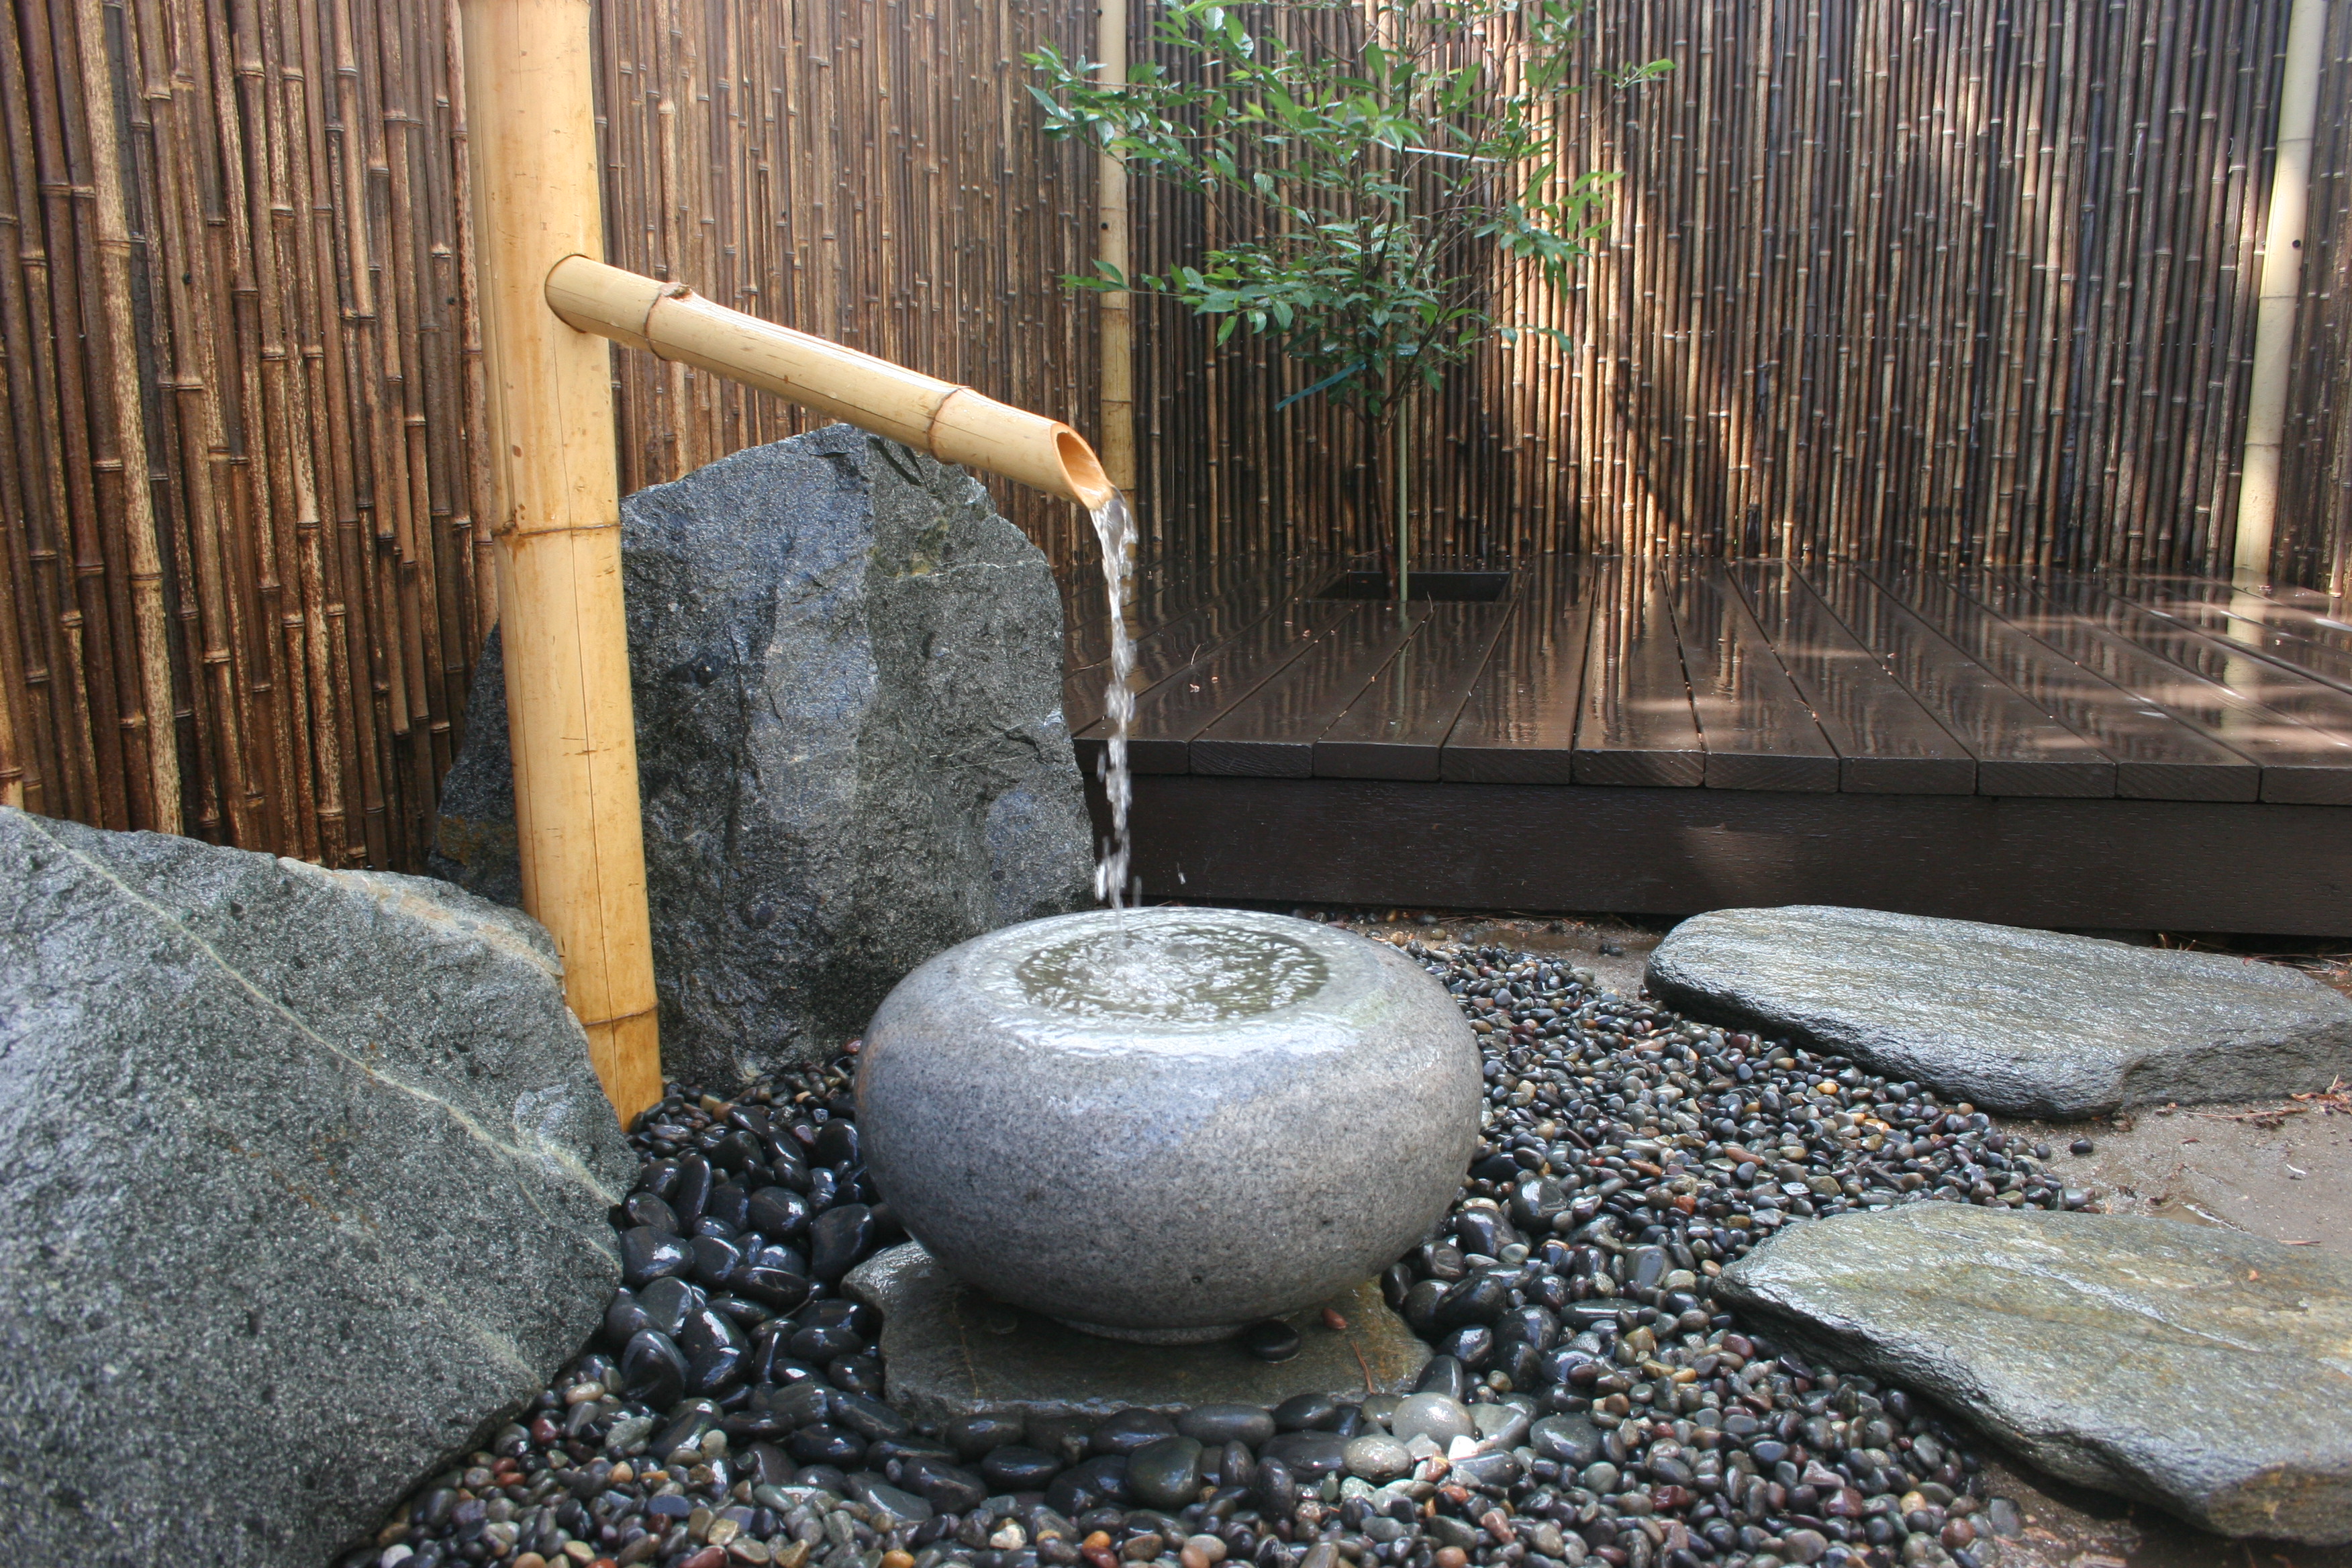
When all was said and done, I was happy with the results and wanted to start another project which I did at the end of this past summer.  I decided to make use of the side of my property in order create a Southern California version Japanese Garden.

Step One – Clearing

IMG_7629The area I have to work with for my Japanese Garden is rectangular in size. The area borders the side of my home from the front of the house to the very back. The area is wider from the front of the house to about half way back, due to the back part of the house being an addition we put in a few years ago. Given this, I have two areas to work with each having different widths. The total length of the area is about 60 feet with the first half having about a 12 foot width and the second half being approximately 10 foot across.

The area was being used primarily for storage with two small yard storage containers containing gardening tools and a few trash cans containing gardening and top soil. The area of also the “dead zone” for any potted plants that either died or I had not have a place to plant or display.

The ground within this area of was covered entirely with square stepping stones and there is a wooden gate separating the back yard from the side yard and a wood fence separating the side yard from the front yard. Not very visible in the picture are about 200 paving stones and bricks left over from our back yard projects.

Finally, this part of the yard is home to my central air conditioning condenser.

Day one: Clearing the area.  During this part of the project my sons and I removed about 1/3 of the stones and then realized that its was going to take us most of the day so I headed over to Home Depot and enlisted the help of  some of day labors to help.

We agreed on a price of $180 to split between the three of them to move the stones from my side yard to my driveway. It took them almost 3 hours to complete the job and they did a really great job stacking neatly in the driveway so I paid them $260.

Day One: Total invested in the project: $260. (Hoping to get some of this back after selling the bricks and pavers)

IMG_7626 IMG_7625

Step Two – Fence Posts

IMG_7633With any project, you start realizing that it’s never as easy as you first think and generally what looks like a little problem ends up bigger and more expensive to solve than you originally envisioned.

In this particular case, I needed to remove 3 fence posts that were originally installed when we first move into the house and we needed s space for our dogs when we had company in the back yard. The posts were cemented into the ground.

I initially attempted to dig up the posts and was successful with one of them but the other two were cemented very close the house and retaining wall making them difficult to remove.

A trip to home depot and the purchase of a reciprocating saw was the answer as I dug below ground level and sawed off the fence posts.

Here’s a link of the product I purchased – Worked great and its cordless capability came in very handy. I picked this brand due to its reliability and its cordless feature. I own other Makita cordless products so I am able to use the same battery on multiple tools. Very handy.

http://www.homedepot.com/p/Makita-18-Volt-LXT-Lithium-Ion-Cordless-Reciprocating-Saw-Tool-Only-BJR182Z/202352525

This product is also available from my favorite ecommerce tool merchant CPO Outlets through their merchant store at Rakuten.com and had I not wanted to finish the job that day, I would have order the product online.

http://www.rakuten.com/prod/makita-bjr182z-lxt-18-volt-bare-reciprocating-saw/217357287.html?sellerId=33367832

Day Two Expenses: $99

Total Running Expenses: $359

IMG_7633 IMG_7635

Step Three – Sprinkler Value Upgrade

IMG_7632Day 3 of my Southern California Japanese Garden Project was dedicated to upgrading the current Sprinkler Values.

I should point out that these days are generally separated by weekends and in some cases multiple weekends, they just reflect project days.

I have 3 sets of sprinkler values in my yard, each assigned to a separate yard section; one of the front yard, one for the back and one for the side yard where my Japanese Garden will be located.

While I had replaced the backyard values during my back yard pool project, my side and front yard values are still part of the original sprinkler system that is probably more than 20 years old. The values are old and leaky and the piping is lead which then attaches to PVC sprinkler piping once it’s underground. The values have been leaking for the past year and considering they are located right up against my house and foundation, it made sense to completely replace the value system and avoid having to back track to replacing these later in the project.

First, I dug up and removed the entire value system and cut the existing PVC pipes that led from the Values to the sprinkler systems. There were originally 4 values but two of them are no longer necessary as they sprinkler pipes were part of the back yard system and were capped off when we added on to the house.

For the two remaining necessary values, I purchased new PVC, two new values, and PVC glue from Home Depot to construct the new value system. I also changed out the old water facet and pipe fittings that attached the system to the water pipe that was coming out of the house. For this I simply removed the original fittings, replaced with new ones. If you look closely at the picture you can see that I used a t-fitting to allow water to flow to either the hose facet or through he value shut off towards the sprinkler system.

Once constructed, I let the newly cemented pipes sit for 24 hours and them pressured tested them by turning on each value.

Once the test proved the values and piping were leak free, I covered the piping with the dirt dug up to originally expose them.

Constructing a sprinkler system is actually much easier than you would think. An entire sprinkler system is managed through a value connected via a pipe to your existing water faucet/supply generally by an outdoor hose hookup. The valve acts as the on/off switch to open and close allowing water to flow from your faucet/supply through PVC pipe to a sprinkler located in your yard.  The value can be manually control or you can run wiring from the value to the controller so that you can set the sprinklers run automatically at set times

For my project, the electrical wires were already run for the old system, so I simply needed to replace the value system and reattached the wires.

As you can see from the pictures, I left a section of additional PVC off to the right of the second value in case I want to add an additional value and sprinklers at a later date.

IMG_7631 IMG_7632

Some of the items I used or are closely related:

Values:

http://www.homedepot.com/p/Rain-Bird-3-4-in-Jar-Top-Anti-Siphon-Valve-JTVAS075/202078408

PVC Schedule 40 pipe and fittings

http://www.homedepot.com/b/Plumbing-Pipes-Fittings-Valves-PVC-Pipe-Fittings-PVC-Schedule-40-Pipe/N-bueoZ5yc1v#./N-bueoZ5yc1v?&_suid=138308781953609929074123243111

Value Shut off

http://www.homedepot.com/p/LEGEND-VALVE-3-4-in-PVC-Solvent-Socket-Ball-Valve-S-601/203581031

PVC Pipe Cement

http://www.homedepot.com/p/Christy-s-8-fl-oz-PVC-Pipe-Cement-RH-RHBV-HP/100151698?N=budlZ4nb

Hose Bibb Value

http://www.homedepot.com/p/Homewerks-Worldwide-1-2-in-Brass-MPT-x-MHT-Hose-Bibb-Valve-VHBSTDC3B/202370004?N=bbl6%3FNao%3D24

Iron Tee

http://www.homedepot.com/p/Mueller-Global-3-4-in-Galvanized-Malleable-Iron-Tee-510-604HN/100166715?N=buu8Z1z114xf

Expenses:

Value replacement: $75

Project Running Total: $434

Step 4 – Fence Remove and Replacement

IMG_7932The fence was originally installed using the existing chain link posts with 2×4 wood beams attached horizontally between the posts with the individual redwood planks nailed onto the 2x4s.

The first step in replacing was removing the existing fence which was easily handled with a rubber mallet to remove the planks and then my Makita drill to remove bolts from the post brackets which attached the 2x4s.

With the existing fence removed, I went to Home Depot and decided on replacing the fence with pressure treated 2x4s and composite wood planks. The composite material is very durable and likely to retain its color and form significantly longer than wood and typically each plank is very uniform in shape making the fence look cleaner and more professional in appearance. The composite is resistant to termites which is a big plus in Southern California.

I used the previous steel fence posts and brackets to attach the pressure treated 2x4s and then attached the individual planks. I was really only concerned with how the fence looks from the front of the house since I will be covering the side of the fence facing the Japanese Garden with Bamboo later in the project.

Composite Fencing

http://www.homedepot.com/p/Veranda-7-16-in-x-4-5-8-in-x-69-in-Composite-Jatoba-Dogear-Fence-Picket-FNS-PKT-D-J-69-WC/203352891?N=c5ug

Pressure Treated 2x4s

http://www.homedepot.com/p/Unbranded-2-in-x-4-in-x-10-ft-Pressure-Treated-Hemlock-Fir-Brown-Lumber-414292/202287528?N=c3sr

Steel Post Wood Fence Bracket

http://www.homedepot.com/p/YARDGARD-200-lb-2-3-8-in-Galvanized-Steel-Wood-Post-Adapter-328594B/202025410

Expenses:

Fence Replacement Costs:  $145

Running Total For Japanese Garden: $580

IMG_7636 011 012 010 009

IMG_7933

Step Five – Rain Gutter

008Due to the pitch of my roof and our previous room addition, a good deal of rain water is expelled from my roof into a key area of my planned Japanese Garden.  The water, which is running over roof tiles seems to develop a level of toxicity which is harmful to my potted plants. I witnessed this first hand when a potted Ficus tree I had placed near the run off,  absorbed the roof water and lost all of it’s leaves. To eliminate any possibility of this happening again or in the future within my garden area,  I decided to add a rain gutter to this particular spot and then divert the water through a french drain and dry well and back into the earth for filtering.

For the gutter construction I opted for white vinyl (Amerimax products) vs the Aluminum gutter simply to ease of installation.

The installation was pretty easy but it helps to read the instruction sheet that’s available at home depot and online as attaching some components aren’t as intuitive as you’d think. The instructions available online are just a PDF of whats available in store but it can be magnified so easier to read and visualize.

Upon completion, I had several leaks where the downspout pieces connect so I purchase the spray sealer available at home depot and that seems to have done the trick.

To add the finishing touches to the project, I purchased the touch up spray that available from Amerimax as well.

Rain Gutter Expenses: $50

Running Total: $630

http://www.homedepot.com/b/Amerimax-Home-Products/N-5yc1vZ2cb/Ntk-All/Ntt-rain%2Bgutters?Ntx=mode+matchall&NCNI-5

008007

IMG_7949 IMG_7950

Step 6 – French Drain & Dry Well

IMG_7936The Second part of Rain Gutter project was to divert the run off from the roof to an area where it would be less disruptive to my Japanese Garden.

To complete this project, I decided to dig a trench from the end spout of the Rain gutter across my garden and install a french drain. The premise of a french drain is to divert water through piping which has holes in the bottom. As the water runs through the pipe it is leaked via the holes, into the ground so the area of water dispersement is increased by the length of the pipe.

Once the trench was dug, I began to install the french drain piping. For this step, I laid out the piping and measured and cut to fit. Prior to using the PVC cement to glue the pieces together I installed a piping sleeve. The pipe sleeve is a material that is similar to whats used as a ground cover protector for weeds. The thin cloth protects the pipe from getting dirt and debris in the holes while allowing water to flow through it. Using the sleeve will also eliminate the pipe getting clogged by roots and weeds.

At the end of the french drain I decided to install a dry well to handle any  heavy rain run off. For the dry well I dug a hole approximately 6 ft deep and placed a 4 foot trash can in the hole. Prior to installing the trash can, I drilled several 1 inch holes in the bottom of the trash can. The purpose of the dry well is to capture any of the water which is not leaked out of the holes in the french drain. That water would be diverted into the trash can.

Once the pipes and dry well were in place, I tested the whole drainage system by running a water hose into the rain gutter and watching for the water to leak through the piping along its route and ultimately into the trash can.

I noticed a few leak spots in my gutter system and patched them by using a spray silicone sealant.

I then filled the bottom of the trench and the entire trash can with crushed granite for the purposes of absorbing the water and allowing it to slowly seep into the soil beneath it, ultimately back into the groundwater.

I finished the project by placing some  soil separator material over the pipe, trashcan and crushed granite and then backfilling the trench and hole with dirt.

During this installation, I also took the opportunity to reroute some sprinkler piping to areas where I would need them.

French Drain Piping

http://www.homedepot.com/p/Advanced-Drainage-Systems-3-in-x-10-ft-Corex-Drain-Pipe-Perforated-3520010/100211705#.UoKwUhY0qxI

Sleeve

http://www.homedepot.com/p/Drain-Sleeve-4-in-x-10-ft-Filter-Sock-04010-12/100131144#.UoKwixY0qxI

Soil Separator

http://www.homedepot.com/p/Soil-Separator-Trench-Wrap-36150SSF-6/100154781#.UoKw7RY0qxI

Trash Can

http://www.homedepot.com/p/Rubbermaid-Commercial-Products-BRUTE-20-gal-Gray-Trash-Container-with-Lid-FG8620-20GRA/100211748?N=aaj%2FNtk-All%2FNtt-garbage%252Bcan%3FNtx%3Dmode%2Bmatchall%26NCNI-5#specifications

French Drain and Dry Well Expenses: $200

Running Total: $830

251 250 249 248 247 246

IMG_7929 IMG_7928 IMG_7927 IMG_7930 IMG_7936IMG_7936 IMG_7937 IMG_7937

Step 7 – Bamboo Fence

150When I initially started my Japanese Garden project, I wasn’t sure if I was going to incorporate fencing or simply utilize plants and trees to provide something interesting to liven up the existing block wall that borders my side yard from my neighbor’s driveway.

After seeing the frequent use of bamboo in the Japanese gardens I researched, I decided that bamboo would provide both a nice screen over the less than attractive block wall and allow me to incorporate some common Asian garden elements.

I decided that I would begin the fencing about 10-15 feet from the entrance to my side yard and wrap the fence around the area of the yard which would later include a small deck.

The first step was locating suitable fencing and after researching several fencing retailers, I decided on Cali Bamboo in San Diego due to both their excellent selection of bamboo fencing colors and sizes but also availability of single pieces of bamboo in various widths.

http://www.calibamboo.com

A call to Cali Bamboo’s customer service and some good advice led me to choosing the natural black bamboo fencing which fit the darker color scheme I intended to create. I also purchase several 3 and 4 inch width pieces for use as fence posts and for some other decorations I intend to incorporate in the latter stages of my project.

Another reason I liked Cali Bamboo were their instructional and installation videos, which were fairly straightforward, and a great reference point.

The first step in the fence installation was ensuring the fence area was clear of any debris and vegetation. The most difficult part of this installation was digging up the roots of the wall-climbing vine that has previously covered my block wall.

Once the wall and ground were clear I purchased several 8ft 2x4s and attached them to the block wall using cylinder block screws. In order to ensure the 2x4s were secure, I predrilled both the 2x4s and wall and then attached the beams creating a nice secure fit.

141

137

142

143

Next, I cut the bamboo posts to size and attached the with 6 inch black screws. I was initially going to cement in the bamboo posts but since they weren’t going to be securing the fence (as per the next step) I simply attached them to the 2x4s.

The final installation step was  rolling out the fencing and attaching them to the 2x4s with black exterior screws. Finding black screws took some searching, but they are available and look much better than the recommended deck screws given the color choices.

147

148

After installation I debated a stain or simply allowing the fence to age naturally. I decided to utilize the recommended TPZ stain (Dark Oak) but upon applying it found that it changed the color of my fence too dramatically so I unscrewed and flipped the bamboo fence sections so that the stained side of the fence faced the wall and the unstained bamboo faced the yard.

Lastly, I dug under the bamboo and filled the area with crushed granite so that the bamboo would not be in contact with the dirt.

At this point, I have left the bamboo posts slightly higher (about 3 inches) than the bamboo fence segments, which I may level off once the project is completed.

The cost of this part of my project was higher than I had originally expected to spend but I really liked the natural black bamboo, as it was a more rare and unique look. The same fencing project could have been done for less if I had used the lighter natural color bamboo but my heart was set on the darker color. A big thanks to Cali Bamboo for working with me and giving me a really good price break.

Bamboo Fence Expenses: $1500

Running Total: $2330

161

162

160

151

150

Step 8 – Deck

002 (2)When envisioning my garden, I wanted to be sure to incorporate a sitting area. Some early ideas included a table and chairs in the center of the garden and/or a bench area.

After seeing some interesting wooden deck photos,  I decided to utilize the very back of my garden to create a small deck which would provide a good vantage point to the rest of the garden. Additionally, this deck would be visible as you initially enter the garden providing some good perspective.

Given the narrow size of yard and the height of the fence, I had to keep the deck low to the ground.

For ease of installation I utilized DEK Blocks to provide support and elevate the deck, keeping the wood beans off the ground. Each DEK Block was positioned to allow for cross beams of treated wood. The cross beams simply insert into the opening on the top of each DEK Block and provide a secure foundation. Some adjusting and aligning was required to ensure a proper fit.

http://www.lowes.com/pd_19070-1662-DEK-BLOCK+BRAND+PIER_0__?productId=3613302&Ntt=deck+blocks&pl=1&currentURL=%3FNtt%3Ddeck%2Bblocks&facetInfo=

164 165

I also buried each DEK Block about 4-5 inches deep to provide the correct height for my deck making sure to clear the dirt under my deck area to avoid the wood to ground contact.

While I used treated wood for the cross beams, I opted for Redwood for my deck. At this point I wasn’t sure if I was going to stain the deck so the higher quality redwood seemed to provide me more options if I wanted to leave the wood a natural color.

http://www.ganahllumber.com

169

I really wanted a tree in the corner of my garden where the deck was to be installed so I decided to incorporate space for a tree in my design cutting the redwood plants to allow for an in-deck placement.

Prior to installing the redwood, I ran the all the sprinklers and electrical wires for watering and highlighting the tree with lighting. The installed wiring will also power the lighten on my Japanese Lanterns.

Before installing the redwood I laid out the pieces to make sure everything fit and then I stained the redwood a dark brown utilizing Behr Deck Protector and Stain.

http://howto.homedepot.com/videos/watch/934262931001/Behr-Premium-Weatherproofing-Wood-Stain-for-your-Deck-The-Home-Depot.html

Once the stain dried, I installed the redwood and attached them using the same Black exterior screws I used on the Bamboo fencing.

The last element was planting the Cherry Blossom tree I purchased at San Gabriel Nursery. While I understand it will be difficult to get his tree to flower in the spring in California given the lack of a dormant season, I am hoping the partial shade location may help.

http://sgnurserynews.com/site/

002 (2) 001 (2) 004 (2) 003 (2)

Deck Expenses: $450

Running Total: $2780

Step 9 – Water Basin

235One of the key elements of many Japanese Gardens is the water basin. From my research, I have come to understand that the water basin has the very practical application of providing a Tea House visitor with a means of cleansing oneself prior to entering the tea house. While visiting several temples in Japan, I was able to get a great perspective of how the water basins are/were incorporated into the Japanese Garden environment.

When planning my Japanese Garden, I decided to integrate a water basin element near my deck as I wanted to deck to represent peacefulness and the Zen like principles the Tea House has in more traditional Gardens.

The most difficult task within this project was actually locating the granite water basin that I desired. I spent several weeks online and visiting local nurseries before I finally found the water basis I was looking for locally at the House of Bonsai Nursery in Lakewood California. Not only did this nursery have a good variety of Japanese water basins and granite lanterns but they were also more reasonable priced than any other source I had researched. Additionally, their selection of Bonsai is vast as you might imagine from their name and they are very knowledgeable and extremely helpful. They also have other garden elements and I picked up a Bamboo water ladle during my visit.

http://www.houseofbonsai.com/

Once I had relocated the 160 pound granite water basin to my garden, I then purchased and relocated two very large stones to border my water basin and provide a more realistic look to its placement. These rocks were purchased from a local quarry in Irwindale. Sunburst Rock has a great selection of stones, boulders and gravel and considering they cater to many landscapers in Southern California they have also provided me with some great suggestions on rocks choices including those being utilized in local Japanese Gardens.
I decided on the Charcoal boulders and purchased 4, each weighing between 300-400 pounds. I also purchased approximately 10 smaller stones each 10-25 pounds and finally 8 bags of crushed granite and one bag of Mexican pebbles which would be used in the final stages of my project for aesthetics.

http://www.sunburstrock.com/

With the two boulders in place (with the help of a dolly and my son) I dug a hole for the water basin catch that I would use to catch the water flowing over my water basin onto the ground and the pump that would be used to recycle the water back up through Bamboo to once again drip into the water basin creating a fountain like experience.

212


http://www.pondandgardenwholesalers.com/servlet/the-1302/pond-water-basin-reservoir/Detail

Once the water basin catch was in place and leveled, I filled it with water to test the pump and satisfied everything was in working condition, I backfilled the basin with dirt.

Next, I utilized some of my left over bamboo fence from my fence project to construct a water basin spigot by cutting a larger bamboo piece to size and then using a smaller piece to act as the spigot. I then drilled into the bamboo and ran tubing from the pump up through the bamboo.

223

The last piece of the project was placing a stepping stone on top of the water basin catch and placing the Japanese water basin on top of it. I used the Mexican pebbles to cover the balance of the water basin catch and then the crushed gravel to give it a finished look. The final touches will include plants.


229233

Water Basin Expenses: $825 (Water Basin $175, Boulders & Granite $350, Water Basin Catch and Pump $300)

Running Total $3605