
 One of the key elements of many Japanese Gardens is the water basin. From my research, I have come to understand that the water basin has the very practical application of providing a Tea House visitor with a means of cleansing oneself prior to entering the tea house. While visiting several temples in Japan, I was able to get a great perspective of how the water basins are/were incorporated into the Japanese Garden environment.
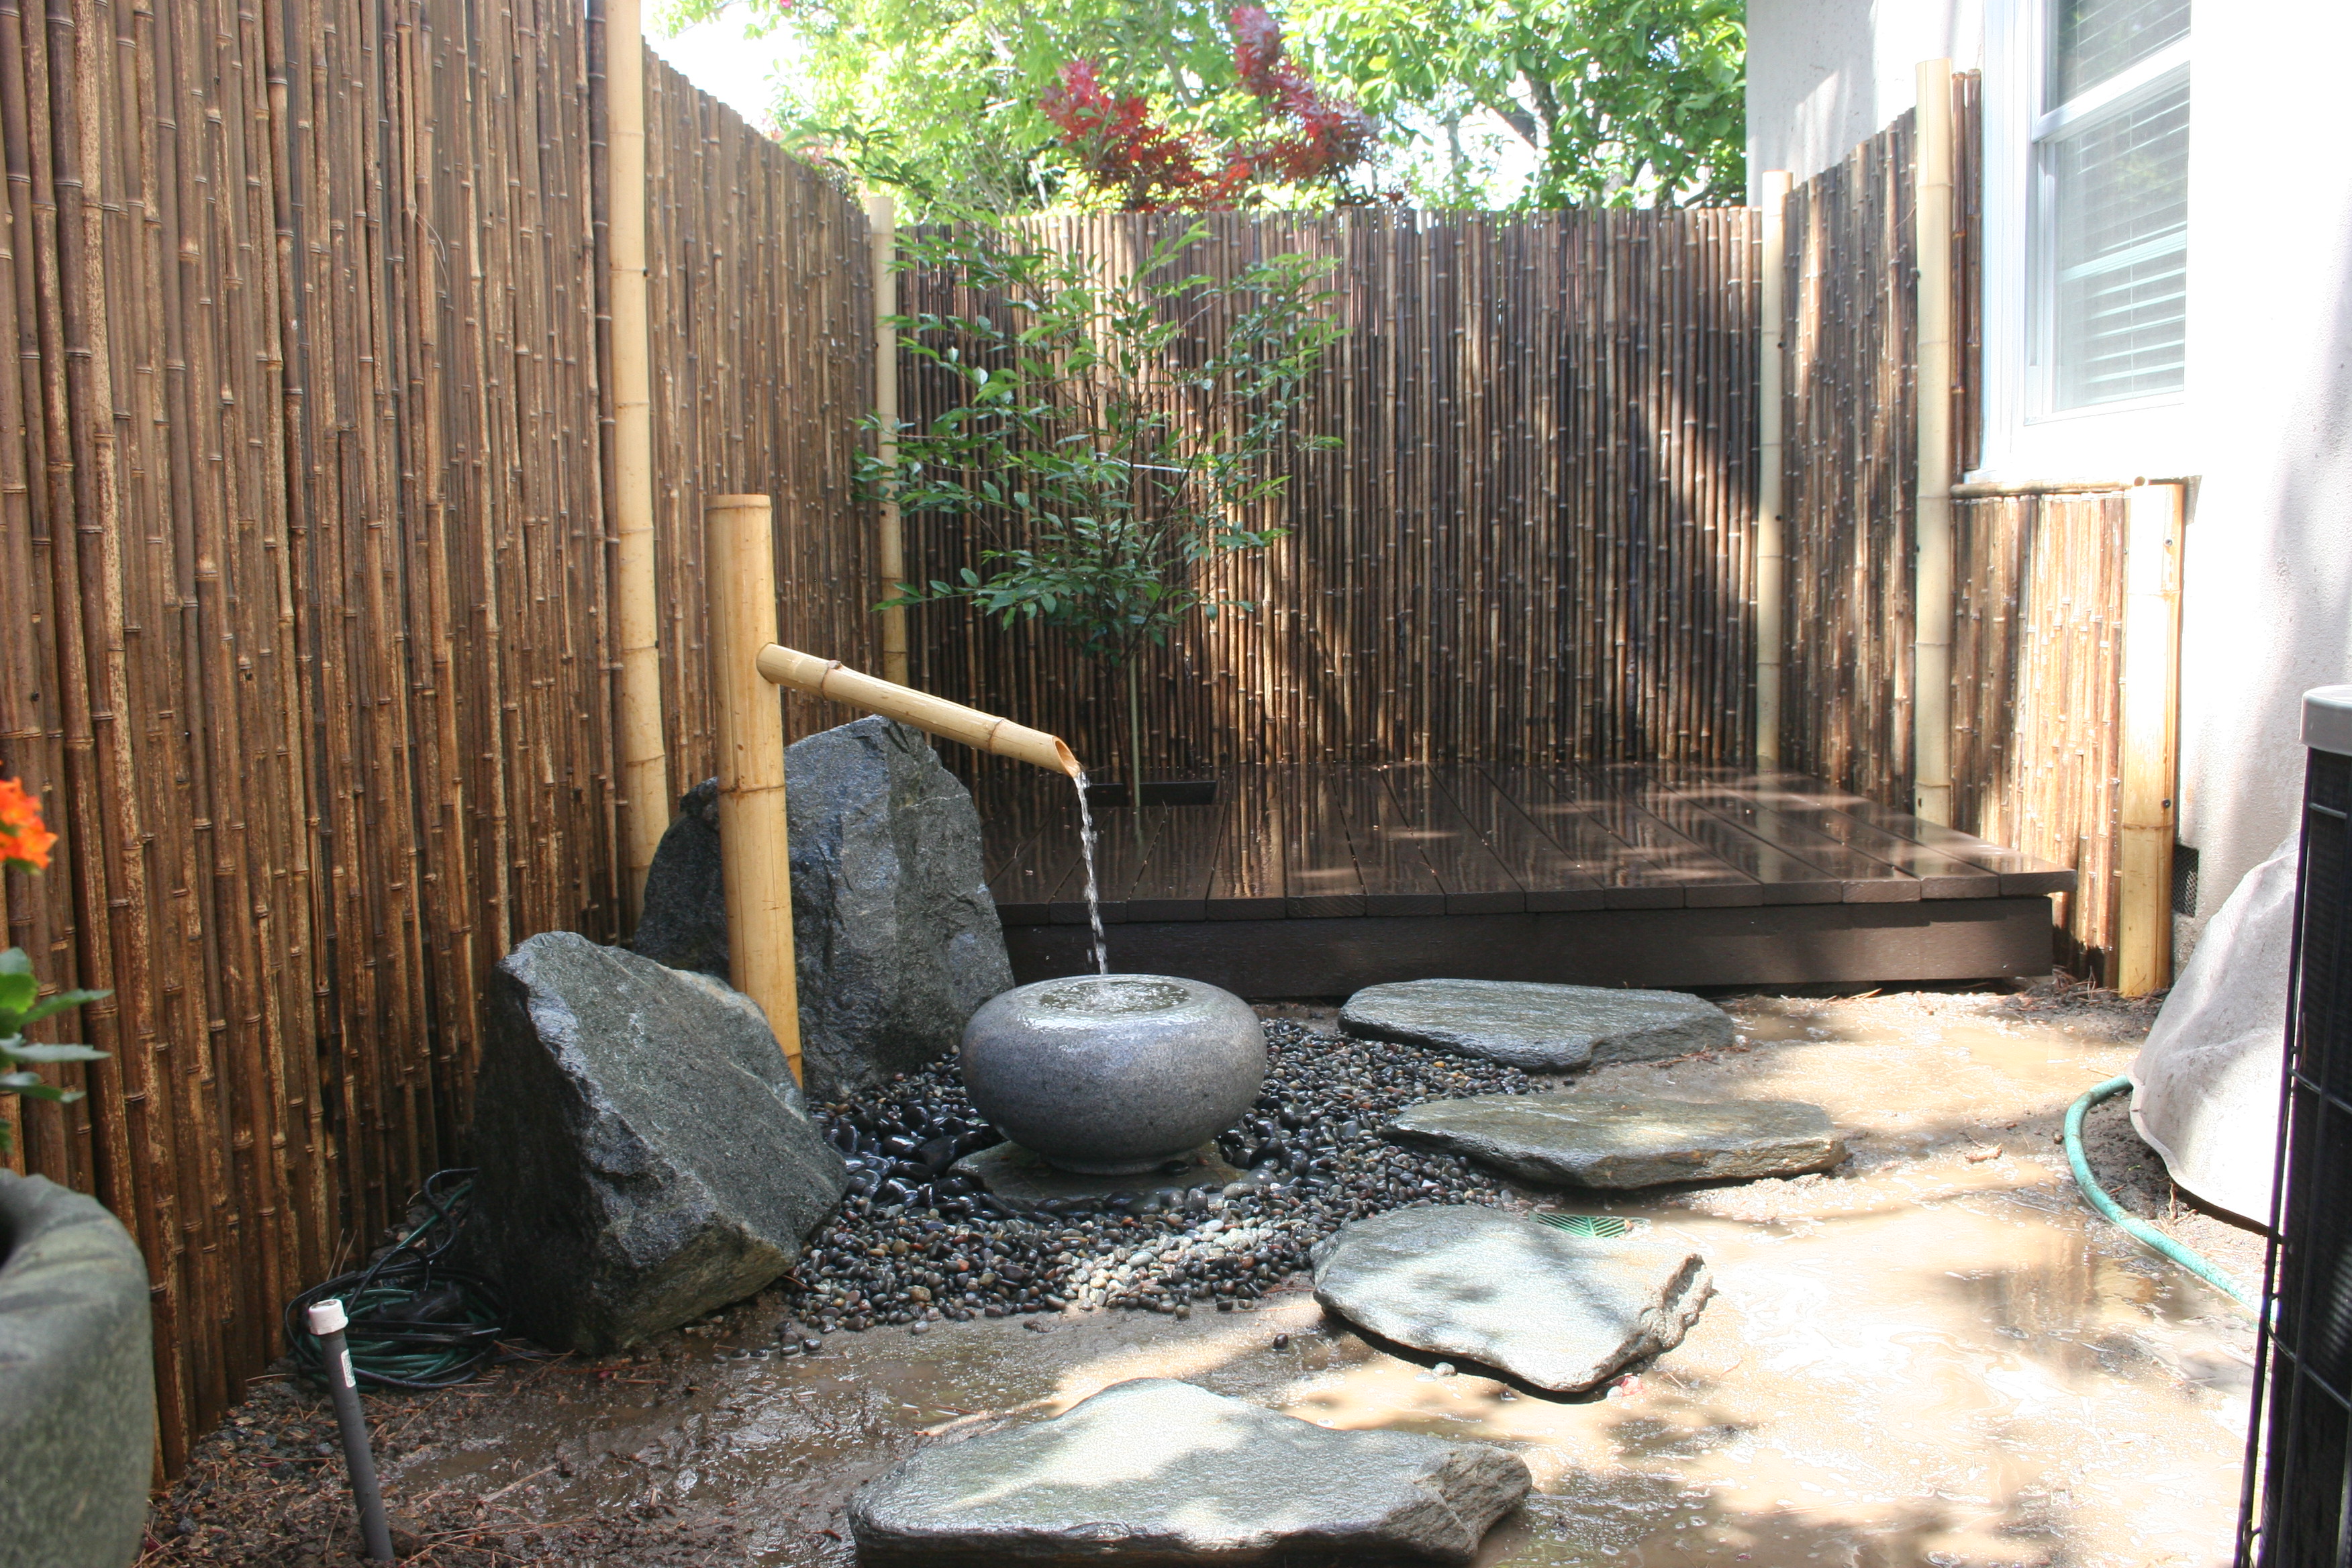
When planning my Japanese Garden, I decided to integrate a water basin element near my deck as I wanted to deck to represent peacefulness and the Zen like principles the Tea House has in more traditional Gardens.
The most difficult task within this project was actually locating the granite water basin that I desired. I spent several weeks online and visiting local nurseries before I finally found the water basis I was looking for locally at the House of Bonsai Nursery in Lakewood California. Not only did this nursery have a good variety of Japanese water basins and granite lanterns but they were also more reasonable priced than any other source I had researched. Additionally, their selection of Bonsai is vast as you might imagine from their name and they are very knowledgeable and extremely helpful. They also have other garden elements and I picked up a Bamboo water ladle during my visit.
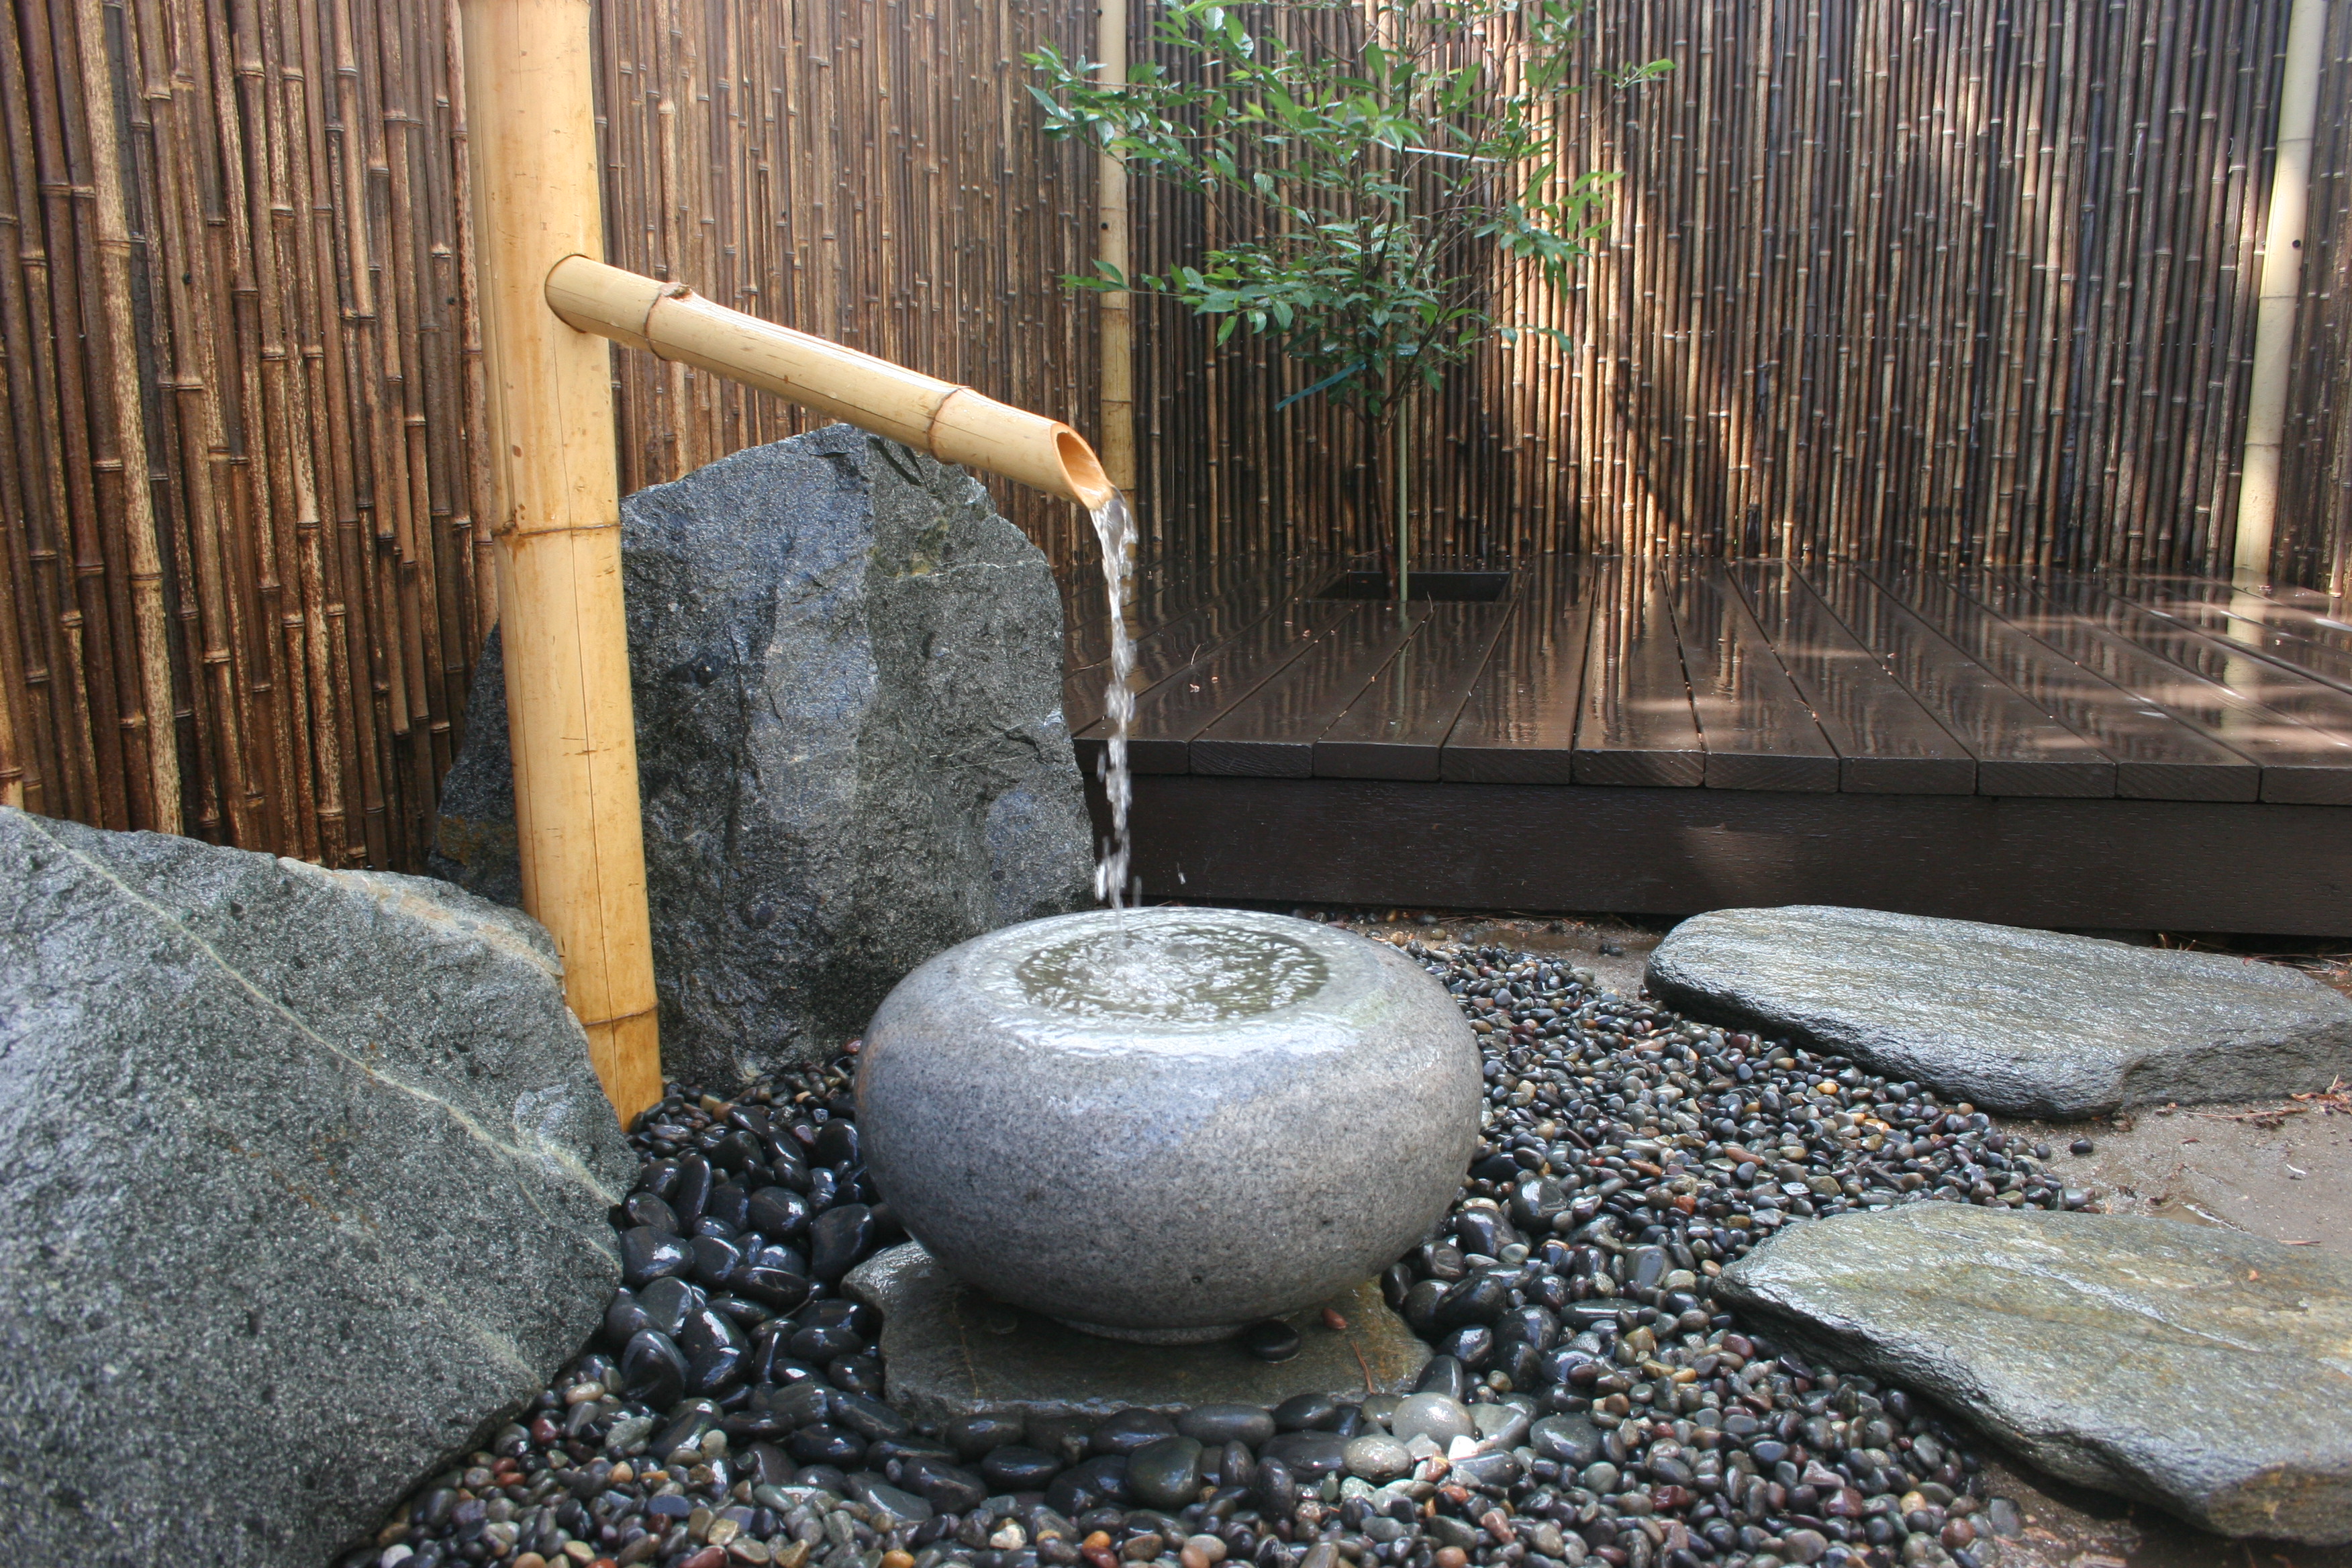
Once I had relocated the 160 pound granite water basin to my garden, I then purchased and relocated two very large stones to border my water basin and provide a more realistic look to its placement. These rocks were purchased from a local quarry in Irwindale. Sunburst Rock has a great selection of stones, boulders and gravel and considering they cater to many landscapers in Southern California they have also provided me with some great suggestions on rocks choices including those being utilized in local Japanese Gardens.
I decided on the Charcoal boulders and purchased 4, each weighing between 300-400 pounds. I also purchased approximately 10 smaller stones each 10-25 pounds and finally 8 bags of crushed granite and one bag of Mexican pebbles which would be used in the final stages of my project for aesthetics.
With the two boulders in place (with the help of a dolly and my son) I dug a hole for the water basin catch that I would use to catch the water flowing over my water basin onto the ground and the pump that would be used to recycle the water back up through Bamboo to once again drip into the water basin creating a fountain like experience.

http://www.pondandgardenwholesalers.com/servlet/the-1302/pond-water-basin-reservoir/Detail
Once the water basin catch was in place and leveled, I filled it with water to test the pump and satisfied everything was in working condition, I backfilled the basin with dirt.
Next, I utilized some of my left over bamboo fence from my fence project to construct a water basin spigot by cutting a larger bamboo piece to size and then using a smaller piece to act as the spigot. I then drilled into the bamboo and ran tubing from the pump up through the bamboo.

The last piece of the project was placing a stepping stone on top of the water basin catch and placing the Japanese water basin on top of it. I used the Mexican pebbles to cover the balance of the water basin catch and then the crushed gravel to give it a finished look. The final touches will include plants.
Water Basin Expenses: $825 (Water Basin $175, Boulders & Granite $350, Water Basin Catch and Pump $300)
Running Total $3605

This all looks wonderfully calming and I sure could use that right now.