The fence was originally installed using the existing chain link posts with 2×4 wood beams attached horizontally between the posts with the individual redwood planks nailed onto the 2x4s.
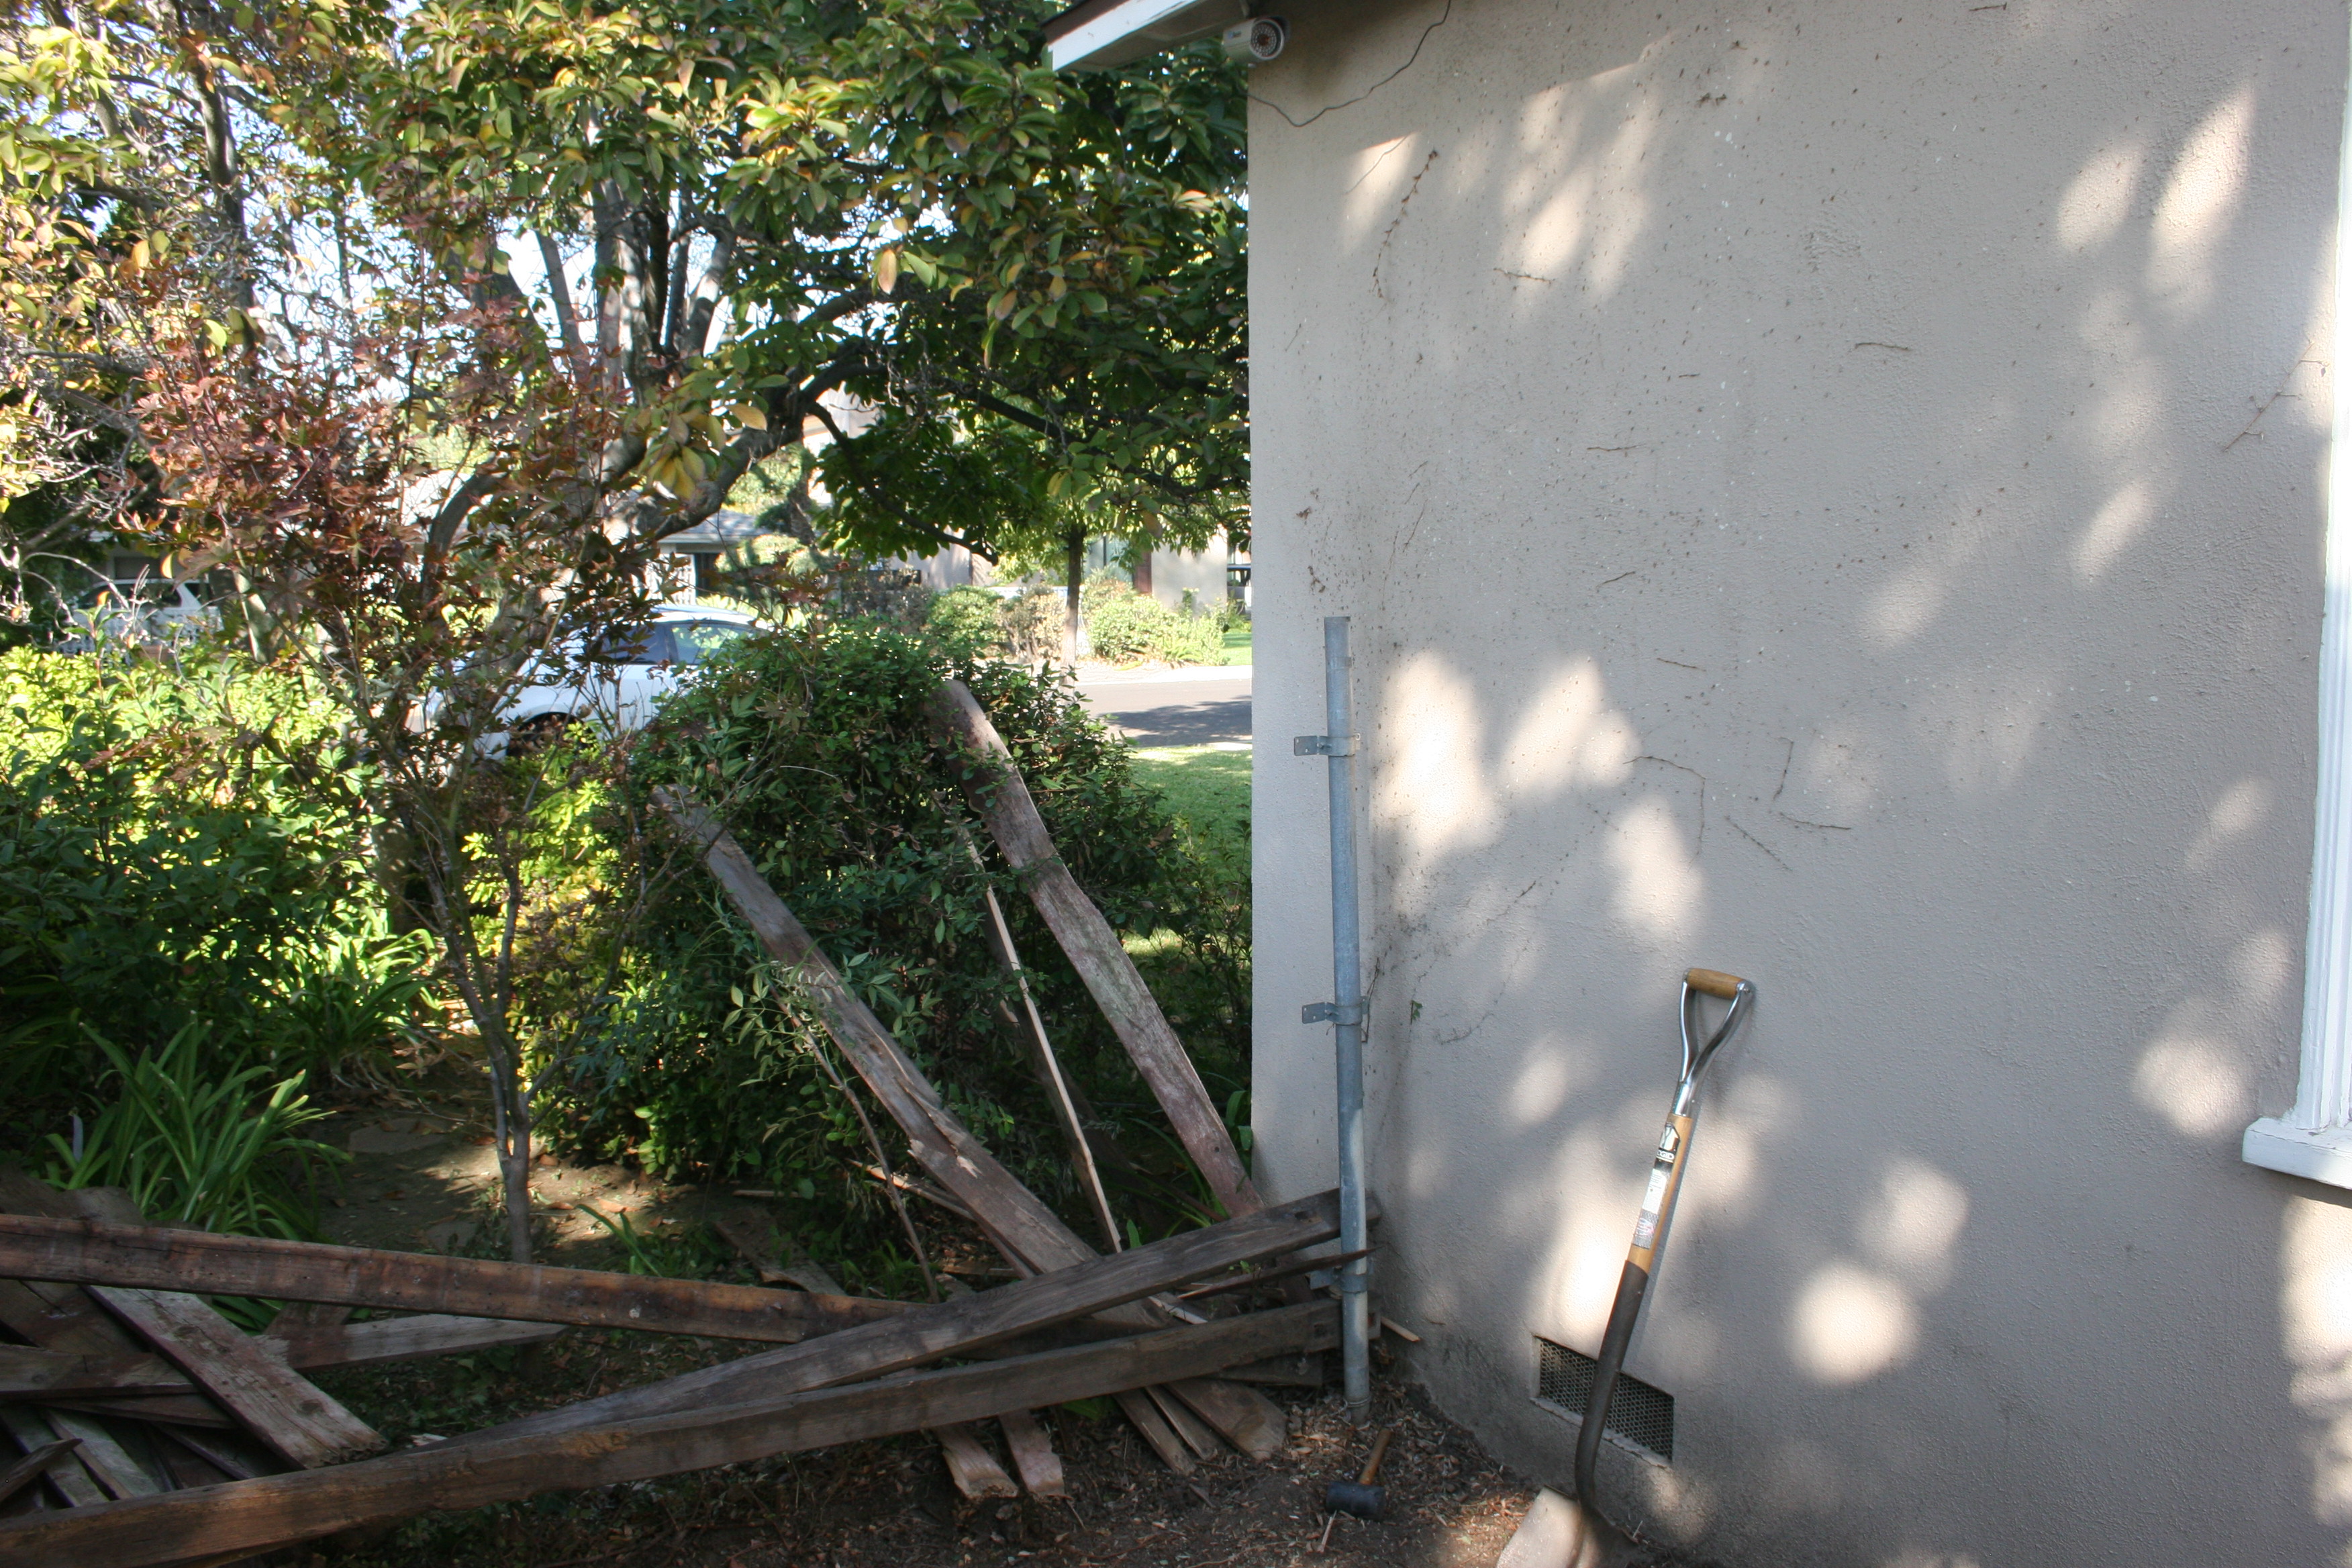
The first step in replacing was removing the existing fence which was easily handled with a rubber mallet to remove the planks and then my Makita drill to remove bolts from the post brackets which attached the 2x4s.
With the existing fence removed, I went to Home Depot and decided on replacing the fence with pressure treated 2x4s and composite wood planks. The composite material is very durable and likely to retain its color and form significantly longer than wood and typically each plank is very uniform in shape making the fence look cleaner and more professional in appearance. The composite is resistant to termites which is a big plus in Southern California.
I used the previous steel fence posts and brackets to attach the pressure treated 2x4s and then attached the individual planks. I was really only concerned with how the fence looks from the front of the house since I will be covering the side of the fence facing the Japanese Garden with Bamboo later in the project.
Composite Fencing
Pressure Treated 2x4s
Steel Post Wood Fence Bracket
http://www.homedepot.com/p/YARDGARD-200-lb-2-3-8-in-Galvanized-Steel-Wood-Post-Adapter-328594B/202025410
Expenses:
Fence Replacement Costs: $145
Running Total For Japanese Garden: $580