 When I started this project I wanted to construct a garden that wouldn’t create a lot of extra daily/weekly upkeep. I also wanted to create a space that was usable both during the day and the evening. In order to help with the reduction of upkeep, I decided to utilize containers for most of my plants making them easy to change out if necessary and creating less soil prep and install individual drippers and automatic sprinklers for watering. To make the space appealing in the evenings, I opted for utilizing several Japanese Lanterns and Mileage stones and wiring them for light.
WATER
To complete this portion of my project, I utilized my existing value and PVC piping. The materials for this project all came from Lowes and are generally very simple to install and really just like putting puzzle pieces together. Here are a list of the components I used:
- Raindrip 5/8-in x 500-ft Polyethylene Drip Irrigation Distribution Tubing
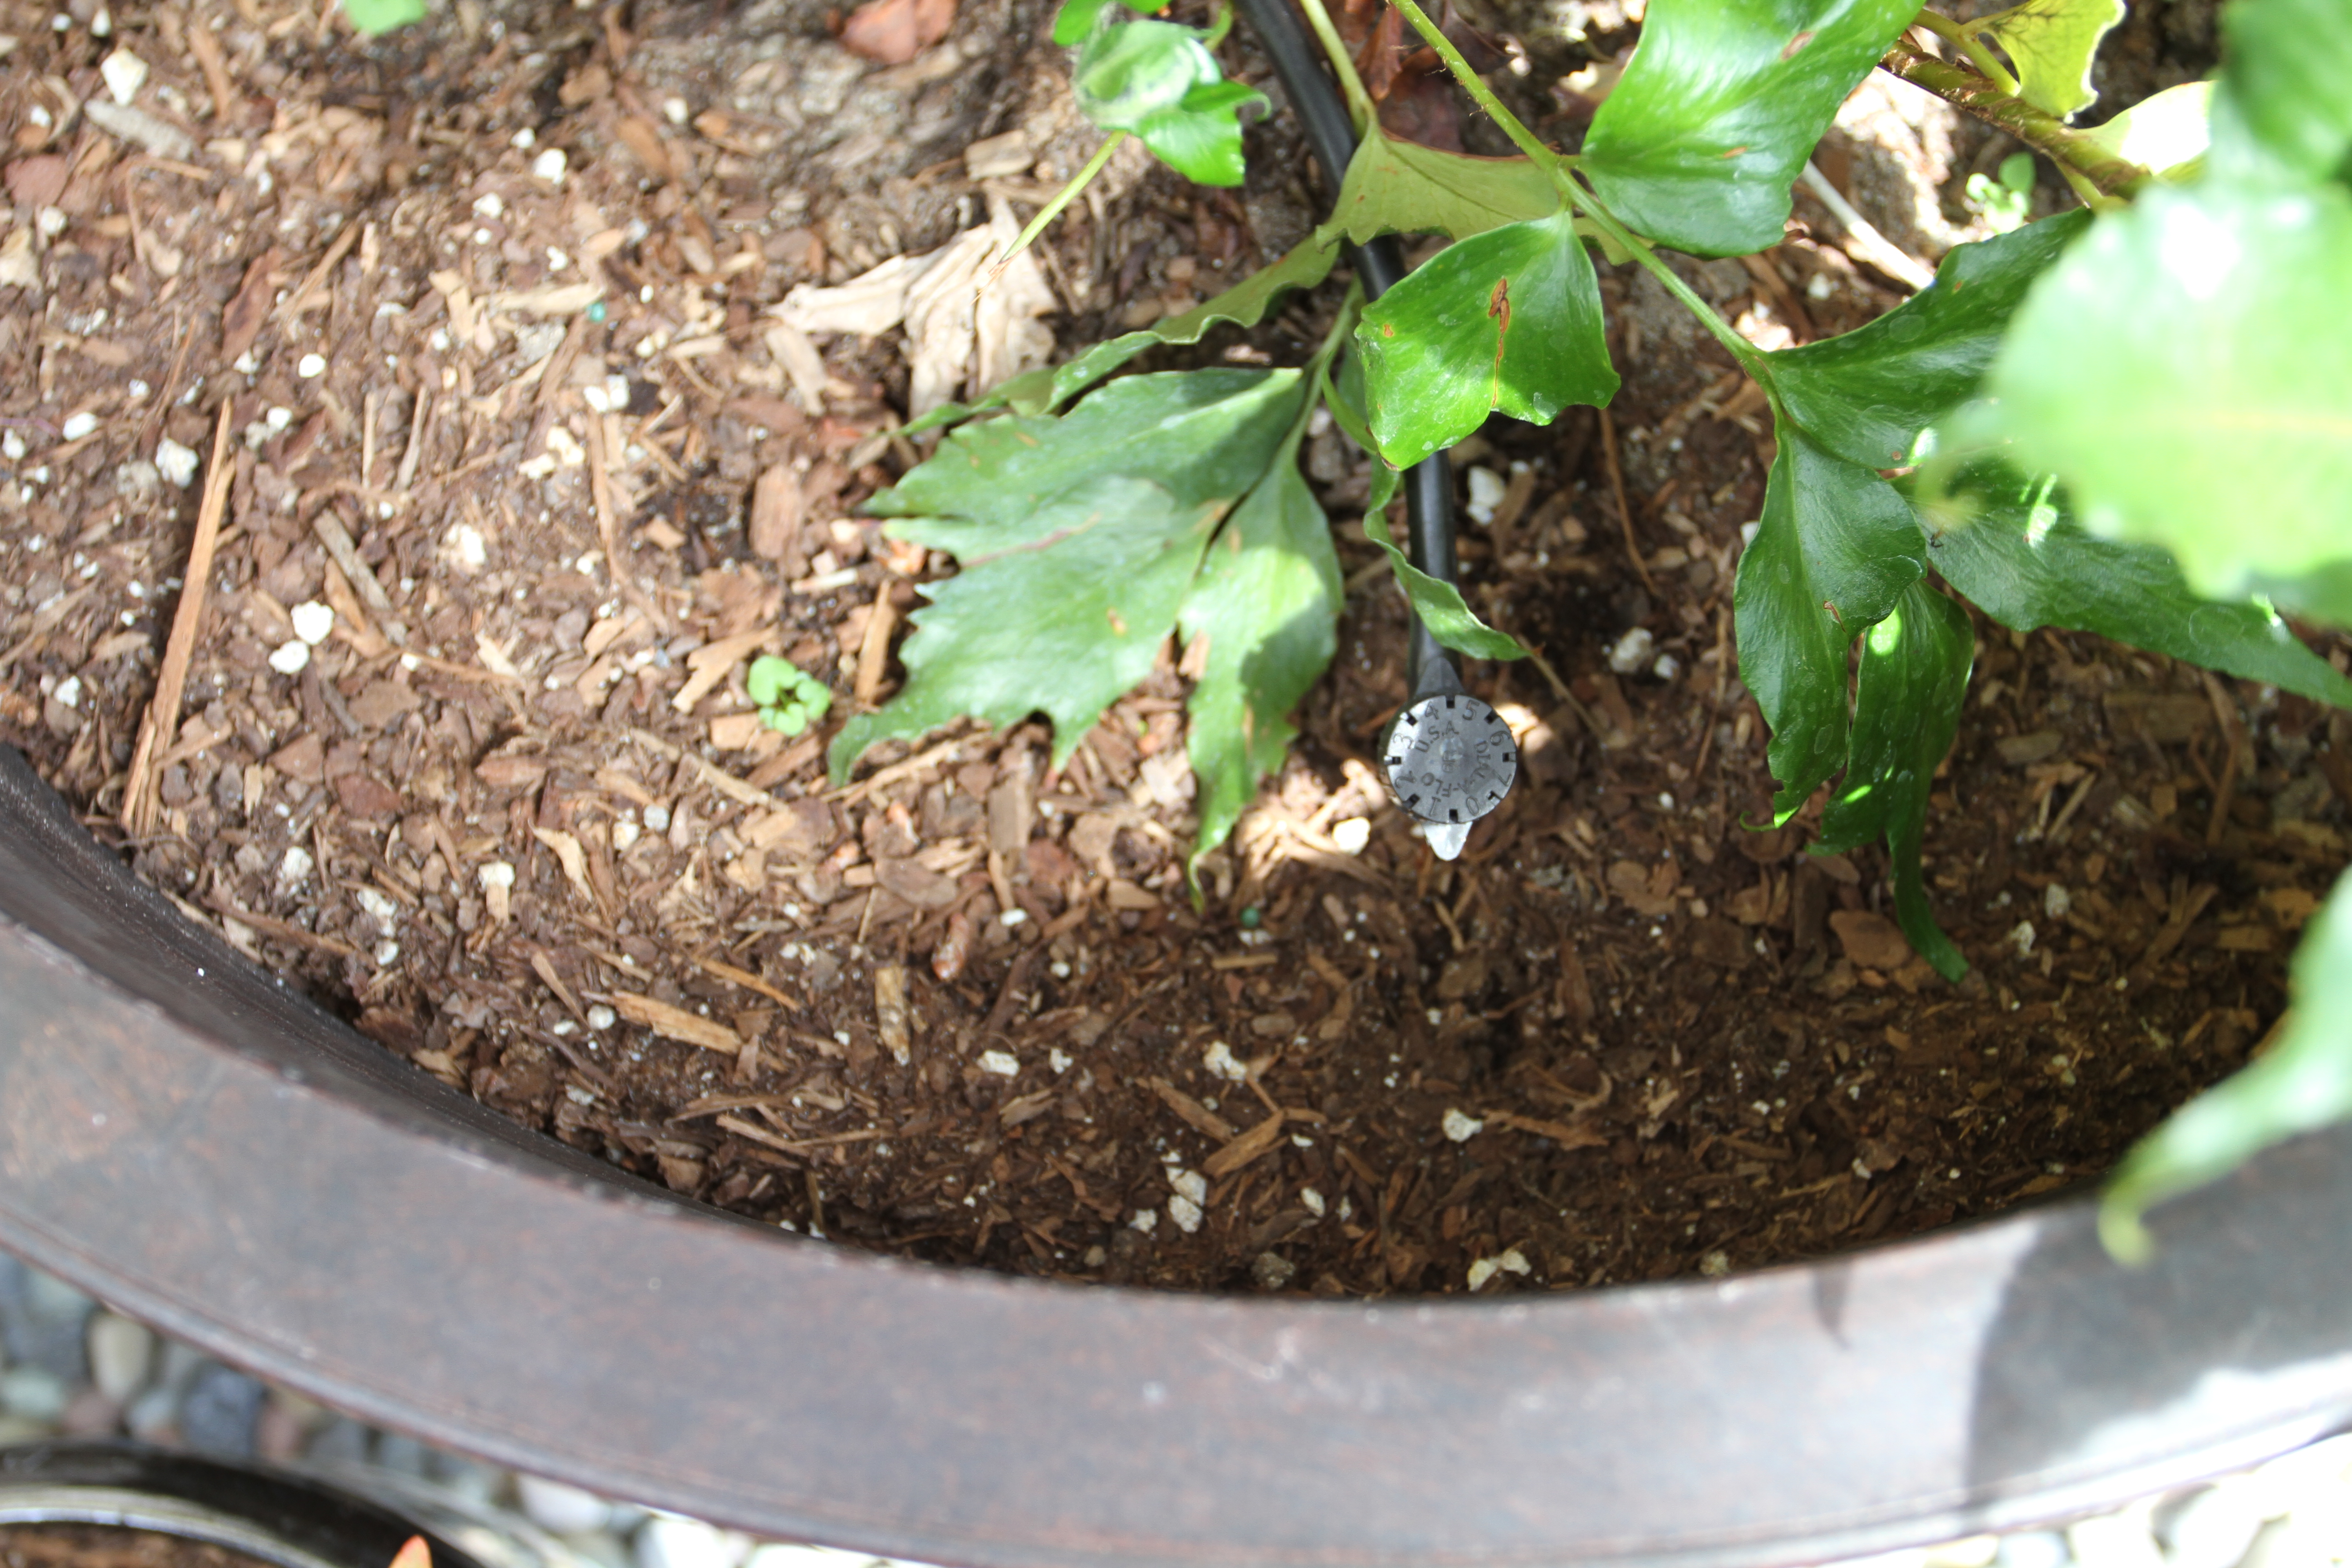
- Mister landscaper Drip Irrigation Micro Stake Assembly
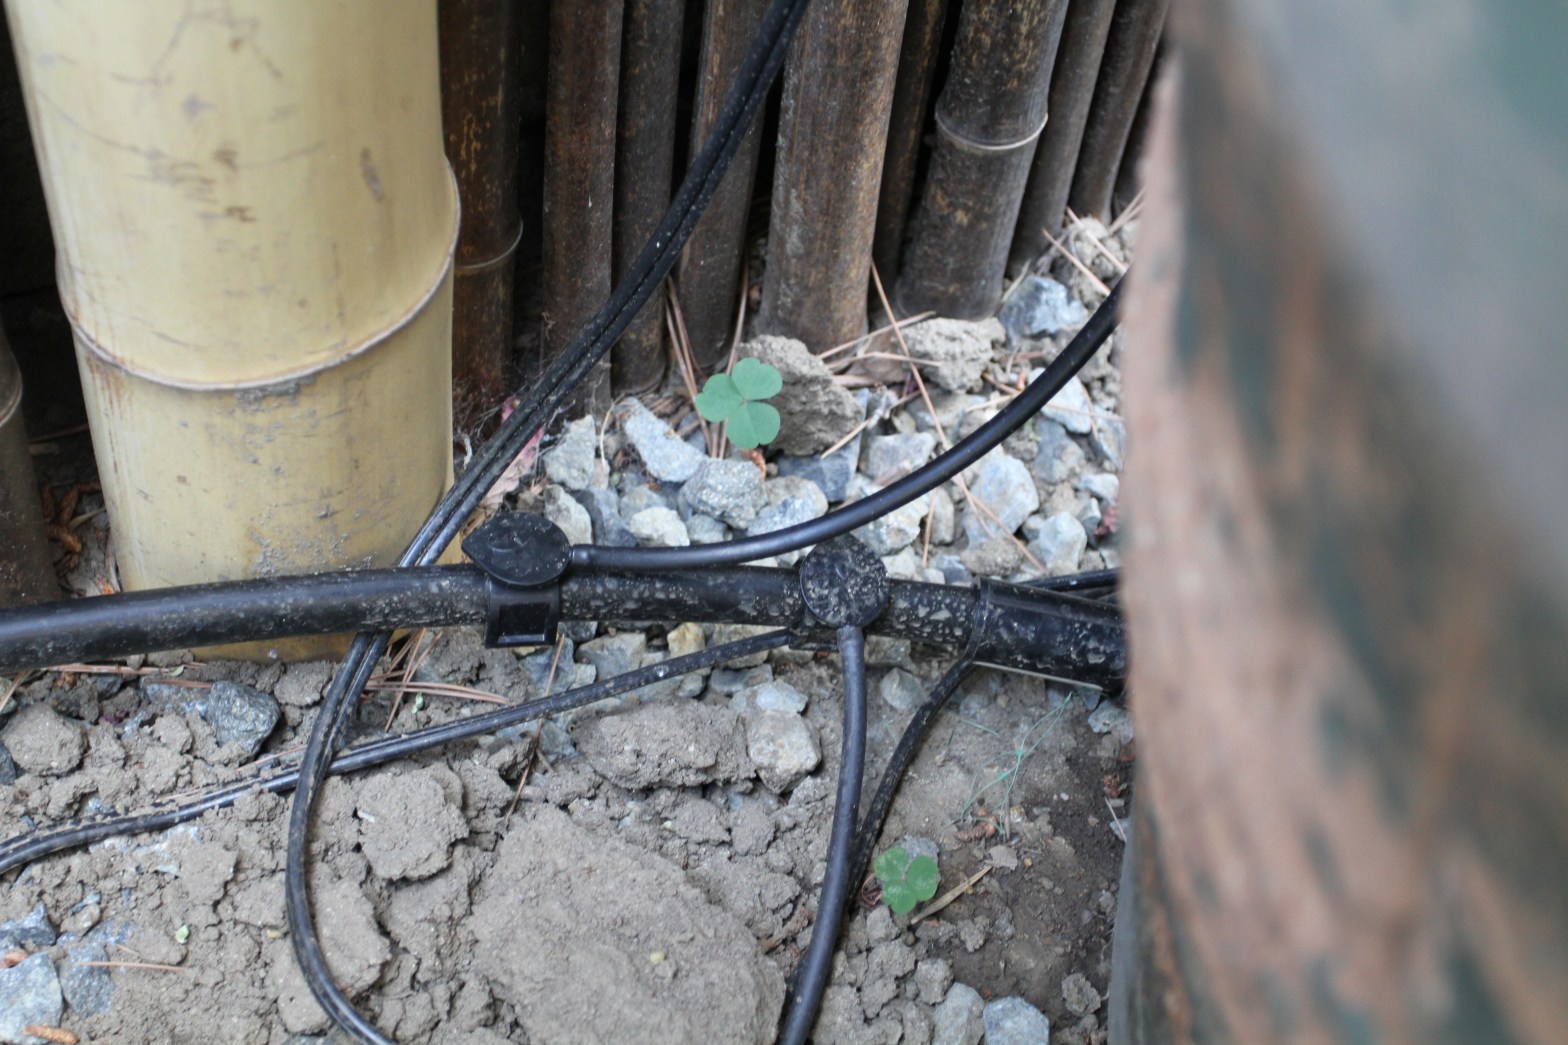
- Raindrip 5/8-in Polypropylene Drip Irrigation Tee
- Raindrip 5/8-in Polypropylene Drip Irrigation Female Adapter
- Raindrip 5/8-in Polypropylene Drip Irrigation Elbow
- Agrifim 25-Pack 17mm Acetal Drip Irrigation Tees
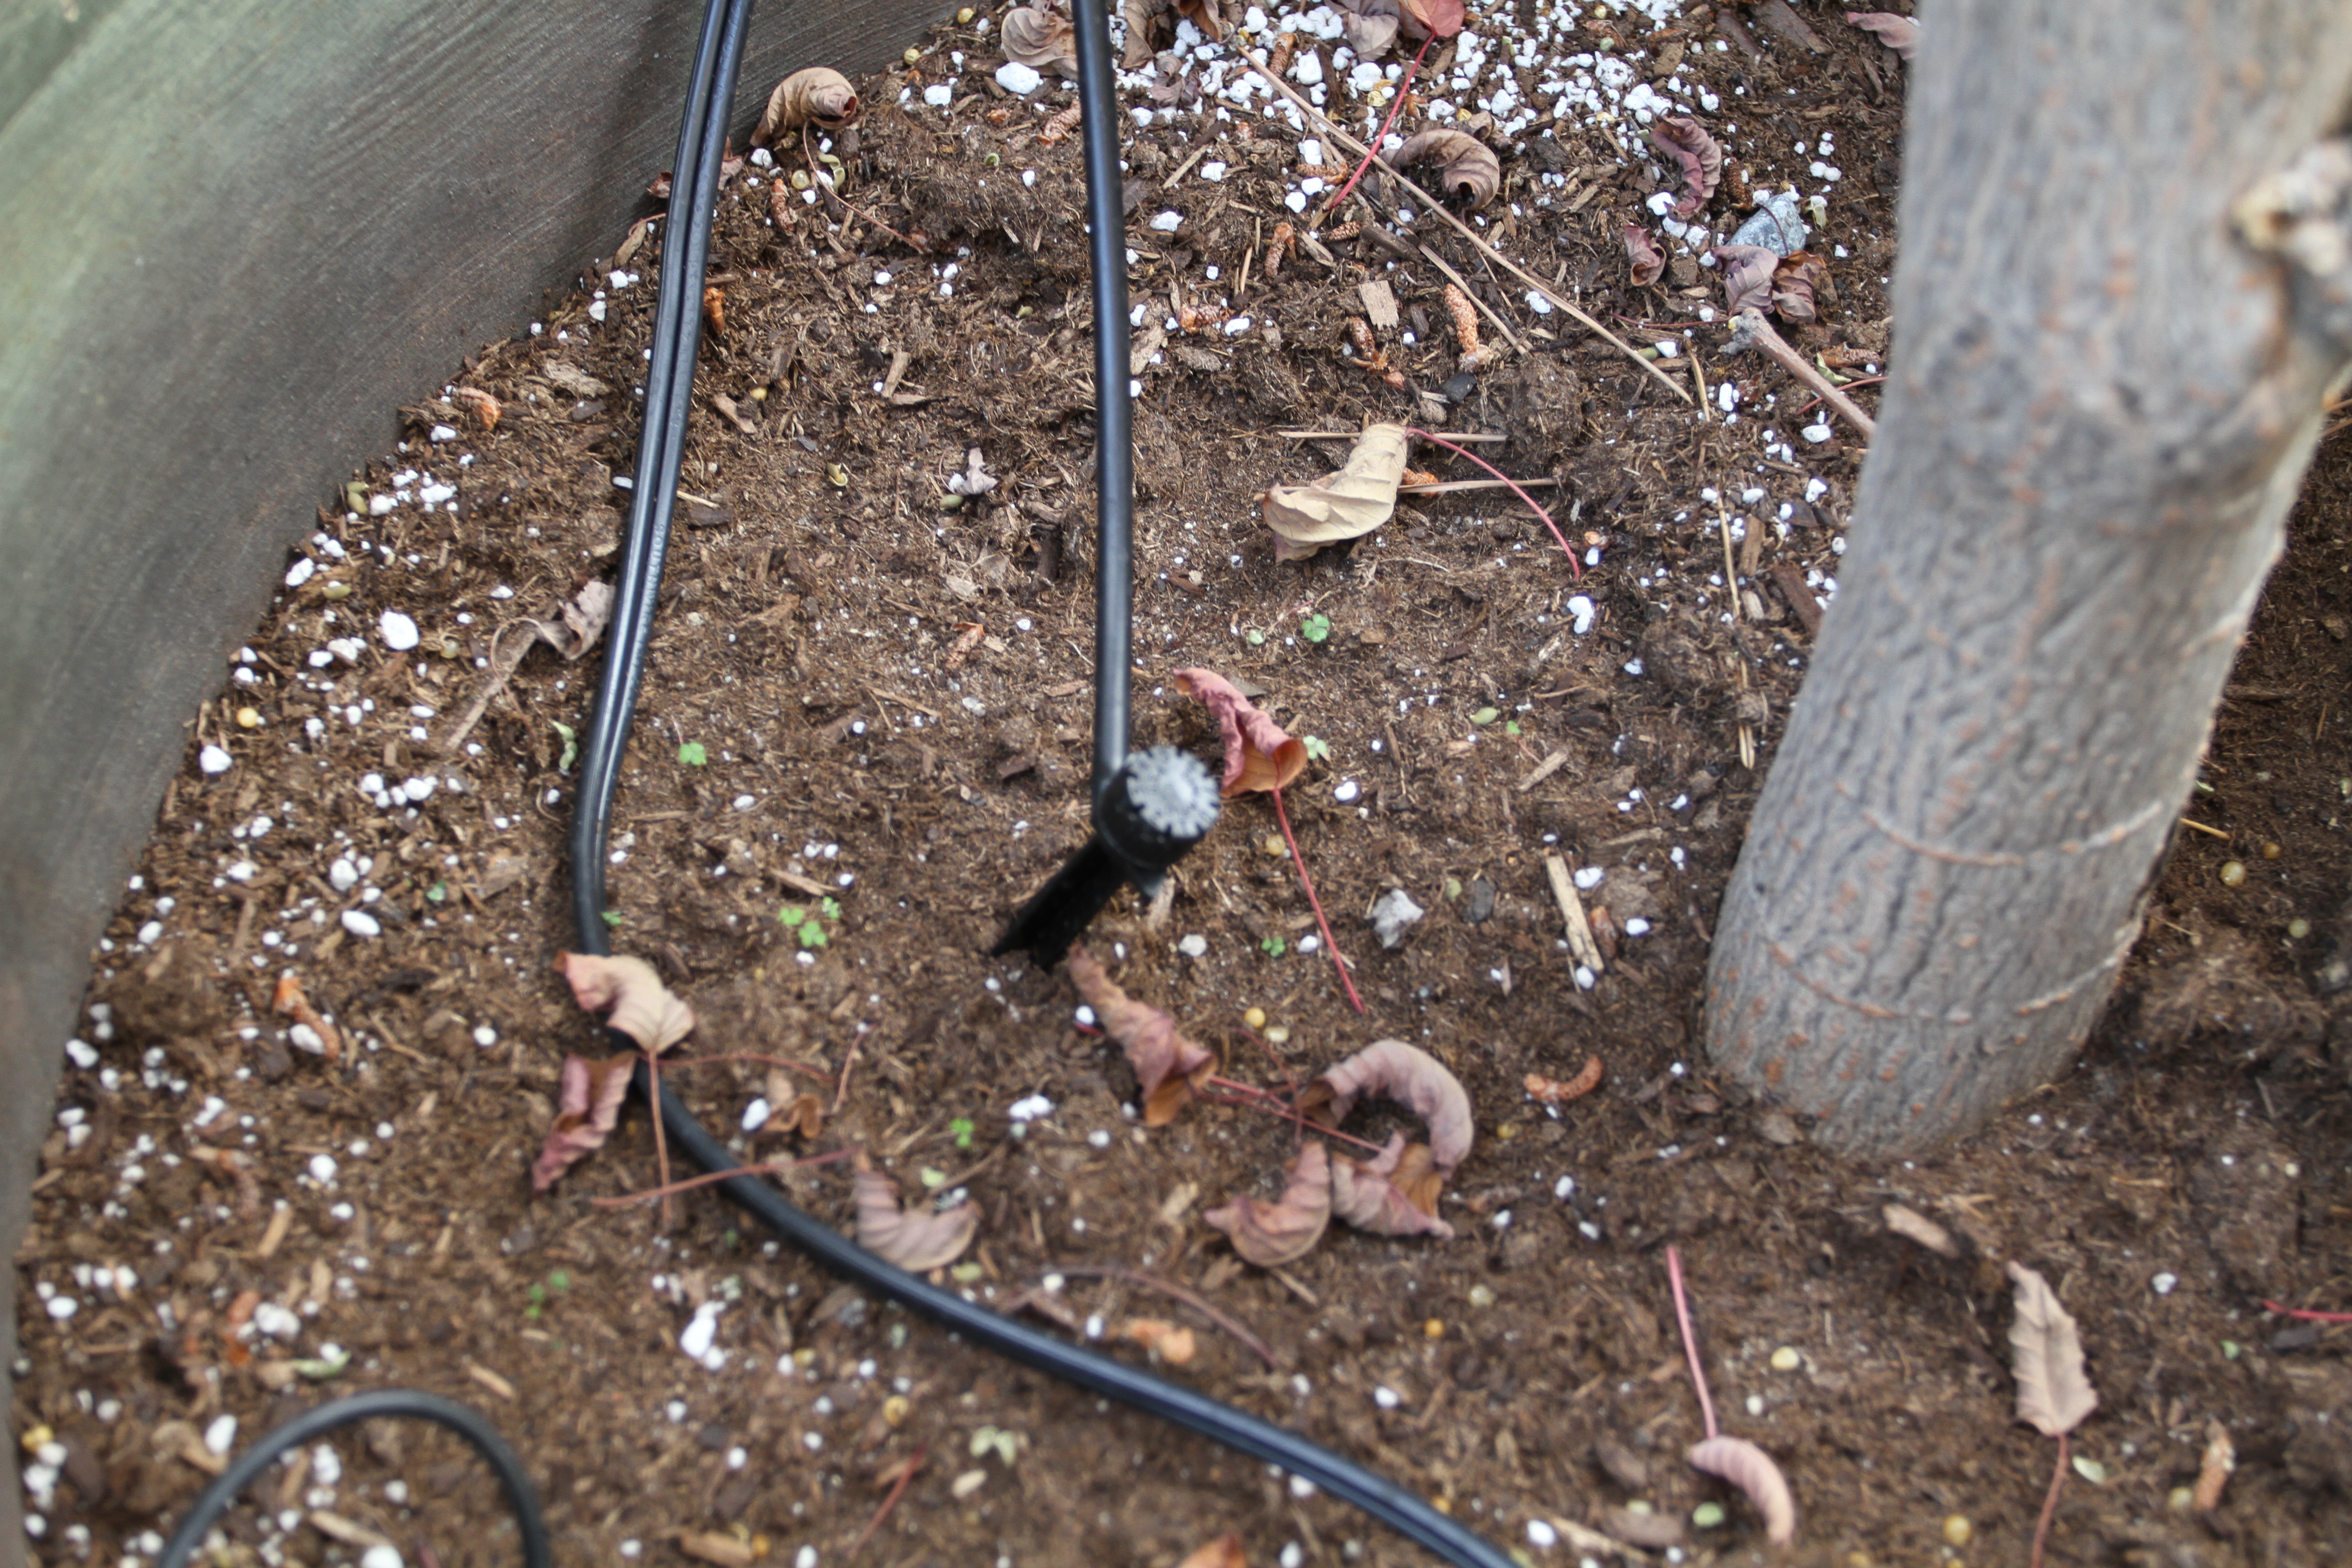
- Raindrip Full-Circle-Spray Drip Irrigation Multi-Stream Dripper Stake
- Raindrip 1/4-in x 50-ft Polyethylene Drip Irrigation Distribution Tubing
All of the above can be sourced via the Irrigation section of Lowes web site:

ELECTRICAL
The electrical component to this project was accomplished utilizing low voltage outdoor lighting and a 20 ft extension cord.
The first part of my electrical project was to power my water basin pump which was accomplished easily by running an outdoor graded extension cord from an existing outdoor outlet.
The second part of the project included running low voltage wiring from a power pack to each of my lanterns and then connecting each with an outdoor lighting fixture.
Again, this is not a difficult process:
- Install Power Pack – The power pack pugs into a power outlet and is utilized as a transforming ensuring the correct voltage for your project. Installing is as simple as drilling a couple of screws into the wall next to my power outlet and handing it so as to keep if off the ground
- Run low voltage wiring – The low voltage wire is connected to the power pack via two screws on the bottom of the pack and then the wire is run to your project. Simple to use connectors are available to connect additional wiring from the main wire to each area of the project were power is necessary
- Connecting light fixtures – Connectors are used to attach light fixture to low voltage wires. In most cases the fixture comes complete with an attached connector
All of the above can be sourced via the outdoor lighting section of Lowes web site:
http://www.lowes.com/Lighting-Ceiling-Fans/Landscape-Lighting/_/N-1z0yqsj/pl
Note: Although I used Lowes for the electrical and water part of my project, I found that their selection of product was not quiet as extensive in terms of the drip irrigation product as Home Depot’s is. While the product was easy to find and use and I have no doubt would satisfy most projects, unique issues might require a visit to home depot to resolve.
For the electrical component, I thought Lowes’ selection was quite good.
Total Water and Electrical Costs:$600
Total Running Project Cost: $4,330